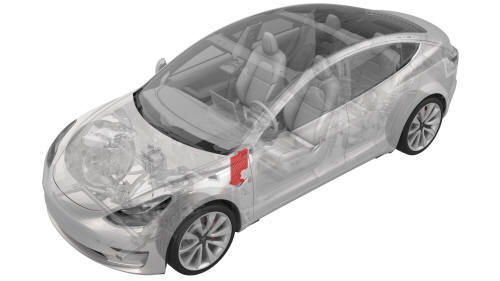
Tesla Model 3: Module - Body Controller - LH - Remove
Tesla Model 3 2017-2024 Service Manual / Electrical / Electronic Control Modules / Module - Body Controller - LH (Remove and Replace) / Module - Body Controller - LH - Remove
Remove
- Remove the 2nd row lower seat cushion. See Seat Cushion - Lower - 2nd Row (Remove and Replace).
- Remove the rear underhood apron. See Underhood Apron - Rear (Remove and Replace).
- Disconnect 12V power. See 12V Power (Disconnect and Connect).
- Remove the LH instrument panel end cap. See End Cap - Instrument Panel - LH (Remove and Replace).
- Remove the LH middle A-pillar trim. See Trim - A-Pillar - Middle - LH (Remove and Replace).
- Remove the LH lower A-pillar trim. See Trim - A-Pillar - Lower - LH (Remove and Replace).
- Remove the driver footwell cover. See Cover - Footwell - Driver (Remove and Replace).
- Remove the driver knee airbag. See Airbag - Knee - Driver (Remove and Replace).
- Remove the LH footwell duct. See Duct - Footwell - LH (Remove and Replace).
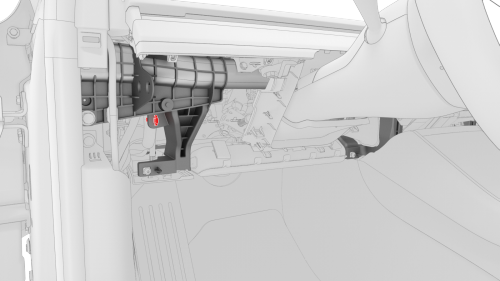
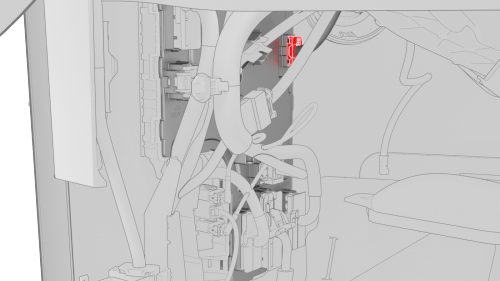
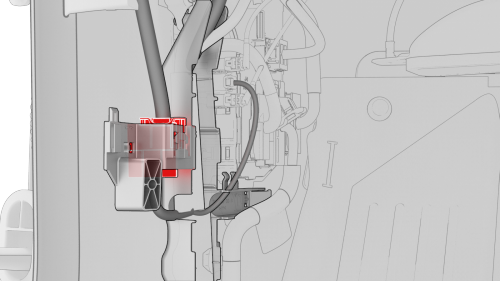
- Release the electrical harness clip from the IP carrier.
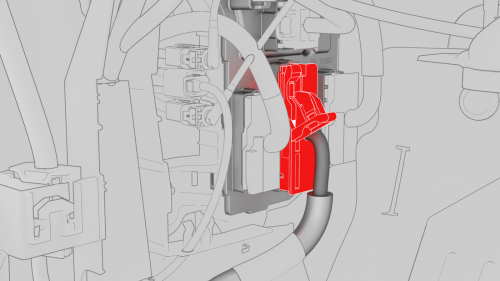
- Disconnect the clips that attach the LH front door electrical connectors to the LH body controller module.
- Release the connector lock, and then remove the electrical connector that attaches the LH front door electrical connector to the LH body controller module.
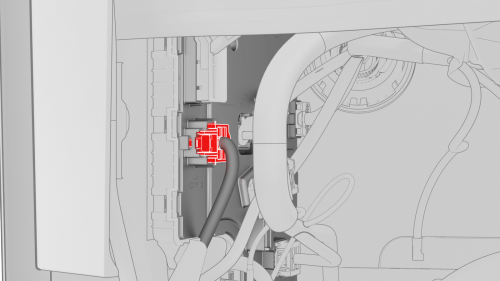
- Release the connector lock, and then remove the driver seat electrical connector from the LH body controller module.
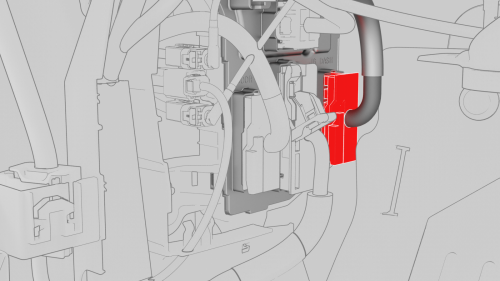
- Release the connector lock, and then remove the instrument panel electrical connector from the LH body controller module.
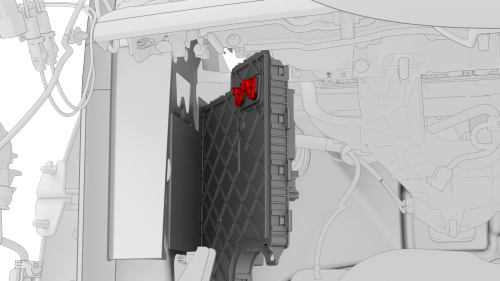
- Remove the HVAC electrical connector from the LH body controller module.
.png)
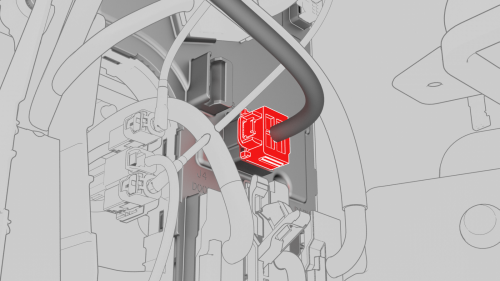
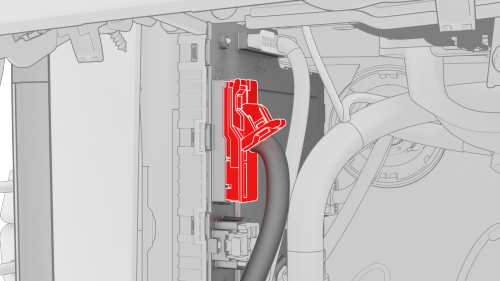
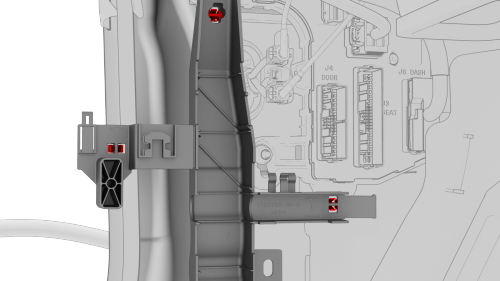
- Disconnect the inline electrical harness connector X909 from the LH body harness, and then separate it from the LH body controller module.
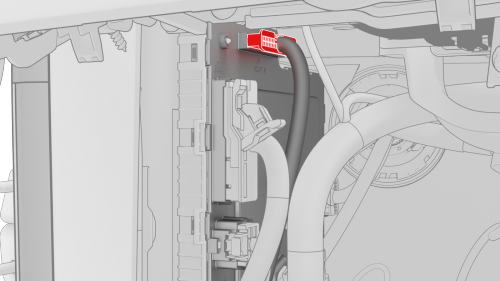
- Remove and discard the nut that attaches the 12V power cable to the LH body controller module..
- Disconnect the front wiring harness connector from the LH body controller module.
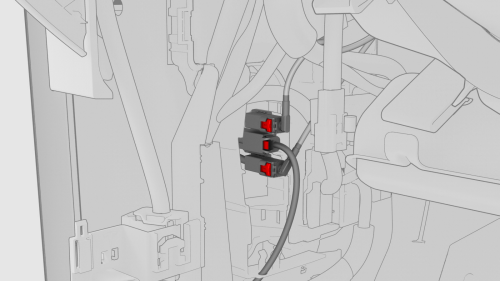
- Disconnect the body 3 electrical connector from the LH body controller module.
- Disconnect the body 1 electrical connector from the LH body controller module.
- Disconnect the body 2 electrical connector from the LH body controller module.
- Disconnect the electrical connector from the headliner electrical connector.
- Release the electrical harness clips that attach the LH body controller module to the body.
- Move the LH body harness away from the LH body controller module.
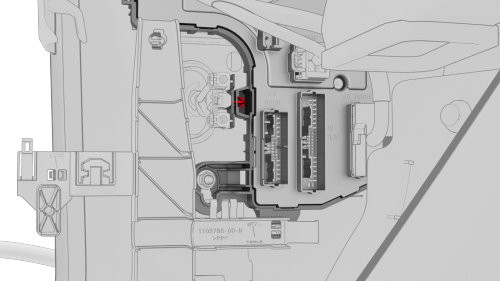
- Release the clip that attaches the LH front door electrical harness to the LH body controller module.
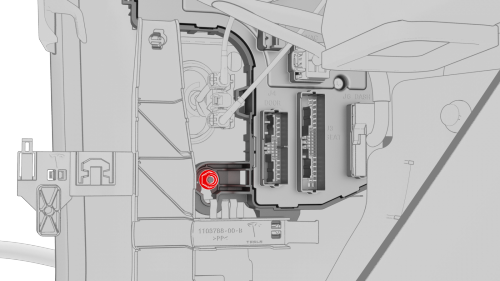
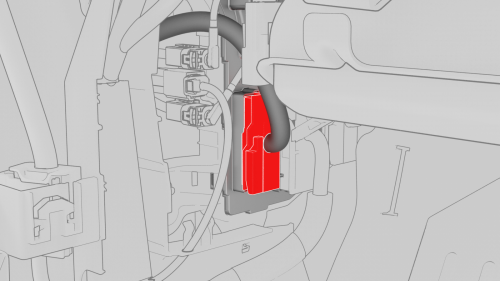
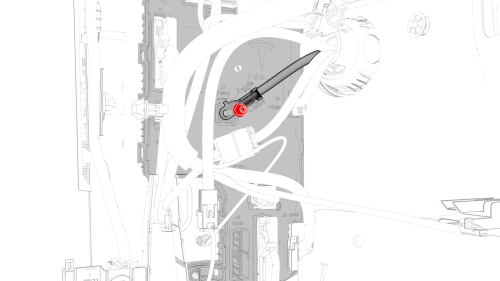
- Remove and discard the nut that attaches the LH body controller module to the vehicle.
- Slide the LH body controller upwards to release the W-clip, and then move the LH body controller module out from underneath the instrument panel.
- Remove the LH body controller module from the vehicle.

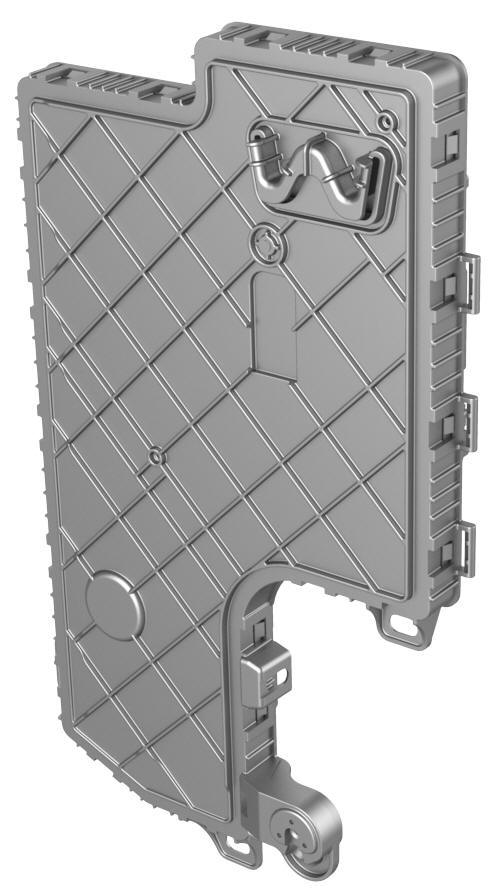
- If the LH body controller module has a shroud installed, release the
clips that attach the shroud to the module.
READ NEXT:
 Module - Body Controller - LH - Install
Install
Install the clip that attach the shroud to the LH body controller module.
Note: Make sure that both clips are fully seated so that the edge
of the shroud is parallel with the line on the b
Module - Body Controller - RH - Remove
Remove
On the touchscreen, power off the climate control system, and wait at
least 30 seconds for the climate control system to completely shut down.
Remove the 2nd row lower seat cushion. See
SEE MORE:
IP Carrier (Remove and Replace)
Remove
Remove the IP carrier. See
IP Carrier (Remove and Install).
Remove the upper gap hider nuts from the IP carrier.
Remove the screws that attach the LH and RH side window defroster ducts
to the IP carrier, and then remove the ducts from the IP carrier
Release the clips that attach th
Charging Locations
Supercharger locations always display on the
map, represented by red pins that you can
touch to display more information, navigate to
it, or mark it as a favorite. The pin itself reveals
information about the Supercharger location:
The Supercharger location is
operational. At locations with
m
© 2019-2024 Copyright www.tmodel3.com
