Tesla Model 3: Seatbelt - 2nd Row - Center (Remove and Replace)
Tesla Model 3 2017-2026 Service Manual / Safety and Restraint / Seatbelts / Seatbelt - 2nd Row - Center (Remove and Replace)
Remove
- Remove the 2nd row lower seat cushion. See Seat Cushion - Lower - 2nd Row (Remove and Replace).
- Remove the rear underhood apron. See Underhood Apron - Rear (Remove and Replace).
- Disconnect 12V power. See 12V Power (Disconnect and Connect).
- Remove the LH 2nd row buckle. See Buckle - 2nd Row - LH (Remove and Replace).
- Remove the LH 2nd row seat side bolster. See Bolster - Side - Seat - 2nd Row - LH (Remove and Replace).
- Remove the 2nd row LH seat back hinge bracket. See Bracket - Hinge - Seat Back - 2nd Row - LH (Remove and Replace).
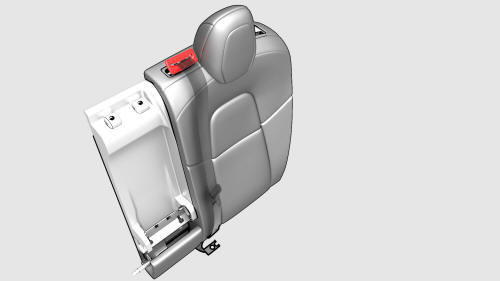
- Remove the bolt that attaches the armrest assembly to the seat back.
 Torque 15 Nm
 - Pull the RH side of the armrest assembly forward, slide the armrest assembly towards the RH side of the seat, and then remove the armrest assembly from the seat back.
.png)
- Release the RH and LH center headrest clips simultaneously, and then pull the headrest upwards to remove it.
Note: Use a pocket screwdriver to release the LH headrest clip.
.png)
- Remove the headrest clips from the seat.
Note: Use a wedge tool to lift up the guide locks from the seat.
- Release the clips (x2), and then remove the trim from the base where the cup holders are located.
Note: Press the clips to release them from the seat frame
- Remove the 2nd row armrest closeout. See Closeout - Armrest - 2nd Row (Remove and Replace).
.jpg)
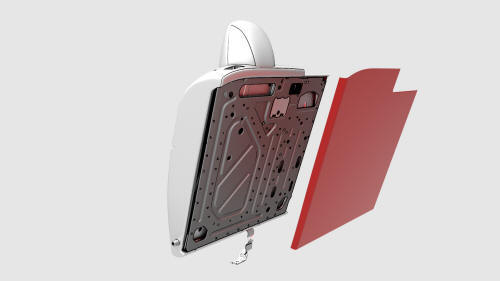
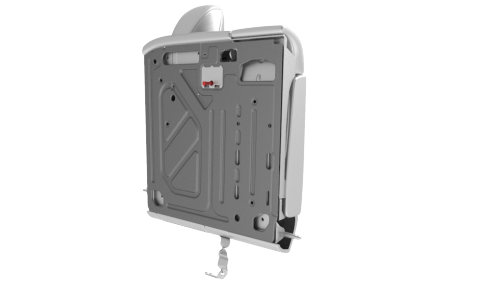
- Release the clips (x2) that attach the 2nd row seat back bezel to the seat back, and then remove the bezel from the seat back.
- Release the clips (x2) that attach the escutcheon to the seat back, and then remove the escutcheon from the seat back.
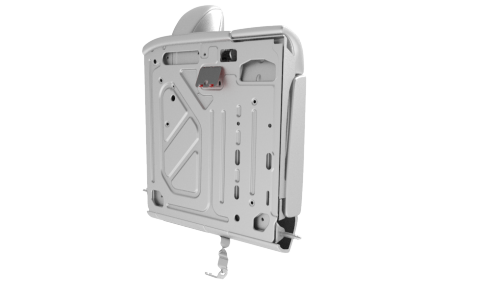
- Remove the 2nd row seat soft back trim and foam from the seat back frame.
Note: Release the soft back trim from the bottom sides, and then release the foam from the seat back frame.
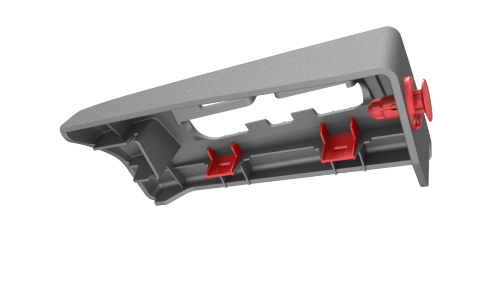
- Release the clips (x2) and push clip that attach the 2nd row center seat back escutcheon support to the seat back, and then remove the escutcheon support from the seat back.
- Release the clips (2) that attach the trim bolt cover to the seat back frame, and then remove the cover from the seat back.
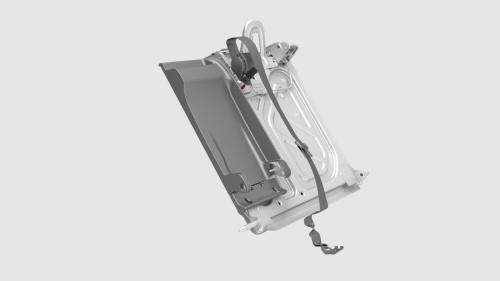
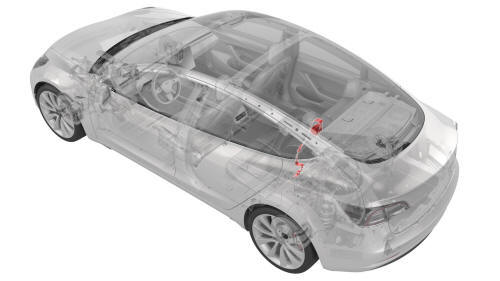
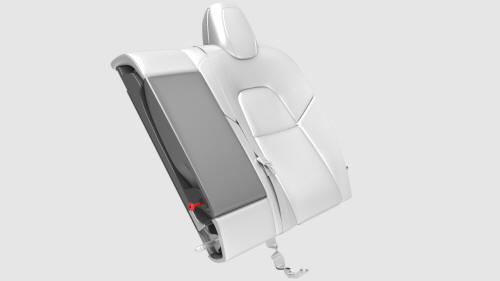
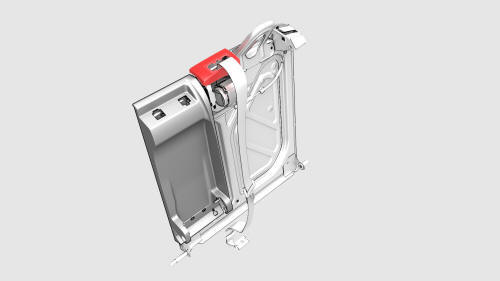
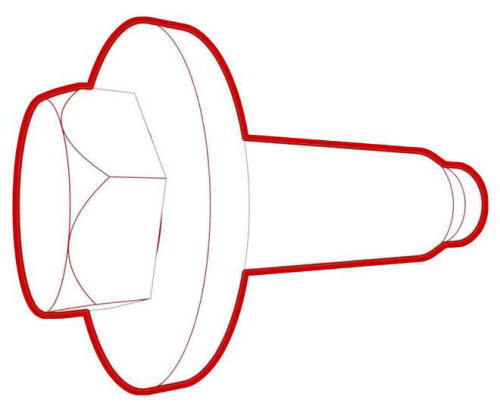
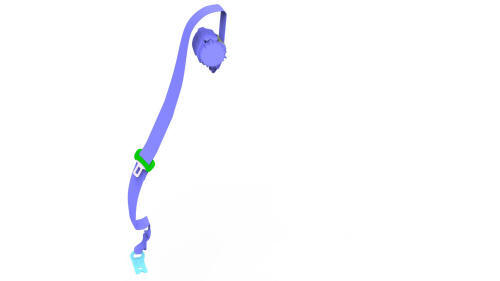
- Remove and discard the bolt that attaches the center 2nd row seatbelt to
the seat back frame, and then remove the seatbelt from the seat back frame.
 Torque 45 Nm
Install
Installation procedure is the reverse of removal, except for the following:
Caution:
Replace all patchbolts
READ NEXT:
 Seatbelt - 2nd Row - LH (Remove and Replace)
Remove
Remove the rear underhood apron. See Underhood Apron - Rear (Remove and
Replace).
Remove the cabin intake duct. See Duct - Cabin Intake (Remove and
Replace).
Disconnect 12V power. See
Pretensioners
Pretensioner - Outboard Lap - 1st Row - LH (Remove and Replace)
Note: This procedure was formulated using a release candidate or
production model. Follow safety requirements and use extreme caution
SEE MORE:
Switch - Window - Front Passenger (Remove and Replace)
Switch - Window - Front Passenger (Remove and Replace) - Remove
Remove
Remove the RH front door trim panel. See
Panel - Door Trim - Front - LH (Remove and Install).
Remove the puddle light electrical connector from the RH front door trim
panel.
Release the clips that attach the fron
Spring and Damper Assembly - Front - LH (Remove and Replace)
Spring and Damper Assembly - Front - LH - Remove
Remove
Raise and support the vehicle. See Raise Vehicle - 2
Post Lift.
Remove the LH front wheel. See Wheel (Remove and
Install).
© 2019-2026 Copyright www.tmodel3.com
