Tesla Model 3: Buckle - 1st Row - LH (Remove and Replace)
Tesla Model 3 2017-2026 Service Manual / Safety and Restraint / Seatbelts / Buckle - 1st Row - LH (Remove and Replace)
Remove
- Open all four doors, lower all four windows, and then move both front seats forward.
- Remove the 2nd row lower seat cushion. See Seat Cushion - Lower - 2nd Row (Remove and Replace).
- Remove the rear underhood apron. See Underhood Apron - Rear (Remove and Replace).
- Remove the LH instrument panel end cap. See End Cap - Instrument Panel - LH (Remove and Replace).
- Remove the LH middle A-pillar trim. See Trim - A-Pillar - Middle - LH (Remove and Replace).
- Remove the LH lower A-pillar trim. See Trim - A-Pillar - Lower - LH (Remove and Replace).
- Remove the driver seat. See Seat - Driver (Remove and Replace).
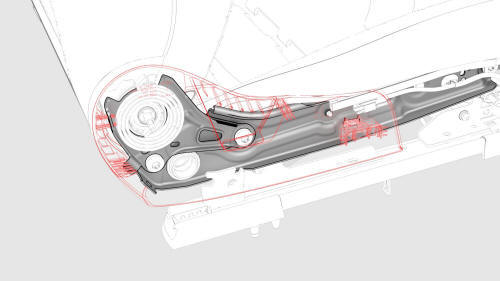
- Release the clips that attach the LH inner side shield to the seat, and then remove the LH inner side shield.

- Disconnect the electrical connector from the LH 1st row buckle.
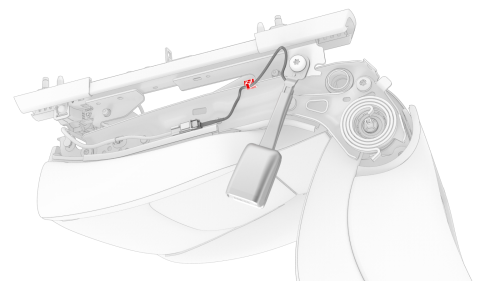
- Release the harness clip from the seat bottom frame.
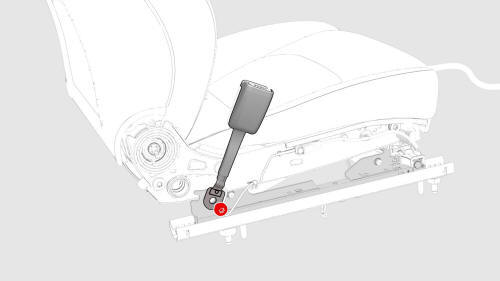
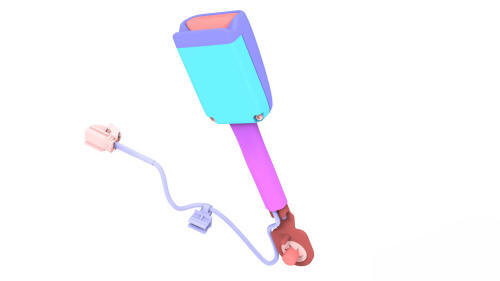
- Remove and discard the patchbolt that attaches the buckle to the seat
track, and then remove the buckle.
 Torque 40 Nm
Install
Installation procedure is the reverse of removal, except for the following:
Replace all patchbolts
READ NEXT:
 Buckle - 2nd Row - Center (Remove and Replace)
Note:
This procedure was formulated using a release candidate or production
model. Follow safety requirements and use extreme caution when working on or
near high-voltage systems and components.
SP
Buckle - 2nd Row - LH (Remove and Replace)
Note: This procedure was formulated using a release candidate or
production model. Follow safety requirements and use extreme caution when
working on or near high-voltage systems and compone
Adjustable Top Loop (Remove and Replace)
Remove
Open both LH doors and lower both LH windows.
Move the LH front seat fully forward.
Release the clips that attach the LH upper B-pillar trim to the vehicle.
Tip: Release the clips at
SEE MORE:
Driving
This section illustrates a number of driving-related topics. The first section goes over how to operate the different controls, including the parking brake, gas and brake pedals, steering wheel, and gear selector.
It also examines the many driving modes that the Model 3 offers, including Sport mode
Actuator - Latch - Hood - Secondary (Remove and Replace)
Actuator - Latch - Hood - Secondary (Remove and Replace)- Remove
Remove
Remove the rear underhood apron. See Underhood Apron - Rear (Remove and
Replace).
Remove the cabin intake duct. See Duct - Cabin Intake (Remove and
Replace).
Remove the hood latch cover. See Cover - Hood Latch (Remove
© 2019-2026 Copyright www.tmodel3.com
