Tesla Model 3: Pretensioners
Tesla Model 3 2017-2026 Service Manual / Safety and Restraint / Pretensioners
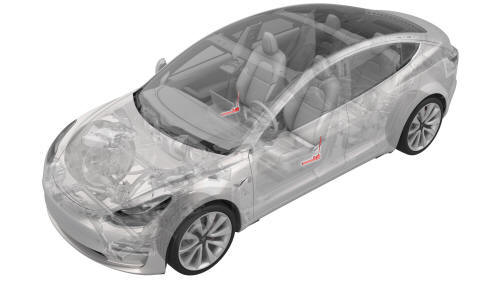
Pretensioner - Outboard Lap - 1st Row - LH (Remove and Replace)
Note: This procedure was formulated using a release candidate or production model. Follow safety requirements and use extreme caution when working on or near high-voltage systems and components
Remove
- Remove the 2nd row lower seat cushion. See Seat Cushion - Lower - 2nd Row (Remove and Replace).
- Remove the rear underhood apron. See Underhood Apron - Rear (Remove and Replace).
- Disconnect 12V power. See 12V Power (Disconnect and Connect).
- Remove the driver seat outer side cover. See Cover - Outer Side - Driver Seat (Remove and Install).

- Disconnect the electrical connector from the pretensioner.
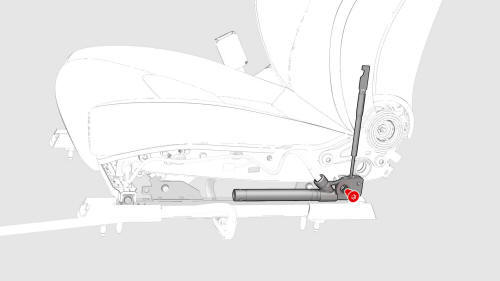
- Remove the bolt that attaches the pretensioner to the seat track.
 Torque 40 Nm
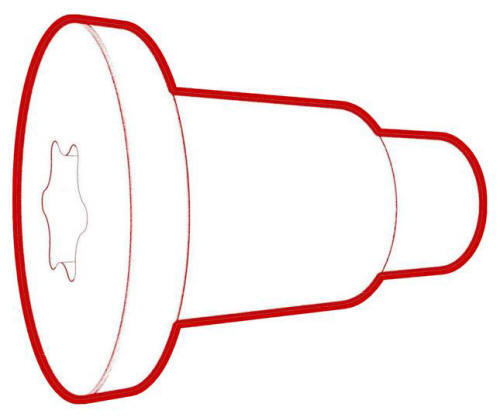
Note: The bolt is attached to the pretensioner with a metal clip. The pretensioner and bolt must be replaced as an assembly.
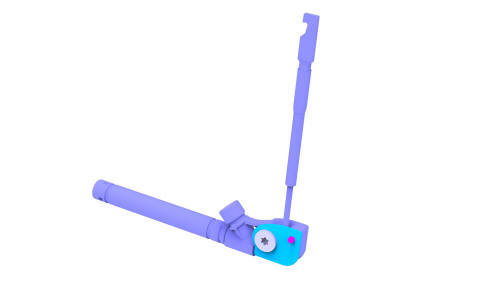
- Remove the 1st row outboard lap pretensioner from the seat track.
Install
- Install the new pretensioner and bolt assembly to the seat track, and
then tighten the bolt that attaches the pretensioner to the seat track.
Torque 40 Nm
Note: Align the pretensioner guide pin to the seat track
- Connect the pretensioner electrical connector.
- Install the driver seat outer side cover. See Cover - Outer Side - Driver Seat (Remove and Install).
- Reconnect 12V power. See 12V Power (Disconnect and Connect).
- Install the rear underhood apron. See Underhood Apron - Rear (Remove and Replace).
- Install the 2nd row lower seat cushion. See Seat Cushion - Lower - 2nd Row (Remove and Replace).
READ NEXT:
 Sensor - Airbag - B-Pillar - LH (Remove and Replace)
Remove
Remove the LH instrument panel end cap. See End Cap - Instrument Panel -
LH (Remove and Replace).
Remove the LH middle A-pillar trim. See Trim - A-Pillar - Middle - LH (Remove
and Repl
Sensor - Airbag - C-Pillar - LH (Remove and Replace)
Remove
Open all doors.
Lower all windows.
Remove the 2nd row lower seat cushion. See Seat Cushion - Lower - 2nd
Row (Remove and Replace).
Remove the rear underhood apron. See Underhood Apron
SEE MORE:
Steering Wheel
Scroll Buttons
A scroll button is located on each side of the
steering wheel. Use your thumb to press this
button to the right or left. You can also press
the button or roll it up or down.
Use the left scroll button to:
Control the volume. Press the scroll
button to mute/unmute t
Sensor - Airbag - Door - Front (Remove and Replace)
Note: This procedure was formulated using a release candidate or
production model. Follow safety requirements and use extreme caution when
working on or near high-voltage systems and components
Remove
Remove the 2nd row lower seat cushion. See Seat Cushion - Lower - 2nd
Row (Remove and Repla
© 2019-2026 Copyright www.tmodel3.com
