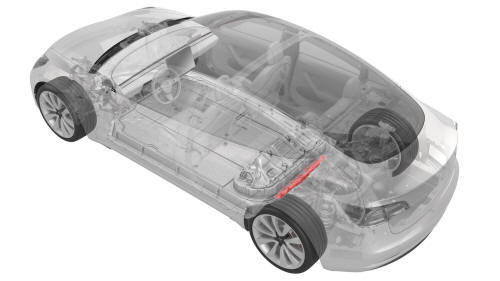
Tesla Model 3: Skid Plate - HV Battery - Rear (Remove and Replace)
Tesla Model 3 2017-2026 Service Manual / Battery System / HV Battery Enclosure / Skid Plate - HV Battery - Rear (Remove and Replace)
DRAFT
Warning:
This procedure was derived from pre-production computer models, and might not reflect the real-world situation. Warnings and cautions might be missing. Follow safety requirements and use extreme caution when working on or near high voltage systems and components.
Do not redistribute this content.
Parent topic: 1610 - HV Battery Enclosure
Remove
- Remove the mid aero shield. See Panel - Aero Shield - Mid (Remove and Replace).
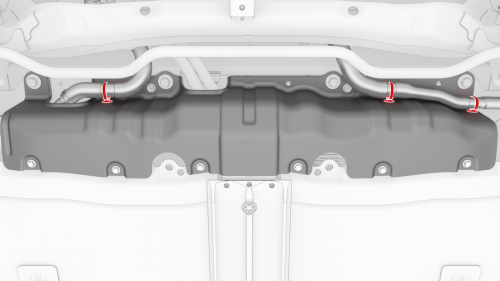
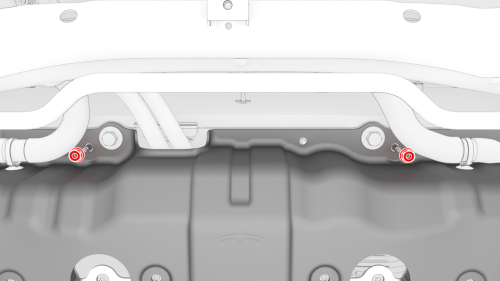
- Release the clips that attach the hoses to the rear HV battery skid plate
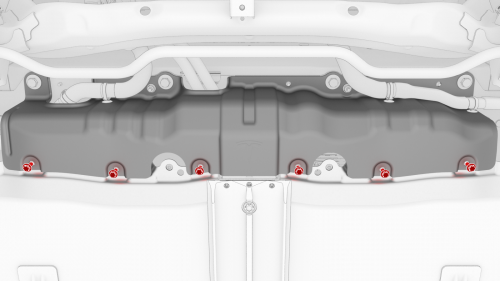
- Remove the lower bolts that attach the skid plate to the HV battery.
 Torque 13 Nm
- Remove the upper nuts that attach the skid plate to the HV battery.
.png) Torque 13 Nm
Torque 13 Nm
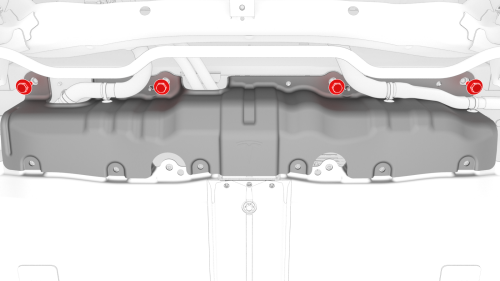
- Remove the upper bolts that attach the skid plate to the HV battery, and
then remove the skid plate from the HV battery.
 Torque 30 Nm
Install
Installation procedure is the reverse of removal.
READ NEXT:
 Vent Assembly - HV Battery - LH (Remove and Replace)
Vent Assembly - HV Battery - LH- Remove
Remove
Use Toolbox to put the vehicle into Factory Mode.
Invoke diagnostics on the touchscreen.
Inspect the Notifications for either a BMS_a123 or a BMS_W12
Vent Assembly - HV Battery - RH (Remove and Replace)
Remove
Use Toolbox to put the vehicle into Factory Mode.
Invoke diagnostics on the touchscreen.
Inspect the Notifications for either a BMS_a123 or a BMS_W123 alert.
If:
Either alert is present
SEE MORE:
Car Computer (Remove and Replace)
Car Computer - Remove
SPECIAL TOOLS
Plug,Car Computer Fluid Port (1119171-00-A)
Kit, Battery Coolant Drain & Fill (1065131-00-A)
Kit, Computer Purge Adapters, Model 3 (1473522-00-A)
Kit, Svc Plug, Cooling Hose, Model 3 (1135762-00-A)
Remove
If "Tow Mode" is active, then disable "Tow Mode."
Troubleshooting Alerts
Charging equipment faultTry
different charging
equipment(CP_a004)
The charge port is unable to detect whether a
charge cable is inserted or the type of charge
cable connected.
If this alert appears while a charge cable is
connected, it should be determined whether
the issue is caused by the
© 2019-2026 Copyright www.tmodel3.com
