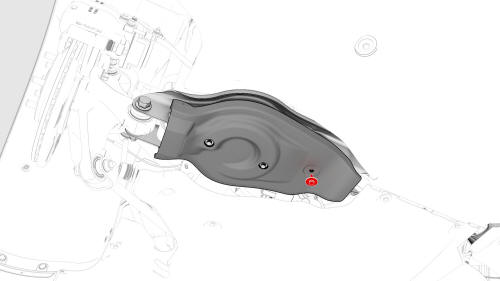
Tesla Model 3: Spring - Rear Suspension - LH (Remove and Replace)
SPECIAL TOOLS
Tool, Spring Compressor, Hook, Model 3
(1135103-00-A)
Remove
Note: Attach a bungee cord from the LH lower
control arm to the spring to assist with the
removal process, if needed.
Caution:
Be careful while unloading the spring. Hold the
spring horizontally and facing away from you.
Install
Spring - Rear Suspension - LH - Remove
.png)
.jpg)
.jpg)
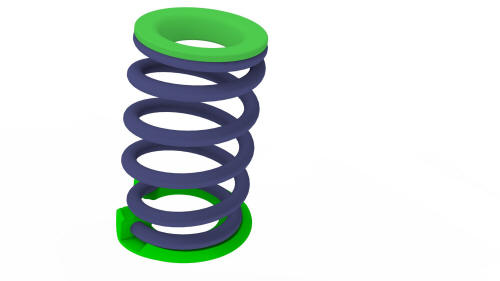
Spring - Rear Suspension - LH - Install
.png)
.jpg) Torque 115 Nm
Torque 115 Nm
.jpg) Torque 115 Nm
Torque 115 Nm
.jpg) Torque 115 Nm
Torque 115 Nm
.jpg) Torque 115 Nm
Torque 115 Nm .jpg)
.jpg) Torque 115 Nm
Torque 115 Nm
Torque 115 Nm
Torque 115 Nm
READ NEXT:
 Spring and Damper Assembly - Front - LH (Remove and Replace)
Spring and Damper Assembly - Front - LH - Remove
Remove
Raise and support the vehicle. See Raise Vehicle - 2
SEE MORE:
Wipers and Washers
Wipers
To perform a single wipe with the windshield
wipers, press and immediately release the
button on the end of the left-hand steering
column lever.
To adjust the continuous wiper settings, touch
the windshield wiper icon located in the
"Cards" area on the touchscreen. The wipe
Switch - Window - Front Passenger (Remove and Replace)
Switch - Window - Front Passenger (Remove and Replace) - Remove
Remove
Remove the RH front door trim panel. See
Panel - Door Trim - Front - LH (Remove and Install).
Remove the puddle light electrical connector from the RH front door trim
panel.
Release the clips that attach the fron
