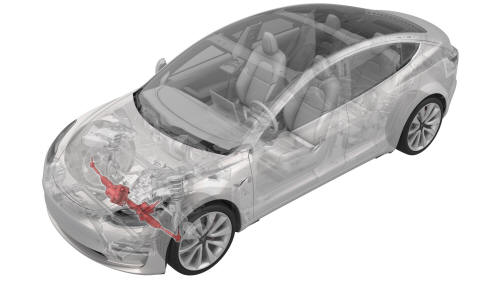
Tesla Model 3: Steering Rack (RWD) (Remove and Replace)
Caution: Vehicles built before March 25th, 2019 have 1st generation front subframes. Vehicles built on March 25th, 2019 and after have 2nd generation front subframes. 1st generation subframes require special M8 bolts to install 2nd generation (currently available) steering racks. Refer to the Electronic Parts Catalog for the latest information. 2nd generation subframes cannot accommodate 1st generation (discontinued) steering racks. A 2nd generation (currently available) steering rack must be installed.
Remove
- Remove the front subframe assembly. See Subframe Assembly - Front (RWD) (Remove and Install).
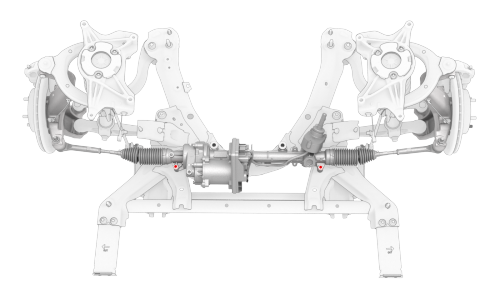
- Remove the outer bolts that attach the steering rack to the front subframe.
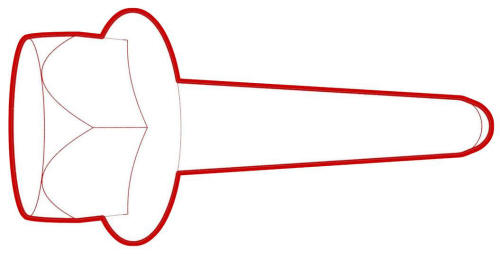
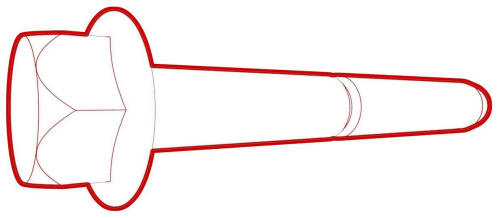
- Inspect the outer bolts and determine their type.
- If the bolts have M8 threads and minimal underhead fillet, the subframe is 1st generation and the steering rack is 1st generation.
- If the bolts have M8 threads and an underhead bevel, the subframe is 1st generation and the steering rack is 2nd generation.
- If the bolts have M10 threads, the subframe is 2nd generation and the steering rack is 2nd generation.
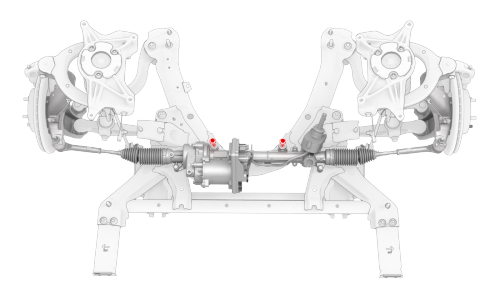
- Remove the inner bolts that attach the steering rack to the front subframe.
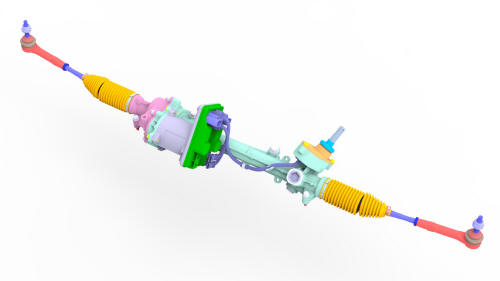
- Remove the steering rack from the front subframe.
Install
Caution: 2nd generation front subframes cannot accommodate 1st generation (discontinued) steering racks. A 2nd generation (currently available) steering rack must be installed.- Install the steering rack onto the front subframe.
- Hand-tighten the inner bolts that attach the steering rack to the front subframe.
- Install the outer bolts that attach the steering
rack to the front subframe.
 Torque M8 Bolts for 1st Generation Steering
Racks 27 Nm
Torque M8 Bolts for 2nd Generation Steering
Racks 65 Nm
Torque M10 Bolts 47 Nm
Torque M8 Bolts for 1st Generation Steering
Racks 27 Nm
Torque M8 Bolts for 2nd Generation Steering
Racks 65 Nm
Torque M10 Bolts 47 Nm - Tighten the inner bolts that attach the steering
rack to the front subframe.
 Torque 75 Nm
 - Install the front subframe assembly. See Subframe Assembly - Front (RWD) (Remove and Install).
- Update the vehicle firmware.
- Perform a 4 wheel alignment. See Four Wheel Alignment (Check and Adjust)
READ NEXT:
 Tie Rod End - LH (Remove and Replace)
Raise and support the vehicle. See Raise Vehicle - 2
Post Lift.
Remove the LH front wheel.
Steering Column (Remove and Replace)
Steering Column - Remove
Note:
This procedure was formulated using a release candidate or
production model. Follow safety
SEE MORE:
Switch - Steering Wheel - RH (Remove and Replace)
Remove the driver airbag. See Airbag - Driver (Remove and Replace).
Disconnect the steering wheel electrical wiring harness from the
connector.
Disconnect the electrical harness from the LH steering wheel switch
connector.
Disconnect the electrical harness from the RH steering
Hose - Return - Powertrain (Remove and Replace)
Remove
Remove the HV battery. See HV Battery (RWD) (Remove and Install).
Release the clips (x5) that attach the powertrain return (lower) hose to
the RH side of the HV battery, and remove the hose from the HV battery.
Remove the plugs from the powertrain return hose, if installed.
Install
