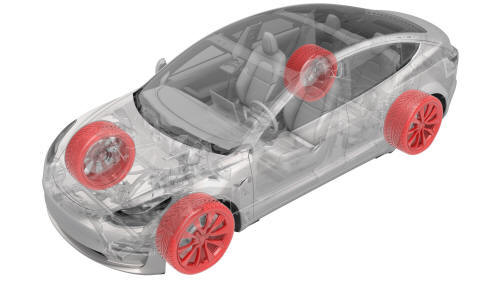
Tesla Model 3: Wheel (Remove and Install)
Caution:
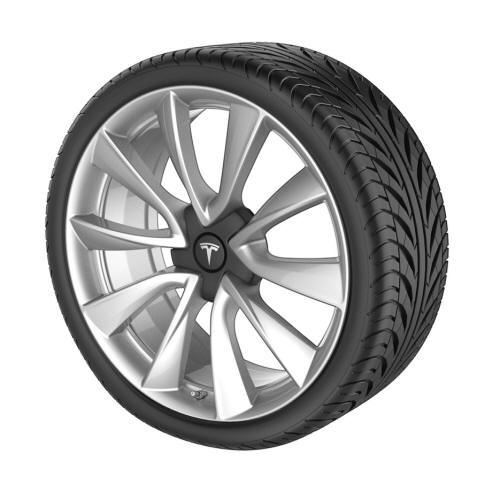
Do not install base wheels onto vehicles with performance brakes, or install performance wheels onto vehicles with base brakes. Base and performance wheels have different offsets to accommodate base and performance brakes. Refer to Wheels for offset information.
Remove
- Remove the wheel center cap. See Cap - Wheel (Remove and Replace).
- Loosen the lug nuts.
Caution:
Use only hand tools to remove or install the fasteners. Do not use impact or power tools.
Caution:
Use a 6 point socket. Do not use a 12 point socket or a specialty socket.
- Raise and support the vehicle. See Raise Vehicle - 2 Post Lift.
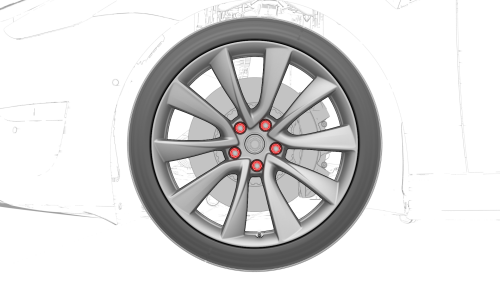
- Remove the lug nuts from the wheel, and then remove the wheel from the
vehicle.
Install
- Position the wheel to the vehicle, and then hand-tighten the lug nuts.
- Partially tighten the lug nuts in a star-shaped sequence until the wheel is secured to the hub.
- Lower the vehicle. See Raise Vehicle - 2 Post Lift.
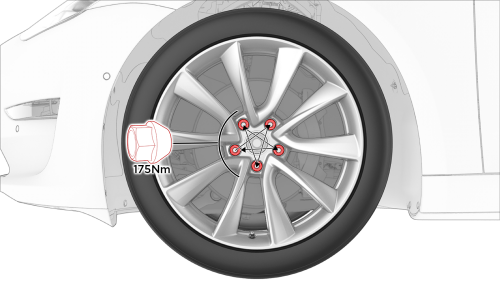
- Fully tighten the lug nuts in a star-shaped sequence.
.png) Torque 175 Nm
Torque 175 Nm - Install the wheel center cap. See Cap - Wheel (Remove and Replace).
READ NEXT:
 Tire - Front - LH (Dismount and Mount)
Warning:
Always read and understand the tire equipment operator's
manual before operating the tire changer.
Note: These instructions are based on the Hunter T
Tire - Front - LH (Rebalance)
DRAFT
Warning:
This procedure was derived from pre-production computer
models, and might not reflect the real-world situation. Warnings
and cautions might be
SEE MORE:
Tire Rotation
Vehicle ride quality and
handling are maximized when
all 4 tires are the same age,
model, and tread depth.
Rotating tires regularly
allows them to wear at the
same rate and increases the
service life. T
Penthouse Coolant (Drain and Refill)
Penthouse Coolant- Drain
SPECIAL TOOLS
Drive Unit Pressure Test Fixture (1053600-00-C)
Kit, Coolant Leak Test Adapters, Model 3 (1132185-00-B)
Kit, Coolant Drain & Fill Adapters, M3 (1133843-00-A)
Kit, Svc Plug, Cooling Hose, Model 3 (1135762-00-A)
Kit, Battery Coolant Drain and Fill (GSN-TL-000
© 2019-2026 Copyright www.tmodel3.com
