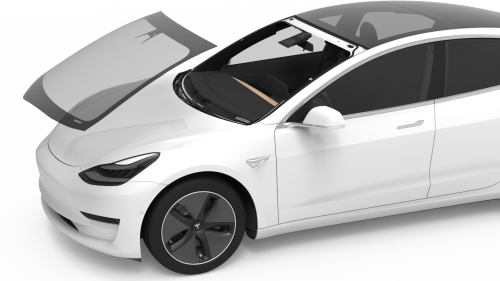
Tesla Model 3: Windshield (Remove and Install)
Windshield (Remove and Install)-Remove
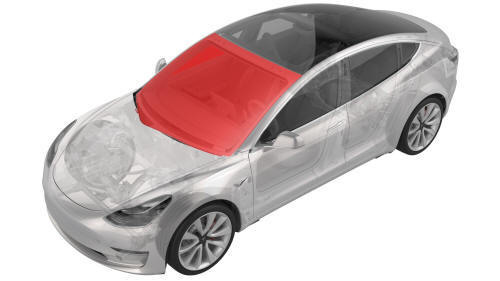
Remove
- Open all doors and lower all windows.
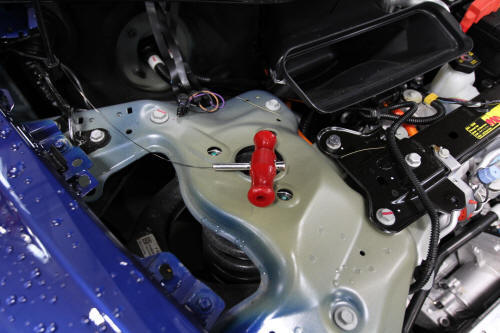
- Open the hood.
- Remove the rear underhood apron. See Underhood Apron - Rear (Remove and
Replace).
- Remove the cabin intake duct. See Duct - Cabin Intake (Remove and
Replace).
- Remove the hood latch cover. See Cover - Hood Latch (Remove and
Replace).
- Remove the underhood storage unit. See Underhood Storage Unit (Remove
and Replace).
- Remove the LH and RH wiper arms. See Wiper Arms (Remove and Replace).
- Remove the LH and RH shock tower covers. See Cover - Shock Tower - LH
(Remove and Replace).
- Remove the cowl screen panel. See Panel - Cowl Screen (Remove and
Replace).
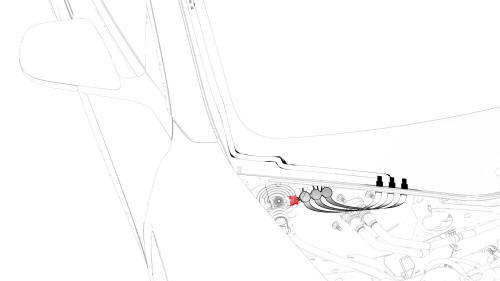
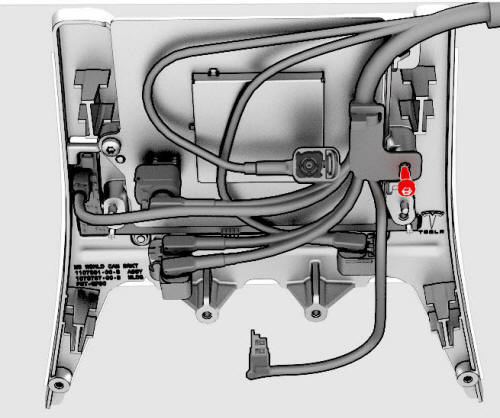
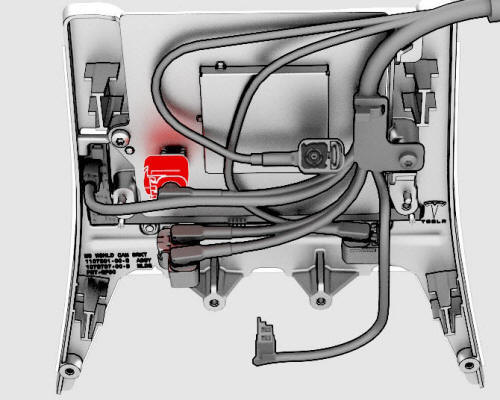
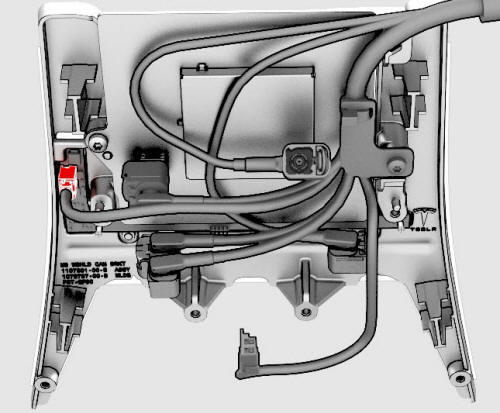
- Disconnect the electrical harness from the windshield heater connector.
- Remove the LH and RH side rail trims. See Trim - Side Rail - LH (Remove
and Install).
- Remove the headliner. See Headliner (Remove and Install).
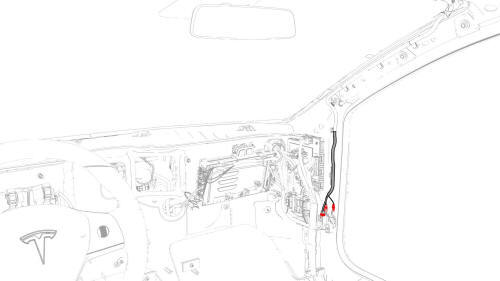
- Disconnect the windshield electrical harness connectors (x3) from the RH
vehicle harness, and pull windshield electrical harness up through the
opening on the RH side of the instrument panel.
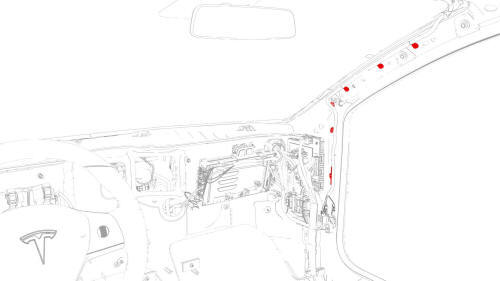
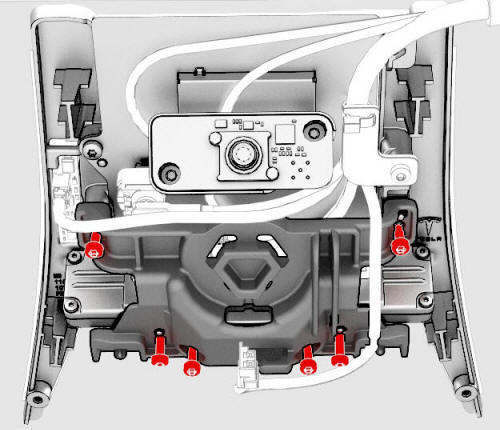
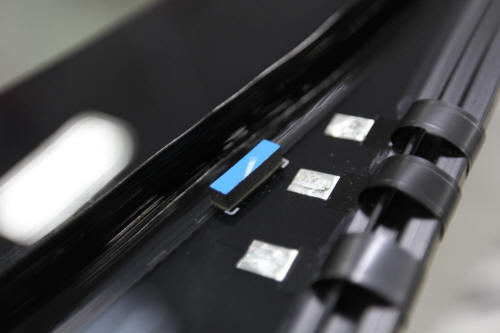
- Release the clips (x6) that attach the windshield electrical harness to
the RH A-pillar area.
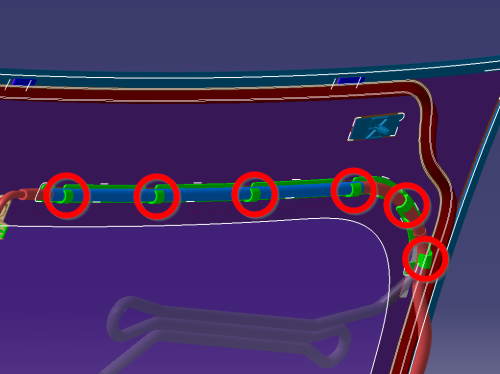
- Release the clips (x6) that attach the windshield electrical harness to
the fastener track on the windshield, and then remove the harness from the
windshield.
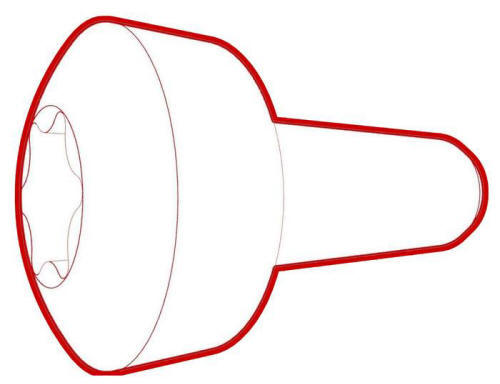
- Remove the fastener track from the windshield with a clip pry tool.
- Tape the windshield electrical harness to the inside of the windshield.
- Apply masking tape to the exterior of the LH and RH A-pillars to protect
the paint from damage.
- Put a large towel over the instrument panel for protection.
- Cut a suitable length of square wire to use with T-handles.
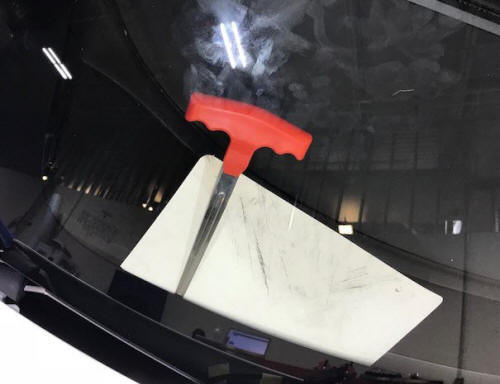
- Secure the wire to the starter tool and push the tool through the
urethane at the RH lower side of the windshield.
- Attach the square wire and pull tool back through into the vehicle.
- Remove the square wire from the starter tool and secure the square wire
into one T-handle.
- Make sure that there is adequate square wire and attach it to the second
T-handle.
- With an assistant, use the T-handles to cut the urethane that attaches
the windshield to the body.
Caution:
Use care when cutting the urethane at the upper corners and around the
VIN plate.
- Cut the square wire with diagonal cutters, and then remove the T-handles
from the vehicle.
- Attach suction cups to the outer LH and RH sides of the windshield.
- Partially close the hood for added clearance between the windshield and
the body.
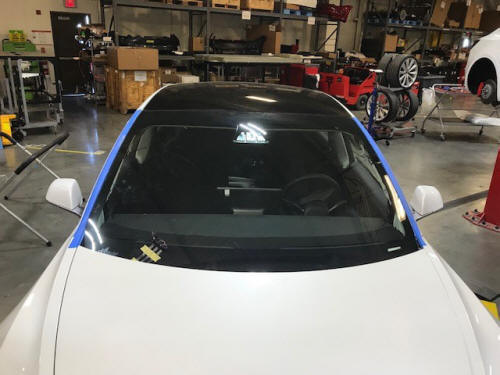
- With an assistant, remove the windshield from the vehicle and put the
windshield on support stand.
Note: Use care not to damage the windshield harness when removing
the windshield from the vehicle.
- Remove the suction cups from the windshield.
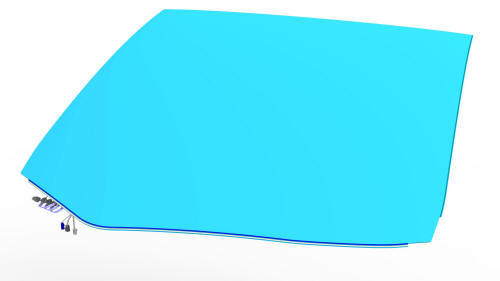
Windshield (Remove and Install)- Windshield
Preparation
Windshield Preparation
- Use a razor blade and a blade scraper to remove the old urethane from
the windshield flange on the vehicle.
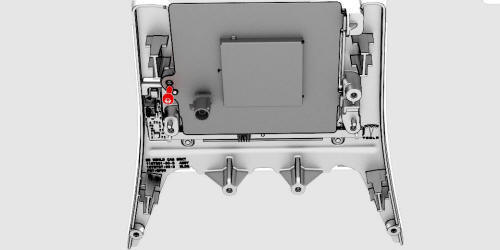
- Install the GPS antenna into the windshield bracket, and then install
the screw that attaches the GPS antenna to the bracket.
 Torque 1 Nm
- Install the windshield electrical harness to the windshield bracket, and
then install the screw that attaches the harness to the bracket.
Torque 1 Nm
Note: Make sure the windshield electrical harness is routed inside
of the bracket.
- Connect the electrical connector to the GPS antenna.
- Connect the windshield electrical connector to the humidity and
temperature sensor.
- Install the screws that attach the forward facing camera mount plate to
the windshield.
 Torque 1 Nm
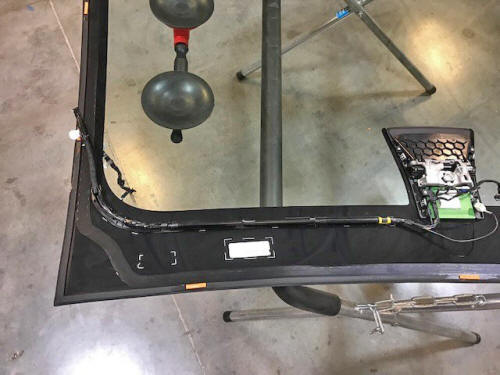
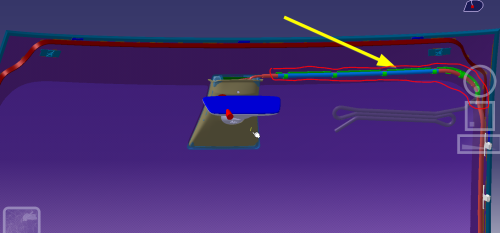
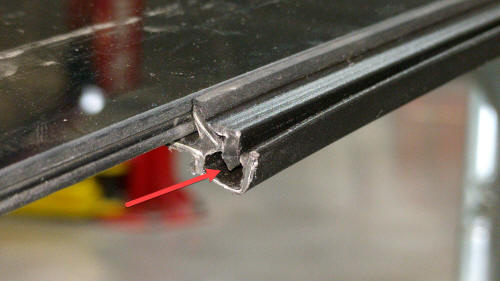
- Install the fastener track on the windshield, and then connect the clips
(x6) that attach the windshield electrical harness on the fastener track.
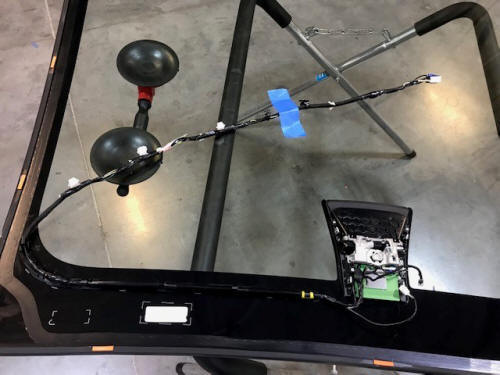
- Temporarily secure the windshield electrical harness end towards the
center of the windshield using tape.
Windshield (Remove and Install)- Install
Install
Note: Use soft materials to protect the windshield and to prevent
scratching.
- Attach suction cups to the LH and RH sides of the windshield on the
outside side of the windshield.
- With an assistant, position the windshield on the vehicle for a dry fit.
Note any locations where the pads need to be adjusted.
Note: Add or remove to adjust the flush condition of the
windshield, if needed.
- With an assistant, remove the windshield and set it back on the stand.
- Clean the urethane path on the vehicle with an Isopropyl Alcohol (IPA)
wipe. Allow the surface to dry before continuing to the next step.
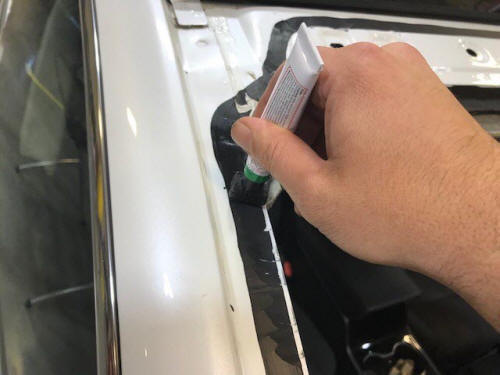
- Apply urethane primer to the vehicle body along the urethane path and in
areas that were damaged during removal of the windshield
Note: Allow the primer to dry for at least 1 minute.
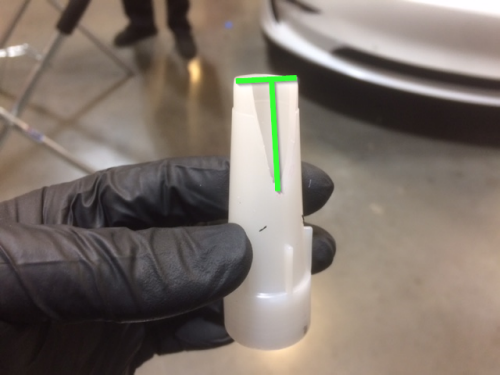
- Prepare the caulking gun and urethane.
Note: Make sure that the urethane bead has a triangular
cross-section of approximate 8 mm width and 13 mm height.
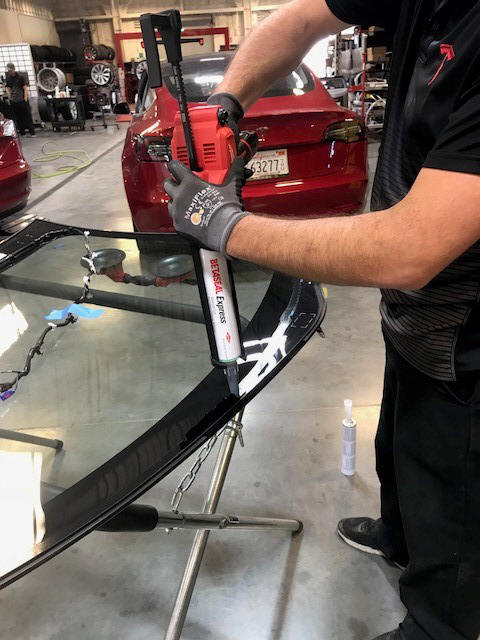
- Apply urethane to the windshield following the primer path.
- With an assistant, install the windshield on the vehicle.
Note: Make sure to align the locating pins at the top of the
windshield.

- Check the gap and flush of the windshield to the body before fully
seating the windshield using a gap/flush measuring tool.
- Fully seat the windshield; check the gap and flush and make adjustments,
if necessary.

- Apply masking tape to secure the windshield to the body while the
urethane cures.
- Remove the suction cups from the windshield.
- Remove the large towel from the instrument panel.
- Remove the masking tape holding the windshield electrical harness to the
windshield.
- Secure the clips (x6) that attach the windshield electrical harness to
the RH A-pillar area.
- Connect the windshield electrical harness (x3) to the RH vehicle harness
connectors.
- Install the headliner. See Headliner (Remove and Install)
- Install the LH and RH side rail trims. See Trim - Side Rail - LH (Remove
and Install).
- Restore the driver and front passenger seats back to their original
position.
- Connect the electrical harness to the windshield heater connector.
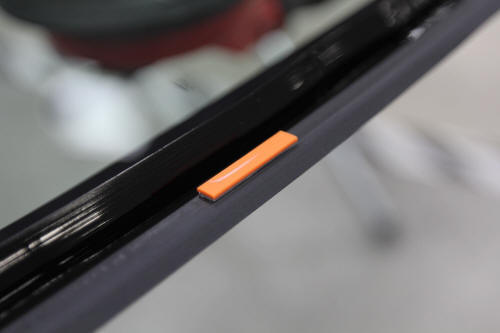
- Remove the windshield cowl protective strip.
- Install the cowl screen panel. See Panel - Cowl Screen (Remove and
Replace).
- Install the LH and RH shock tower covers. See Cover - Shock Tower - LH
(Remove and Replace).
- Install the LH and RH wiper arms. See Wiper Arms (Remove and Replace).
- Install the underhood storage unit. See Underhood Storage Unit (Remove
and Replace).
- Install the hood latch cover. See Cover - Hood Latch (Remove and
Replace).
- Install the cabin intake duct. See Duct - Cabin Intake (Remove and
Replace).
- Install the rear underhood apron. See Underhood Apron - Rear (Remove and
Replace).
- Perform the forward facing camera target calibration. See Camera -
Forward Facing (Target Calibration).
- Remove the masking tape from the vehicle after the urethane has cured.
READ NEXT:
SEE MORE:
SPECIAL TOOLS
Pack Enclosure Leak Tester, HV Battery (1026636-00-A)
Pack Kit, Enclosure, Leak Test, HV Battery, Complete (1140501-00-A)
Kit, Encl Leak Test Adapters, HV Battery (1144879-00-A)
Kit, Dummy Plug (1455410-00-A)
Cap, Logic Conn, Inv, 3DU (1108272-00-B)
Parent topic:
1610 - HV Battery En
Harness - Windshield- Remove
Remove
Remove the LH instrument panel end cap. See End Cap - Instrument Panel -
LH (Remove and Replace).
Remove the LH middle A-pillar trim. See Trim - A-Pillar - Middle - LH
(Remove and Replace).
Remove the LH lower A-pillar trim. See Trim - A-Pillar - Lower -
 Penthouse Air Leak Test
