Tesla Model 3: Bracket - 12V Battery (RWD) (Remove and Replace)
Remove
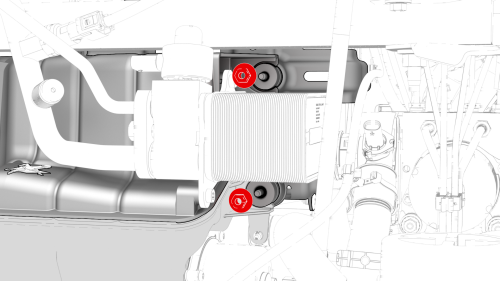
Note: Reach through under the superbottle to gain access to the
underside of the battery beam and the lower bolts.
Install
Note: Reach through under the superbottle to gain access to the
underside of the battery beam and the lower bolts.
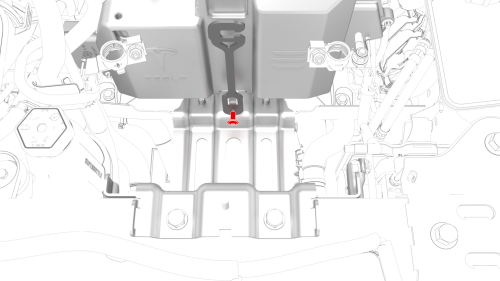
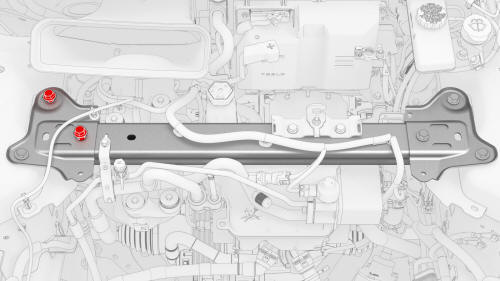
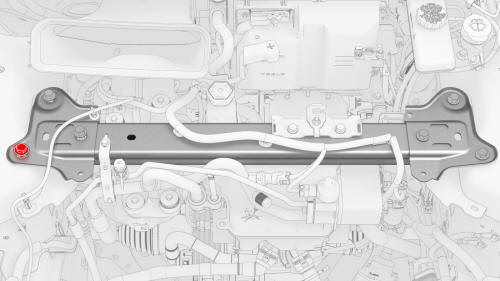
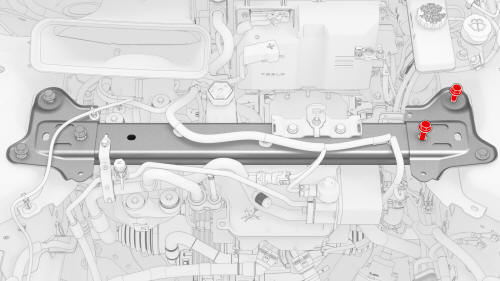
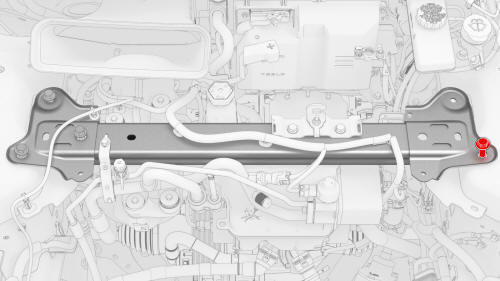
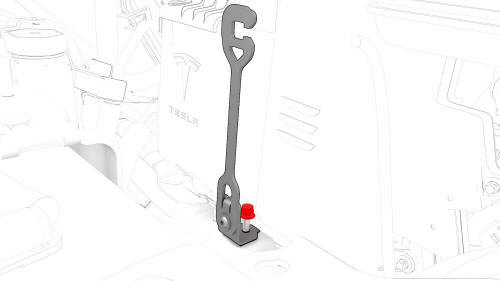
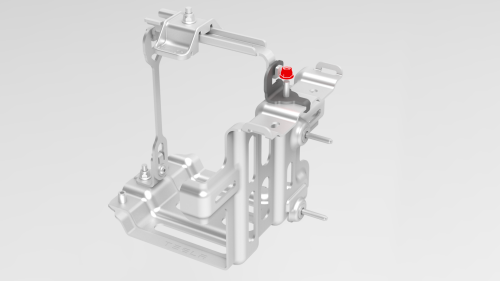
Bracket - 12V Battery (RWD) - Remove
Bracket - 12V Battery (RWD) -Install
 Torque 9 Nm
 Torque 9 Nm
.jpg) Torque 62 Nm
Torque 62 Nm
.jpg) Torque 67 Nm
Torque 67 Nm
.jpg) Torque 67 Nm
Torque 67 Nm
Torque 62 Nm
Torque 67 Nm
Torque 67 Nm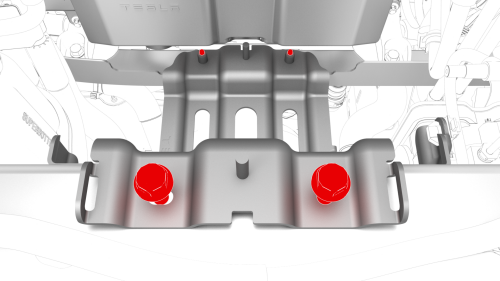
.jpg) Torque upper bolts 15 Nm
Torque upper bolts 15 Nm
.png) Torque lower bolts 9 Nm
Torque lower bolts 9 Nm
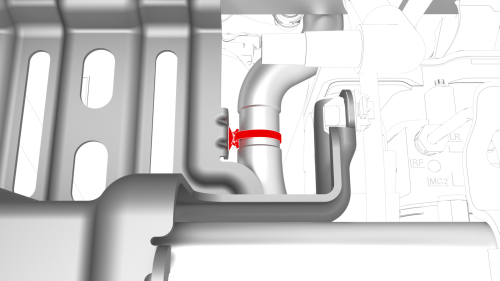
 Torque 8 Nm
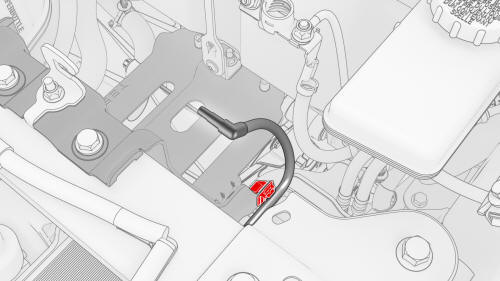
 Torque 9 Nm
READ NEXT:
 Strap - 12V Battery (Remove and Replace)
Remove
Remove the rear underhood apron. See
Underhood Apron - Rear (Remove and Replace).
Remove the cabin intake duct. See
Duct - Cabin Intake (Remove and Replace).
Loosen the nut that atta
SEE MORE:
Actuator - Bleed - LH (Remove and Replace)
Remove
Remove the cross car beam. See
Beam - Cross Car (Remove and Replace).
Disconnect the electrical wiring harness connector from the LH bleed
actuator.
Remove the bolts that attach the actuator to the HVAC module, and then
remove the actuator from the module.
Torque 2.3 Nm
Tube - Input - Coolant - Power Conversion System (Remove and Replace)
Tube - Input - Coolant - Power Conversion System- Remove
SPECIAL TOOLS
Connector Removal, Coolant, PCS, M3 (1111868-00-B)
Kit, Svc Plug, Cooling Hose, Model 3 (1135762-00-A)
Warning:
Only technicians who have been trained in High Voltage Awareness are
permitted to perform this procedure. Proper
