Tesla Model 3: Brake Lines - Master Cylinder to ABS - Install
Install
- Remove the oil drain from under the brake booster.
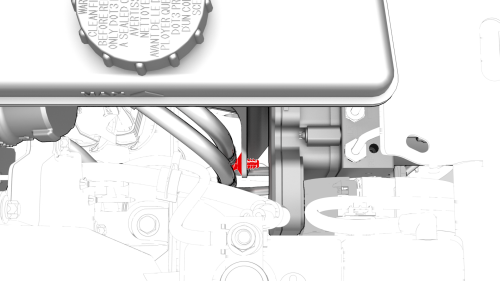
- Bring the brake lines to the ABS unit and master cylinder.
- Fasten the clips that attach the brake lines to the body.
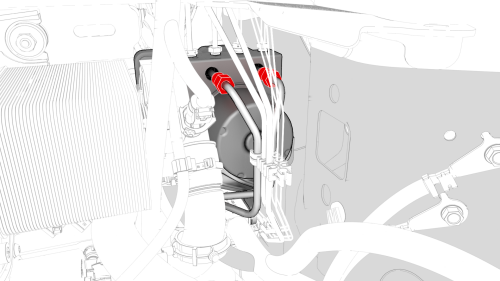
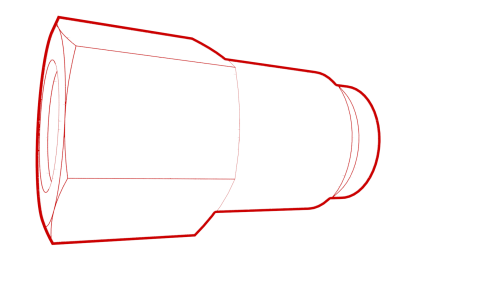
- Insert the brake lines into the master cylinder, and
then use a crowfoot extension to install the brake line
tube nuts into the master cylinder.
 Torque 16 Nm
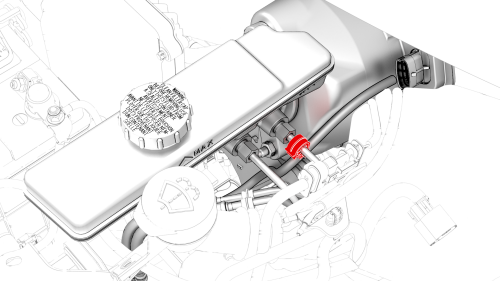
- Fasten the clip that attaches the electrical harness to the brake line at the master cylinder.
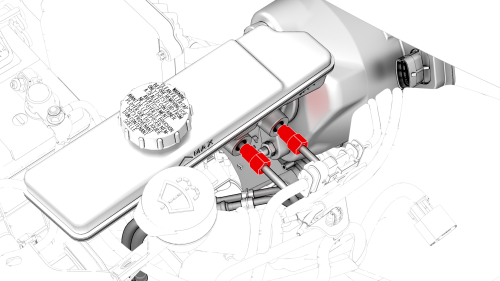
- Insert the brake lines into the ABS unit, and then
use a crowfoot extension to install the brake line tube
nuts into the ABS unit.
 Torque 16 Nm
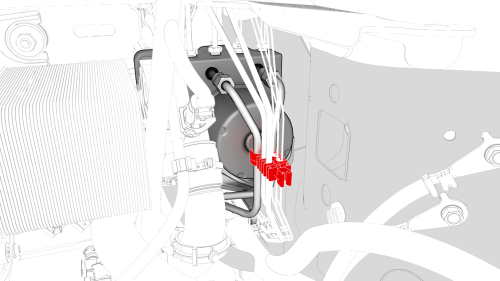
- Fasten the clip that attaches the brake lines to the ABS unit.
.png)
- Move the LH front electrical harness back to the LH
front shock tower, and then install the new bolts (x3)
to attach the electrical harness ground straps to the
shock tower.
.png) Torque 8 Nm
Torque 8 Nm
.png)
- Fasten the clips (x3) that attach the LH front electrical harness to the LH front frame rail.
.png)
- Connect the electrical harness to the ABS unit connector.
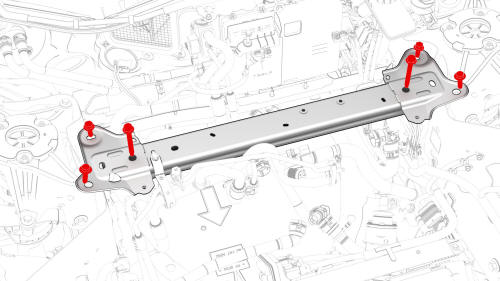
- Slide the LH side of the shock tower brace backward
to its mounting position, and then install the bolts
that attach the shock tower brace to the body.
.jpg) Torque Rear Bolts 67 Nm
Torque Rear Bolts 67 Nm
.jpg) Torque Outer Bolts 62 Nm
Torque Outer Bolts 62 Nm
.jpg) Torque Inner Bolts 67 Nm
Torque Inner Bolts 67 Nm
- Install the battery bracket. See Bracket - 12V Battery (RWD) (Remove and Replace).
- Install the cowl screen panel. See Panel - Cowl Screen (Remove and Replace).
- Bleed the braking system. See Brake Fluid Bleed / Flush.
READ NEXT:
 Brake Lines - Rear - LH to Sill (Remove and Replace)
SPECIAL TOOLS
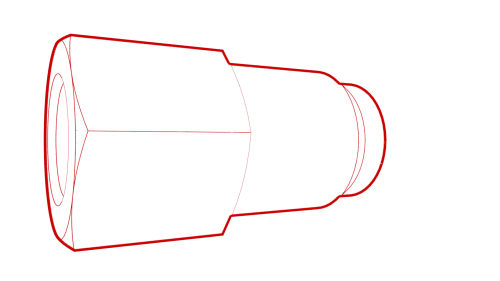
Flare nut crowfoot set (1079041-00-A)
Brake Lines - Rear - RH to Sill (Remove and Replace)
SPECIAL TOOLS
Flare nut crowfoot set (1079041-00-A)
Parking Brake
Parking Brake - Caliper - Rear - LH (Release)
SEE MORE:
Operating Autosteer
Before you can operate Autosteer, you must
enable it by touching Controls > Autopilot >
Autosteer (Beta).
To indicate that Autosteer is
available (but not actively
steering Model 3), the
touchscreen displays a gray
Autosteer icon.
To initiate Autosteer, move the gear lever fully
down
Panel - Lower Rear - Center Console (Remove and Replace)
Remove
Move the driver seat and front passenger seat fully forward.
Note: Notice the location of the driver seat and front passenger
seat prior to moving them forward to help restore the seats back into their
original position.
Release the clips that attach the center console lower rear
