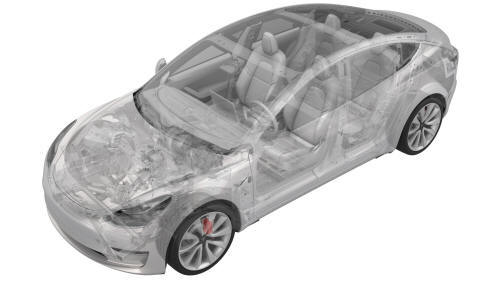
Tesla Model 3: Brake Pad Kit - Front (Base Brakes) (Remove and Replace)
Tesla Model 3 2017-2026 Service Manual / Brakes / Brake Discs and Calipers / Brake Pad Kit - Front (Base Brakes) (Remove and Replace)
Remove
- Remove the LH front wheel. See Wheel (Remove and Install).
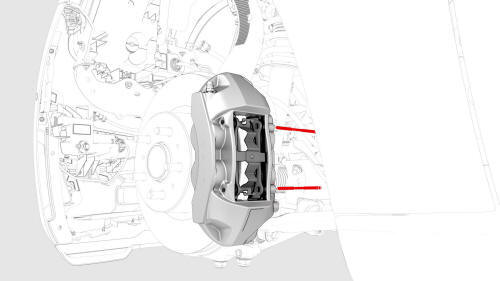
- Remove the brake pad retaining pins that attach the anti-rattle spring from the LH front brake caliper.
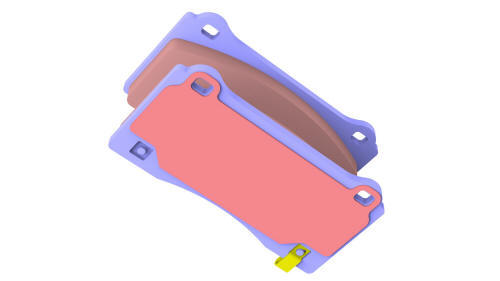
- Remove the front brake pads from the LH front brake caliper.
- Use the caliper spreader kit or similar tool to gently push the piston back into the caliper.
- Clean the caliper pins and anti-rattle spring with soapy water and a hand brush.
- Repeat step
1 through step
5 for the RH front brake caliper
Install
- Apply an even layer of Silaramic lubricant to the brake caliper slides.
- Install the LH front brake pads to the LH front brake caliper.
- Install the brake pad retaining pins that attach the anti-rattle spring.
- Install the LH front wheel. SeeWheel (Remove and Install).
- Repeat step 1 through step 4 for the RH front brake caliper.
- Pump the brake pedal 3-5 times to seat the pads against the brake rotor until the brake pedal feels firm.
- Perform vehicle road test using a series of ABS-active stops and make sure proper brake pedal feel and performance is achieved.
READ NEXT:
 Brake Pad Kit - Front (Sport Brakes) (Remove and Replace)
Brake Pad Kit - Front (Sport Brakes)- Remove
Remove
Raise and support the vehicle. See Raise Vehicle - 2
Post Lift.
Remove the LH front whee
SEE MORE:
Brake Lines - Rear - RH to Sill (Remove and Replace)
SPECIAL TOOLS
Flare nut crowfoot set (1079041-00-A)
Remove
Caution:
Brake fluid dissolves paint. Have clean towels and plenty o
Sensor - TPMS (Remove and Replace)
Remove
Remove the wheel. See Wheel (Remove and Install).
Place the wheel on the tire changer, with the
outside of the wheel facing up.
Insert the center cl
© 2019-2026 Copyright www.tmodel3.com
