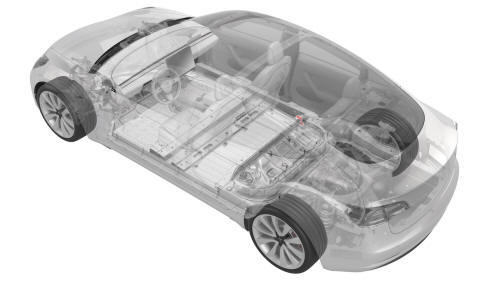
Tesla Model 3: Busbar - DCDC Ground (Remove and Replace)
Tesla Model 3 2017-2026 Service Manual / Electrical / Harnesses / Busbar - DCDC Ground (Remove and Replace)
Remove
- Disconnect 12V power. See 12V Power (Disconnect and Connect).
.png)
- Remove and discard the nut that attaches the DCDC ground busbar to the HV battery at the DCDC passthrough.
.png)
- Remove the bolt that attaches the DCDC ground busbar to the body, and then remove the DCDC ground busbar from the vehicle.
Install
- Use an IPA wipe to clean the mating surfaces of the DCDC ground busbar and the DCDC passthrough.
- Install the DCDC ground busbar onto the ground terminal of the DCDC passthrough, and then hand-tighten a new nut that attaches the DCDC ground busbar to the DCDC passthrough.
- Install the bolt that attaches the DCDC ground busbar to the body, and
mark the bolt with a paint pen after it is torqued.
.png) Torque 20 Nm
Torque 20 Nm - Tighten the nut that attaches the DCDC ground busbar to the DCDC
passthrough, and then mark the nut with a paint pen after it is torqued.
 Torque 15 Nm
 - Connect 12V power. See 12V Power (Disconnect and Connect).
READ NEXT:
 Harness - 12V Battery Ground (Remove and Replace)
Harness - 12V Battery Ground-Remove
Remove
Remove the cowl screen panel. See
Panel - Cowl Screen (Remove and Replace).
Remove and discard the nut that attaches the front harness ground wire
SEE MORE:
A/C Refrigerant Leak Detection
SPECIAL TOOLS
Tool, Flashlight, UV (1053591-00-A)
UV Leak Detection Kit (1080563-01-A)
Procedure
Remove the rear underhood apron. See
Underhood Apron - Rear (Remove and Replace).
Remove the cabin intake duct. See
Duct - Cabin Intake (Remove and Replace).
Remove the hood latch cover. See
Cov
Evaporator (Remove and Replace)
Evaporator- Remove
Remove
Remove the HVAC assembly. See
HVAC Assembly (Remove and Replace).
Put the HVAC assembly on a working surface. Make sure that the HVAC
assembly is on its side with the HVAC inlet facing up.
Remove the TXV O-ring seals (x2) from the HVAC assembly.
Release the cl
© 2019-2026 Copyright www.tmodel3.com
