Tesla Model 3: Carrier - Front End (Remove and Replace)
Carrier - Front End (Remove and Replace)-
Remove
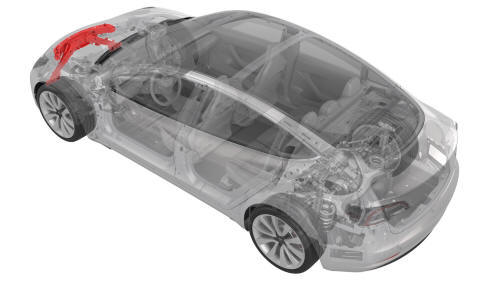
Remove
- Raise and support the vehicle.
- Remove the rear underhood apron.
- Remove the cabin intake duct.
- Remove the hood latch cover.
- Remove the underhood storage unit.
- Remove the front fascia assembly.
- Remove the front bumper.
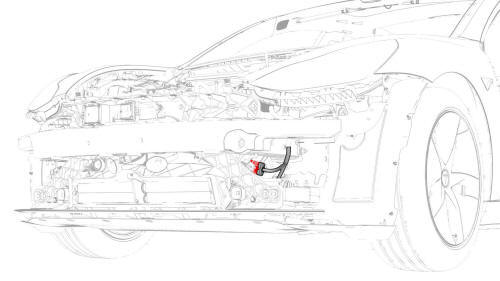
- Disconnect the electrical harness from the LH front end carrier
electrical connector.
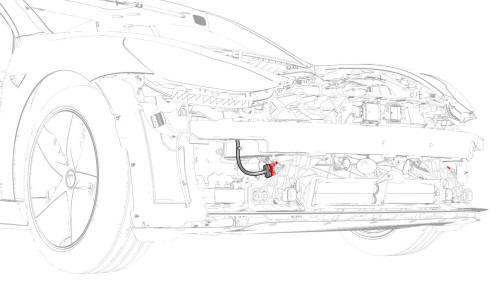
- Disconnect the electrical harness from the RH front end carrier
electrical connector.
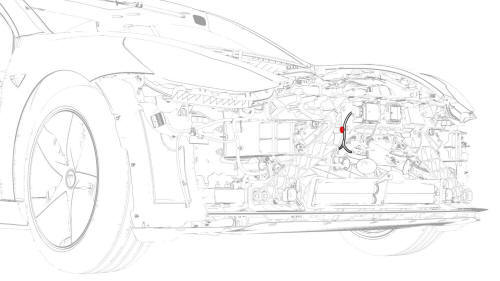
- Release the clip that attaches the front radar sensor electrical harness
to the front end carrier.
- Remove the front radar sensor.
- Remove the HomeLink transmitter module.
- Remove the front Bluetooth passive entry antenna.
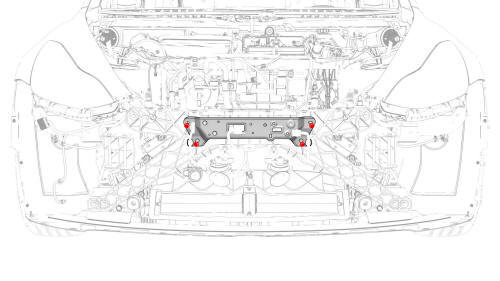
- Remove the bolts that attach the radar bracket to the front end carrier,
and remove the bracket from the vehicle.
- Remove the high tone horn.
- Remove the low tone horn.
- Disconnect the electrical connector from the AGS actuator.
- Remove the ankle catcher.
- Remove the front end carrier from the vehicle and place it on a padded
surface.
- Remove the primary hood latch actuator.
- Remove the secondary hood latch actuator.
- Remove the hood latch.
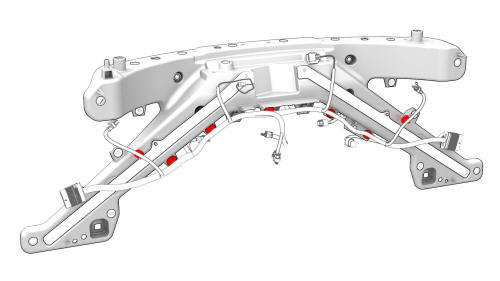
- Release the clips that attach the electrical harness to the front end
carrier, and then remove the electrical harness from the front end carrier.
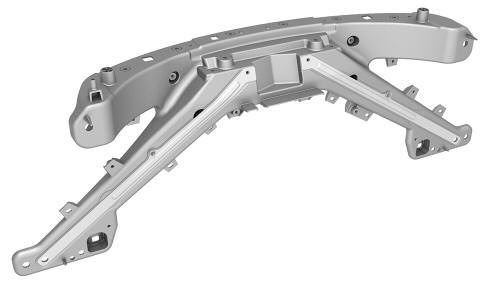
Carrier - Front End (Remove and Replace)-Install

- Install the clips that attach the front end module electrical harness to
the front end carrier.
- Install the hood latch.
- Install the secondary hood latch actuator.
- With an assistant, position the front end carrier onto the vehicle for
installation.
Note: Hand-tighten the upper bolts of the front end carrier to
avoid it from falling when installing the ankle catcher.
- Install the ankle catcher.
- Connect the AGS actuator electrical connector.
- Install the high tone horn.
- Install the low tone horn.

- Install the bolts that attach the radar bracket to the front end carrier.
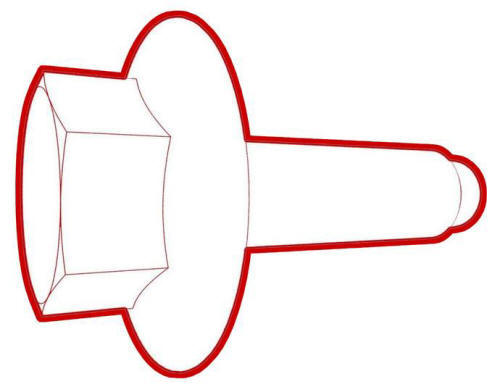 Torque
8 Nm
- Install the front Bluetooth passive entry antenna.
- Install the HomeLink transmitter module.
- Install the front radar sensor.

- Connect the electrical harness onto the RH front end carrier electrical
connector.

- Connect the electrical harness onto the LH front end carrier electrical
connector.
- Install the front bumper.
- Install the front fascia assembly.
- Install the underhood storage unit.
- Install the hood latch cover.
- Install the cabin intake duct.
- Install the rear underhood apron.
- Remove the vehicle from the lift.
READ NEXT:
Note:
This procedure was formulated using a release candidate or production
model. Follow safety requirements and use extreme caution when working on or
near high-voltage systems and components.
SEE MORE:
Warning:
Only technicians who have been trained in High Voltage Awareness are
permitted to perform this procedure. Proper personal protective equipment (PPE)
and insulating HV gloves with a minimum rating of class 0 (1000V) must be worn
at all times a high voltage cable, busbar, or fitting is ha
Remove
Remove the RH footwell cover. See Cover - Footwell - Passenger (LHD) (Remove
and Replace).
Disconnect the electrical connector for the emergency speaker.
Release the screws that attach the emergency speaker to the RH footwell
cover, and then remove the emergency speaker.


 Torque
8 Nm


