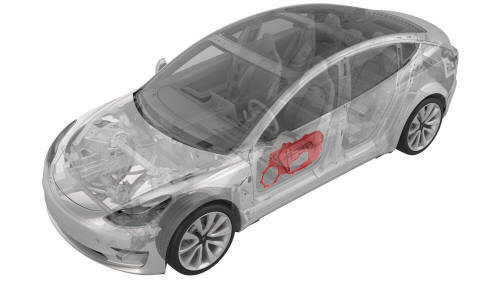
Tesla Model 3: Closeout Panel - Door - Front - LH (Remove and Install)
SPECIAL TOOLS
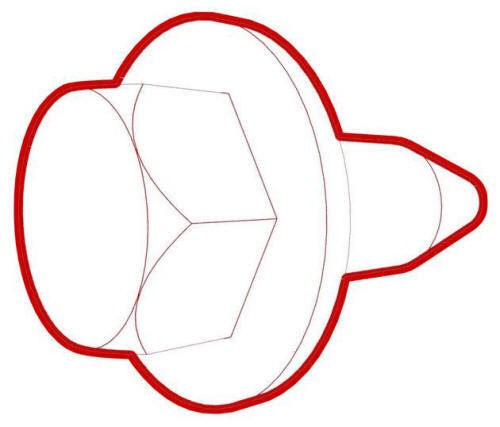
Rivnut Install Kit, for NA (Optional special tool if the thread for the closeout panel becomes stripped) (1054712-00-A )
Rivnut Install Kit, for EMEA (Optional special tool if the thread for the closeout panel becomes stripped) (1054712-01-A )
Service Rivnut (Optional special tool if the thread for the closeout panel becomes stripped) (1004296-00-A)
Service bolt (Optional special tool if the thread for the closeout panel becomes stripped) (1015888-00-C)
Remove
- Remove the front LH front door speaker. See Speaker - Front Door - LH (Remove and Replace).
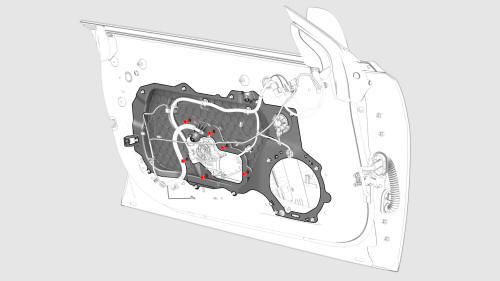
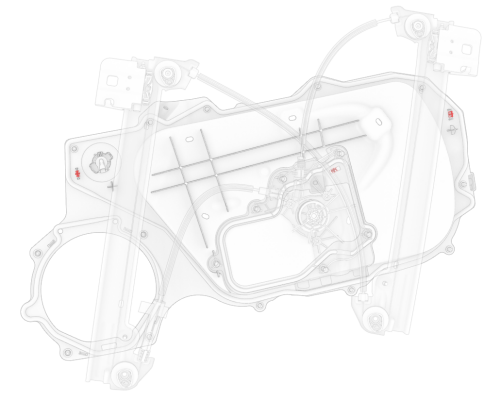
- Remove the bolts that attach the window motor to the closeout panel.
 Torque 3 Nm
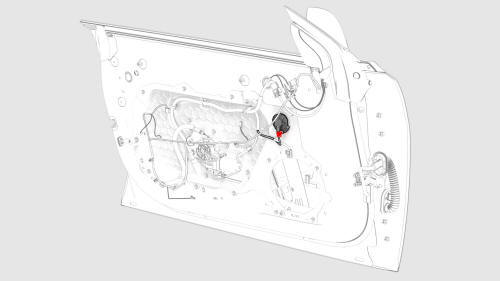
- Disconnect the electrical wiring harness from the LH door pressure sensor connector.

- Disconnect the electrical wiring harness from the LH door mirror connectors.
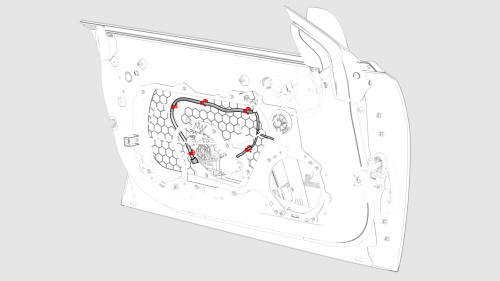
- Release the clips that attach the electrical wiring harness to the closeout panel.
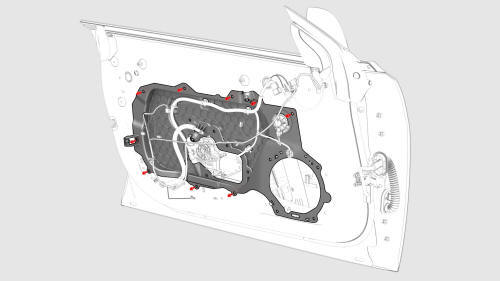
- Remove the bolts that attach the closeout panel to the door. Torque 4 Nm
- Release the clips (3x) that attach the closeout panel to the door and window regulator, and then remove the closeout panel from the vehicle.
Note: Pass the electrical wiring harness through the hole in the
closeout panel, as the closeout panel is being removed.
Install
Installation procedure is the reverse of removal, except for the following:
Caution:
Repeated installations might strip the door mounting holes for the closeout panel. On installation, hand-start the screws so as to reduce the risk of stripping the threads. Install rivnuts where any of the mounting holes for the closeout panel are stripped. Use a 7.5mm drill to prepare the hole for rivnut installation.
READ NEXT:
 Seal - Body - Side - Front - Primary - LH (Remove and Replace)
Remove
Remove the LH B-pillar applique. See
Applique - B-Pillar - LH (Remove and Replace).
Release the clips (x3) that attach the front LH primary body seal to the
mid B-pillar, the uppe
Seal - Body - Side - Rear - Primary - LH (Remove and Replace)
Remove
Remove the LH B-pillar applique. See
Applique - B-Pillar - LH (Remove and Replace).
Release the clips (x3) that attach the rear LH primary body seal to the
mid B-pillar, the upper
Seal - Glass Run - Front Door - LH (Remove and Replace)
Seal - Glass Run - Front Door - LH (Remove and Replace)- Remove
Remove
Remove the LH front door trim panel. See
Panel - Door Trim - Front - LH (Remove and Install).
Remove the LH front door inn
SEE MORE:
Airbag - Curtain - LH (Remove and Replace)
Airbag - Curtain - LH - Remove
DRAFT
Warning:
This procedure was derived from pre-production computer models, and
might not reflect the real-world situation. Warnings and cautions might be
missing. Follow safety requirements and use extreme caution when working on or
near high voltage systems
Drive Unit - Front (Remove
and Install)
Drive Unit - Front
- Remove
SPECIAL TOOLS
Tool, Axle Extraction, Model 3 (1133386-00-A)
Lifting Sling, Drive Unit, Model 3 (NA, APAC)
