Tesla Model 3: Condenser (Remove and Replace)
Tesla Model 3 2017-2026 Service Manual / Thermal Management / Refrigerant System / Condenser (Remove and Replace)
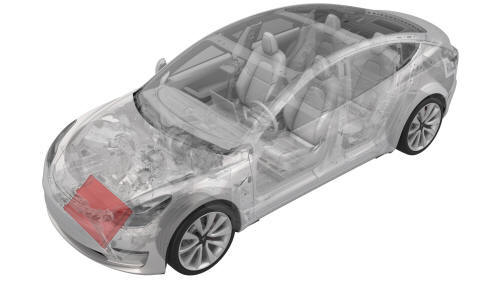
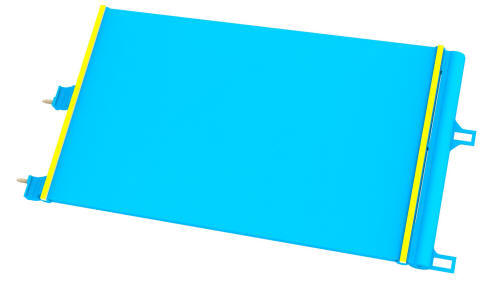
Remove
- Remove the cooling fan module. See Module - Cooling Fan (Remove and Install).
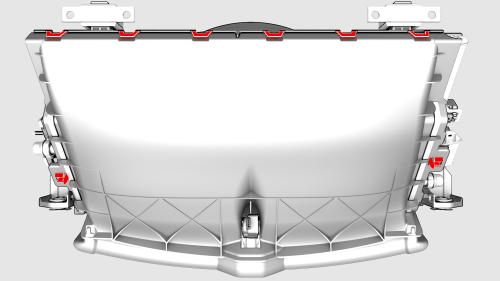
- Release the clips (x14) that attach the active grille shutter to the cooling fan module, and then remove the active grille shutter from the module.
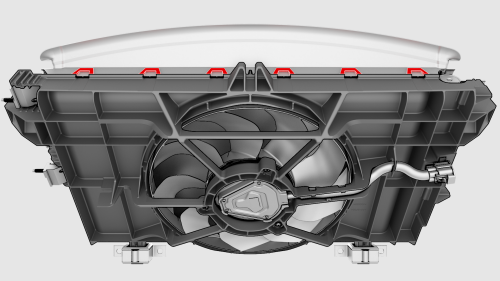
- Remove the screws (x2) that attach the radiator to the cooling fan
module.
.png) Torque 10 Nm
Torque 10 Nm
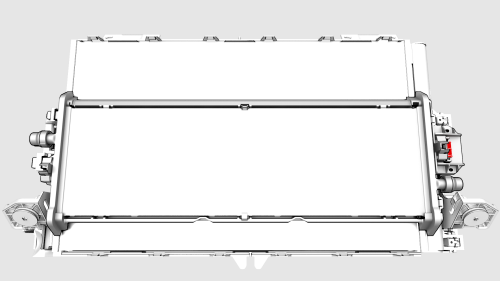
- Release the clip that attaches the radiator to the cooling fan module, and then remove the radiator from the cooling fan module.
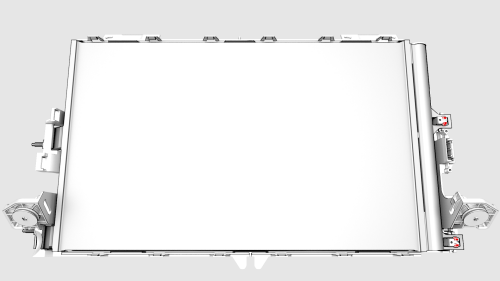
- Release the clips (x2) that attach the condenser to the cooling fan
module, and then remove the condenser from the cooling fan module.
Install
Installation procedure is the reverse of removal.
READ NEXT:
 Evaporator (Clean)
Remove
Remove the cabin filters. See
Remove.
Attach the hose to the evaporator cleaner bottle.
Insert the hose in the HVAC filter housing, and then spray the entire
bottle on the evaporat
Evaporator (Remove and Replace)
Evaporator- Remove
Remove
Remove the HVAC assembly. See
HVAC Assembly (Remove and Replace).
Put the HVAC assembly on a working surface. Make sure that the HVAC
assembly is on its side with the
SEE MORE:
Trim - C-Pillar - Rear - LH (Remove and Replace)
Trim - C-Pillar - Rear - LH (Remove and Replace) - Remove
Remove
Remove the 2nd row lower seat cushion. See
Seat Cushion - Lower - 2nd Row (Remove and Replace).
Remove the LH 2nd row seat side bolster. See
Bolster - Side - Seat - 2nd Row - LH (Remove and Replace).
Remove the LH side rail tr
Grille - Fascia - Front (Remove and Replace)
DRAFT
Warning:
This procedure was derived from pre-production computer models, and
might not reflect the real-world situation. Warnings and cautions might be
missing. Follow safety requirements and use extreme caution when working on or
near high voltage systems and components.
Do not r
© 2019-2026 Copyright www.tmodel3.com
