Tesla Model 3: Connectivity Board - Car Computer (Remove and Replace)
Tesla Model 3 2017-2026 Service Manual / Infotainment / Car Computer / Connectivity Board - Car Computer (Remove and Replace)
Note: This procedure was formulated using a release candidate or production model. Follow safety requirements and use extreme caution when working on or near high-voltage systems and components.
Remove
- Remove the front passenger knee airbag. See Airbag - Knee - Front Passenger (Remove and Replace).
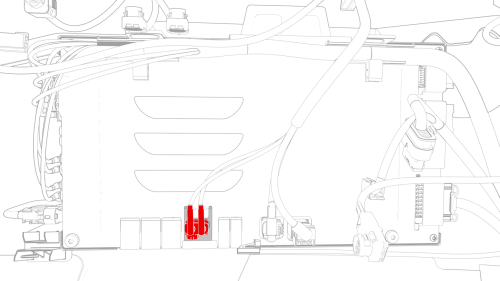
- Disconnect the electrical connector from the connectivity board.
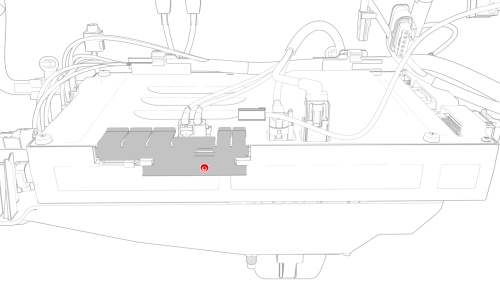
- Remove the bolt that attaches the connectivity board to the car computer.
- Carefully slide the connectivity board downwards, and then remove the board from the car computer.
Caution: Do not pull on the double Fakra electrical connector. Push on
the outer tabs to release the board from the car computer.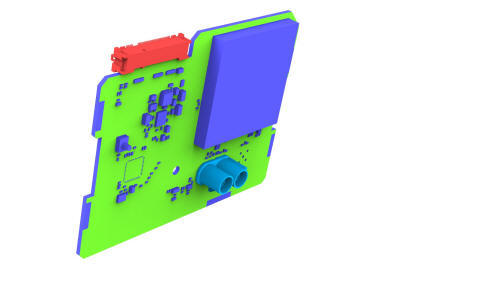
Install
- Locate the connectivity board into the car computer aperture.
Note: Use the top cover and car computer frame for initial guidance.
- Carefully press the front face of the connectivity board into the car computer.
- Confirm that the connectivity board is fully inserted; slide the connectivity board about 80% inward, and then slightly press the double Fakra connector until the connectivity board is fully seated
Note: The LTE cassette must be sub-flush of the car computer frame before continuing to the next step
- Install the bolt that atttches the connectivity board to the car
computer.
.png) Torque 1 Nm
Torque 1 Nm - Connect the electrical connector to the connectivity board.
- Install the front passenger knee airbag. See Airbag - Knee - Front Passenger (Remove and Replace).
- Use Toolbox to update the vehicle firmware.
- Perform a functional check of the LTE service.
READ NEXT:
 SD Card - Car Computer (Remove and Replace)
Remove
Remove the 2nd row lower seat cushion. See Seat Cushion - Lower - 2nd
Row (Remove and Replace).
Remove the rear underhood apron. See Underhood Apron - Rear (Remove and
Replace).
Remove
SIM Card - Car Computer (Remove and Replace)
DRAFT
Warning:
This procedure was derived from pre-production computer models, and
might not reflect the real-world situation. Warnings and cautions might be
missing. Follow safety requirements a
SEE MORE:
Halfshaft - Rear Drive Unit - LH (Remove and
Replace)
Halfshaft - Rear Drive Unit - LH - Remove
SPECIAL TOOLS
Kit, EPB Release, Handheld (1134520-00-A)
XP-10 Power Supply, XP-10 (1129348-00-A)
Penthouse Coolant (Drain and Refill)
Penthouse Coolant- Drain
SPECIAL TOOLS
Drive Unit Pressure Test Fixture (1053600-00-C)
Kit, Coolant Leak Test Adapters, Model 3 (1132185-00-B)
Kit, Coolant Drain & Fill Adapters, M3 (1133843-00-A)
Kit, Svc Plug, Cooling Hose, Model 3 (1135762-00-A)
Kit, Battery Coolant Drain and Fill (GSN-TL-000
© 2019-2026 Copyright www.tmodel3.com
