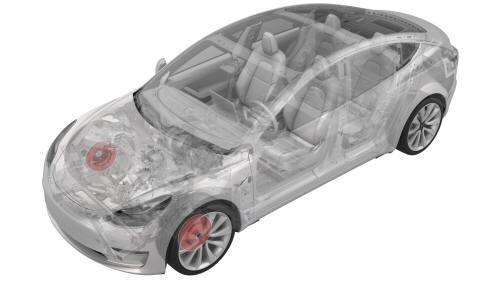
Tesla Model 3: Brake Rotor - Front - LH (Remove and Replace)
Tesla Model 3 2017-2026 Service Manual / Brakes / Brake Discs and Calipers / Brake Rotor - Front - LH (Remove and Replace)
SPECIAL TOOLS
Tool, Caliper Spreader, Model 3 (1134786-00-A)
Remove
- Raise the vehicle and remove the front LH wheel. See Wheel (Remove and Install).
.png)
- Remove the bolt that attaches the LH front brake hose bracket to the LH front knuckle.
.jpg)
- Remove the bolts that attach the LH front caliper to the LH front
knuckle, remove the caliper from the knuckle, and allow the caliper to hang
from an S-hook.
.jpg) Torque 94 Nm
Torque 94 Nm - Use the caliper spreader tool to push the caliper pistons to the fully open position.
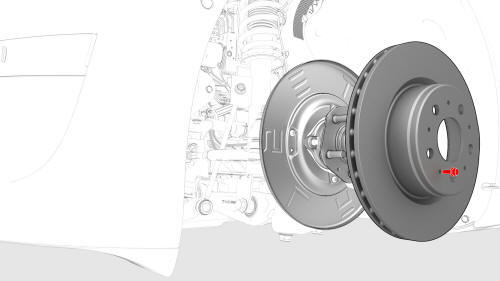
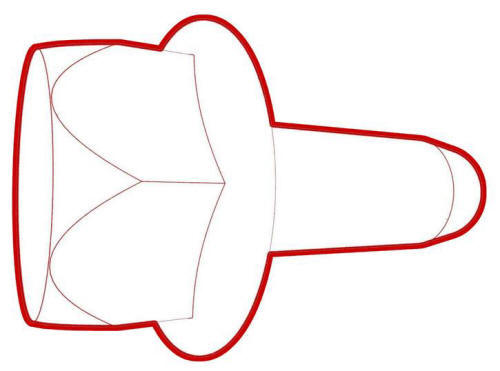
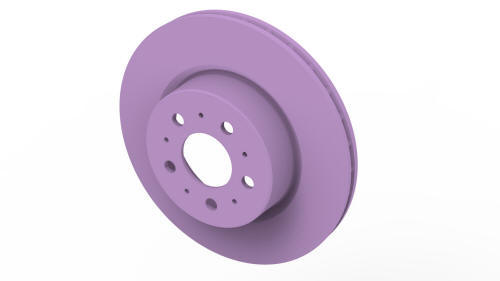
- Remove the bolt that attaches the brake rotor to the hub, and then
remove the brake rotor from the hub.
 Torque 5 Nm
Install
Installation procedure is the reverse of removal, except for the following:
- Press the brake pedal at least 5 times to seat the pads against the rotor.
Warning: Always check that the brake pads are seated correctly before driving the vehicle
READ NEXT:
 Brake Rotor - Rear - LH (Remove and Replace)
SPECIAL TOOLS
Tool, Caliper Spreader, Model 3 (1134786-00-A)
Remove
Raise the vehicle and remove the LH rear wheel. See
Wheel (Remove and Install).
Use Toolbox to place the vehicle into EPB Serv
Shield - Dust - Brake - Front - LH (Remove and Replace)
Remove
Note: This procedure is applicable to both Model 3 base and sport
brake dust shields.
Remove the LH front brake rotor. See
Brake Rotor - Front - LH (Remove and Replace).
Remove the b
Shield - Dust - Brake - Rear - LH (Remove and Replace)
Shield - Dust - Brake - Rear - LH - Remove
SPECIAL TOOLS
Card, Magnetic Field Viewer (1062500-00-A)
SEE MORE:
Getting Maximum Range
Driving Tips to Maximize Range
You can maximize your driving range using
the same driving habits that you use to
conserve fuel in a gasoline-powered vehicle. In
addition to driving habits, energy
consumption depends on environmental
conditions (such as exceptionally cold or hot
weather and dr
Hose - Chiller to Car Computer and HV Battery Supply Manifold (Dual Motor) (Remove
and Replace)
SPECIAL TOOLS
Plug,Car Computer Fluid Port (1119171-00-A)
Kit, Svc Plug, Cooling Hose, Model 3 (1135762-00-A)
Remove
Remove the front subframe assembly. See Subframe Assembly - Front (Dual
Motor) (Remove and Install).
Disconnect the electrical harness from the chiller and EXV assembly hos
© 2019-2026 Copyright www.tmodel3.com
