Tesla Model 3: Shield - Dust - Brake - Front - LH (Remove and Replace)
Tesla Model 3 2017-2026 Service Manual / Brakes / Brake Discs and Calipers / Shield - Dust - Brake - Front - LH (Remove and Replace)
Remove
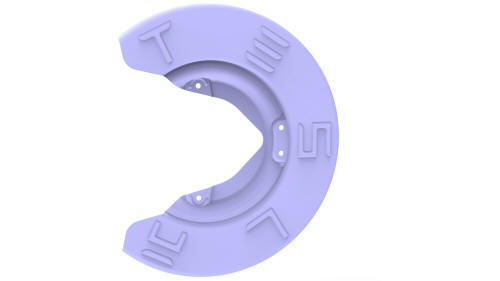
Note: This procedure is applicable to both Model 3 base and sport brake dust shields.
- Remove the LH front brake rotor. See Brake Rotor - Front - LH (Remove and Replace).
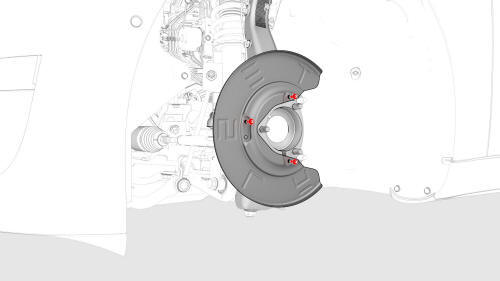
- Remove the bolts that attach the LH front brake dust shield to the
knuckle, and then remove the dust shield from the vehicle.
 Torque 8 Nm
Install
Installation procedure is the reverse of removal.
READ NEXT:
 Shield - Dust - Brake - Rear - LH (Remove and Replace)
Shield - Dust - Brake - Rear - LH - Remove
SPECIAL TOOLS
Card, Magnetic Field Viewer (1062500-00-A)
SEE MORE:
Knuckle - Suspension - Front - LH (RWD) (Remove and Replace)
Remove
Remove the LH front brake dust shield. See
Shield - Dust - Brake - Front - LH (Remove and Replace).
Remove the bolts that attach the LH front ABS wheel speed sensor
electrical harness to the LH front suspension knuckle.
Torque 5 Nm
Release the clip that attaches the LH f
Sensor - Relative Humidity and Temperature (Remove and Replace)
Remove
Remove the lower quad camera cover. See Quad Camera Cover - Lower
(Remove and Replace).
Remove the rear view mirror. See Mirror - Rear View (Remove and
Replace).
Remove the forward facing camera. See Camera - Forward Facing (Remove
and Replace).
Disconnect the electrical co
© 2019-2026 Copyright www.tmodel3.com
