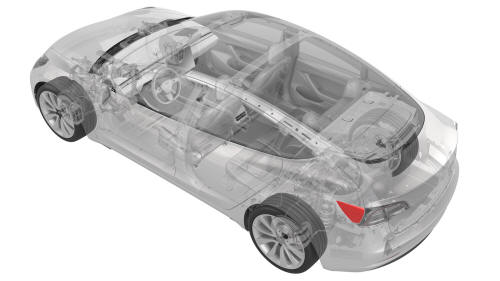
Tesla Model 3: Door and Hinge Cover - Charge Port (Remove and Replace)
Remove
- Open the charge port door.
- Remove the 2nd row lower seat cushion. See Seat Cushion - Lower - 2nd Row (Remove and Replace).
- Remove the rear underhood apron. See Underhood Apron - Rear (Remove and Replace).
- Disconnect 12V power. See 12V Power (Disconnect and Connect).
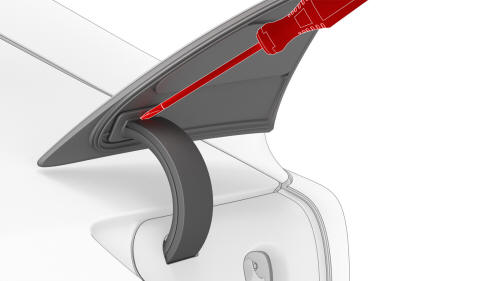
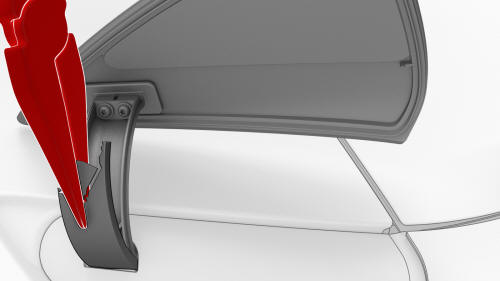
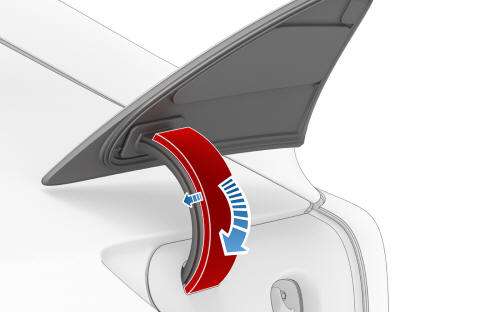
- Insert a small flat head screwdriver on the gap between the hinge cover and the charge port door, and then push the hinge cover slightly downwards, as shown.
Note: The hinge cover will be destroyed during the removal of the charge port door. A new hinge cover will be supplied with the new charge port door.
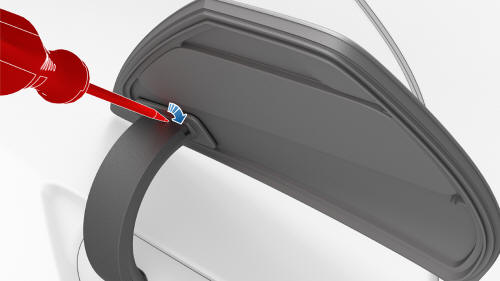
- Remove the hinge cover:
- Insert a miniature 6 in pick with a 90 degree
tip under the hinge cover, and then break off the
upper section of the hinge cover, as shown.

- Use a set of needle nose pliers to completely remove the hinge cover.
Caution:
Do not let any hinge cover fragments fall
into the hinge opening.
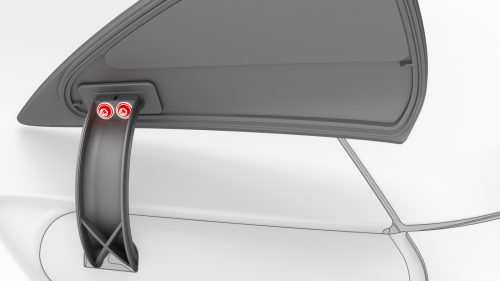
- Remove the screws (x2) that attach the charge port
door to the hinge, and then remove the charge port door
from the vehicle.
Install
- Position the charge port door onto the hinge, and then install the screws that attach the charge port door to the hinge. Torque 1 Nm
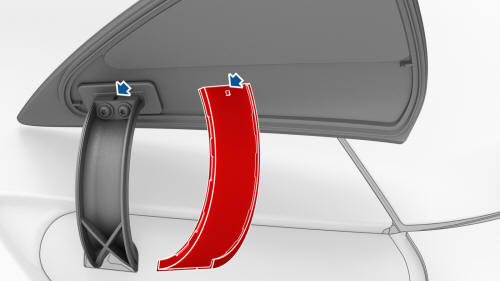
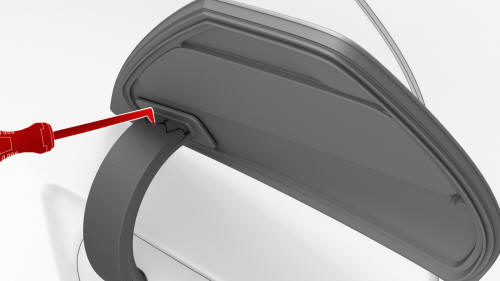
- Align the hinge cover detent with the hinge cutout, as shown, and then snap the hinge cover closed.
Note: Check that the hinge cover is flush with the hinge
- Reconnect 12V power. See 12V Power (Disconnect and Connect).
- Install the rear underhood apron. See Underhood Apron - Rear (Remove and Replace).
- Close the hood.
- Install the 2nd row lower seat cushion. See Seat Cushion - Lower - 2nd Row (Remove and Replace).
- Close the charge port door.
READ NEXT:
 Door Assembly - Charge Port (NA) (Remove and Replace)
Door Assembly - Charge Port (NA) - Remove
Remove
Remove the 2nd row lower seat cushion. See Seat
Cushion - Lower - 2nd Row (R
SEE MORE:
Damper - Glove Box (Remove and Replace)
Remove
Remove the glove box. See
Glove Box (LHD) (Remove and Replace).
Remove the pin that attach the glove box damper to the glove box using
needle nose pliers.
Fully open the glove box.
Note: When the glove box is closed, the glove box damper will not
clear for removal.
Turn
Light - Turn Signal / Fog - Front - LH (Remove and Replace)
Remove
Remove the LH front wheel. See
Wheel (Remove and Install).
Remove the LH front wheel arch liner. See
Wheel Arch Liner - Front - LH (Remove and Replace).
Disconnect the electrical connector from the LH front turn signal/fog
light.
Release the clips that attach the fascia elect
