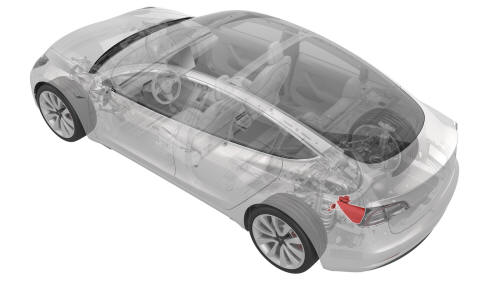
Tesla Model 3: Door Assembly - Charge Port (NA) (Remove and Replace)
Remove
Install
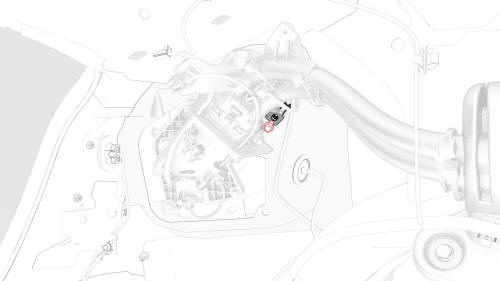
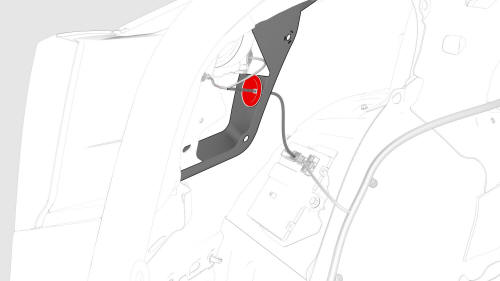
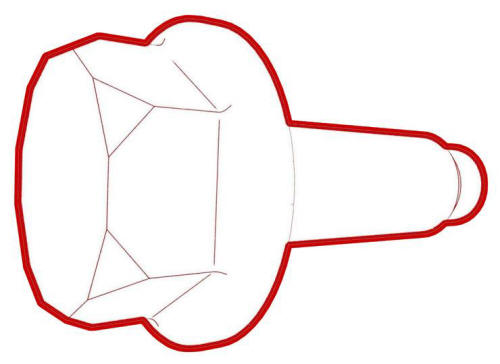
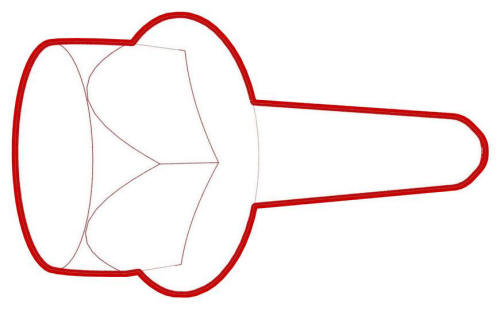
Note: Make sure that the locking tab is secured.
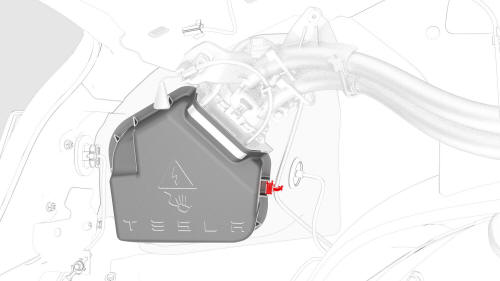
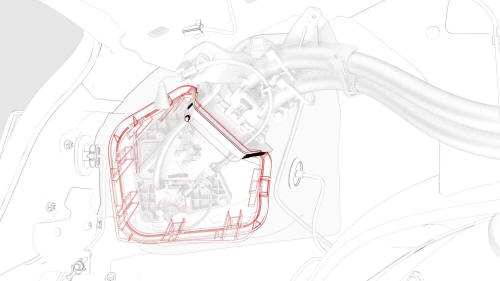
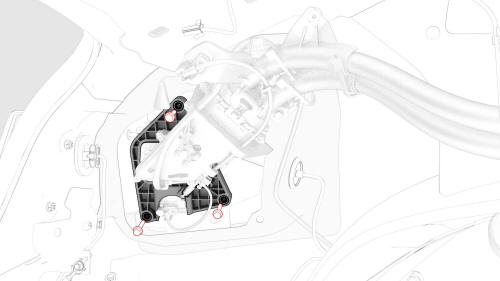
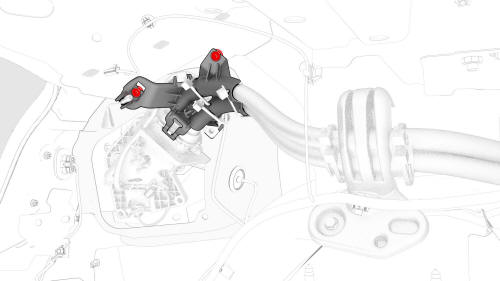
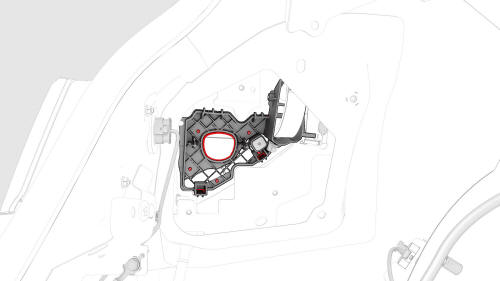
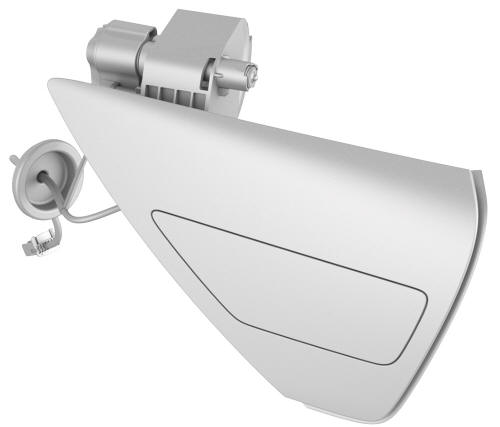
Door Assembly - Charge Port (NA) - Remove
.png)
.jpg)
.jpg)
.jpg)
.jpg)
.jpg)
Door Assembly - Charge Port (NA) - Install
 Torque 6 Nm
 Torque 6 Nm
 Torque 6 Nm
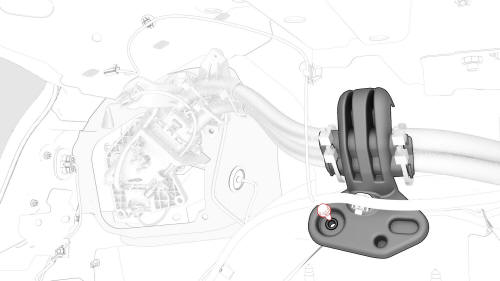
.jpg) Torque 10 Nm
Torque 10 Nm
READ NEXT:
 Door Assembly - Charge Port (China) (Remove and Replace)
Door Assembly - Charge Port (China) - Remove
SPECIAL TOOLS
Insulation Multimeter, Fluke 1508 (1076921-01-B)
SEE MORE:
Wiper Blades and Washer Jets
Checking and Cleaning Wiper
Blades
Periodically clean the edge of the wiper
blades and check the rubber for cracks, splits,
and roughness. If damaged, replace the blade
immediately to prevent damage to the glass
and improve visibility.
Contaminants on the windshield, or on the
wiper blades
Sensor - Temperature - LH (Remove and Replace)
Remove
Remove the driver floormat.
Remove the center console LH side carpet. See
Carpet - Side Panel - Center Console - LH (Remove and Replace).
Disconnect the LH temperature sensor electrical connector.
Release the tabs that attach the LH temperature sensor inside the HVAC
assembl
