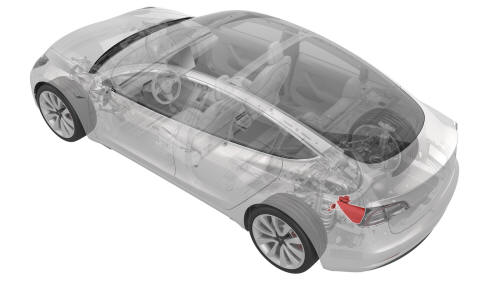
Tesla Model 3: Door Assembly - Charge Port (China) (Remove and Replace)
SPECIAL TOOLS
Insulation Multimeter, Fluke 1508 (1076921-01-B)
Test Probes, Slim, Fluke TP38 (1130480-00-A)
Warning:
Remove all jewelry (watches, bracelets, rings, necklaces,
earrings, ID tags, piercings, etc.) from your person, and
all objects (keys, coins, pens, pencils, tools, fasteners,
etc.) from your pockets before performing any procedure that
exposes you to high voltage.
Warning:
Proper personal protective equipment (PPE) is required to
perform this procedure: Warning:
Make sure that the HV gloves are not expired. HV gloves
can be used up to 12 months after the testing date printed
on the glove, but only 6 months after first use even if the
gloves are still within the 12-month period.
Remove
Install
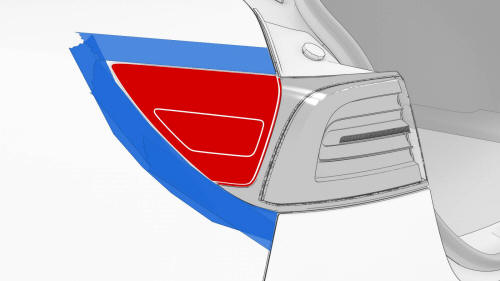
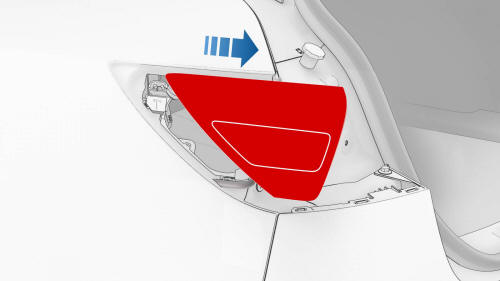
Door Assembly - Charge Port (China) - Remove
Warning:
A glove inflator is the only recommended way to test HV
gloves. Both HV gloves must pass testing before beginning
this procedure. If either glove does not pass the air check,
discard the pair.
.jpg)
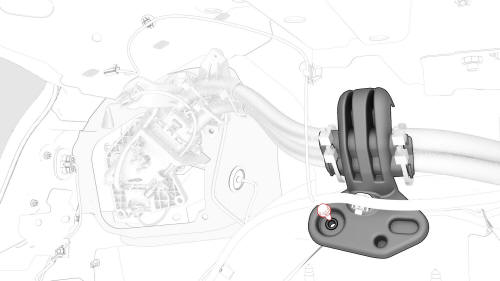
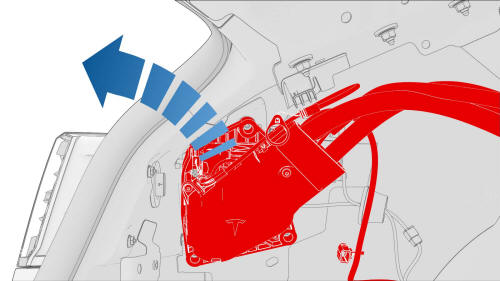
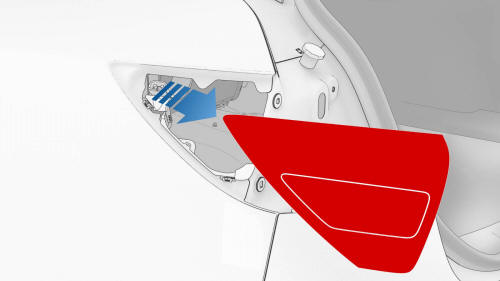
Note: Manipulation of the charge port door
assembly might be necessary to completely remove
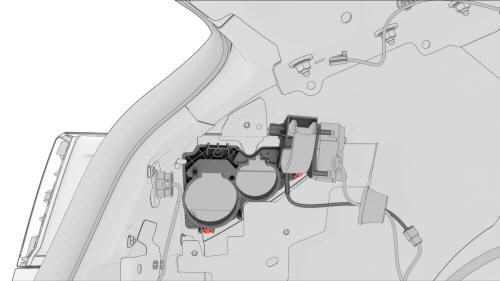
the assembly from the body. Door Assembly - Charge Port (China) - Install
 Torque 6 Nm
 Torque 6 Nm
.jpg)
READ NEXT:
 ECU - Charge Port (Remove and Replace)
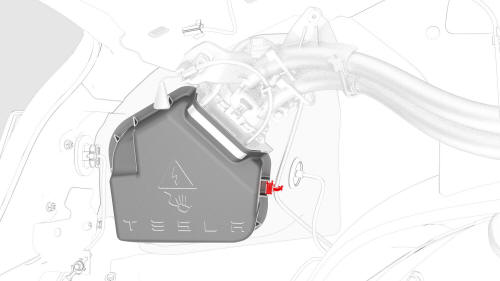
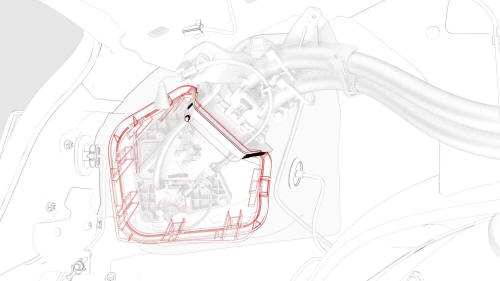
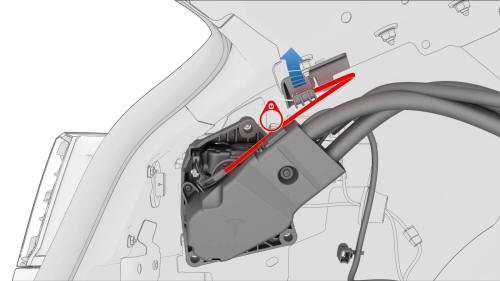
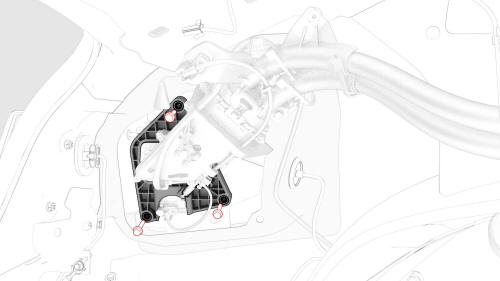
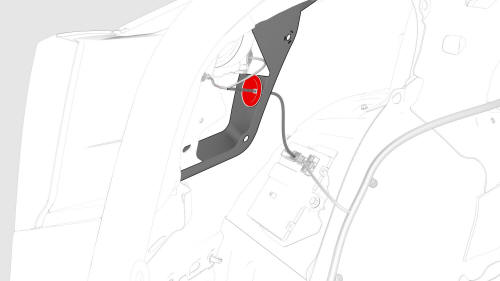
Remove
Open the trunk.
Remove the LH trunk side
trim. See
Trim - Side - Trunk - LH
(Remove and
SEE MORE:
Cover - Front - Seat Track - 1st Row Seat (Remove and Replace)
Remove
Move the seat fully rearward.
Release the clips at the rear of the seat track front cover that attach
the cover to the seat track, and then slide the cover forward off the track.
Install
Slide the seat track front cover rearward over the seat track, and then
fasten the clips
Battery - 12V (Remove and Replace)
Remove
Remove the 2nd row lower seat cushion. See
Seat Cushion - Lower - 2nd Row (Remove and Replace).
Remove the rear underhood apron. See
Underhood Apron - Rear (Remove and Replace).
Remove the cabin intake duct. See
Duct - Cabin Intake (Remove and Replace).
Disconnect 12V power. See
12
