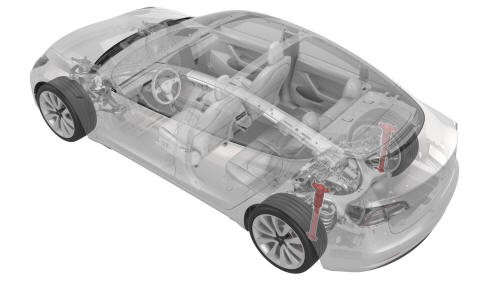
Tesla Model 3: Damper - Rear - LH (Coil Suspension) (Remove and Replace)
Remove
- Raise and support the vehicle on a 2 post lift. See Raise Vehicle - 2 Post Lift.
- Remove the LH rear wheel. See Wheel (Remove and Install).
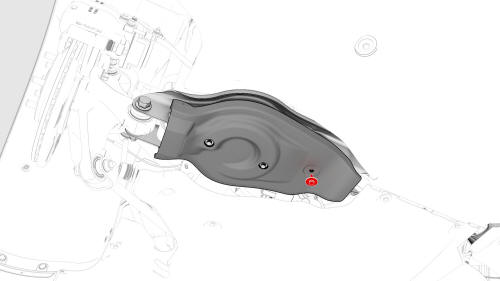
- Remove the bolt that attaches the LH lower control arm cover to the lower control arm, and then remove the cover.
.png)
- Install a spring compressor onto the LH rear suspension spring. Line up the hooks per image and verify that the spindle goes through the body opening when the suspension is compressed.
- Position the support stand underneath the LH lower rear control arm.
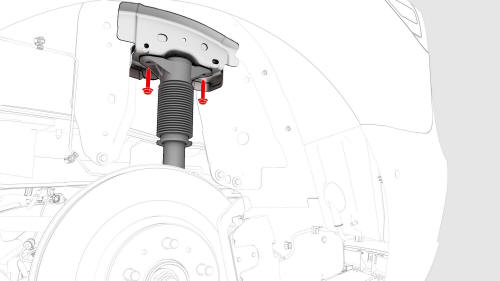
- Remove the bolts that attach the LH rear damper to the body at the top mount.
.jpg)
- Remove the bolt and nut that attach the LH rear damper to the lower control arm.
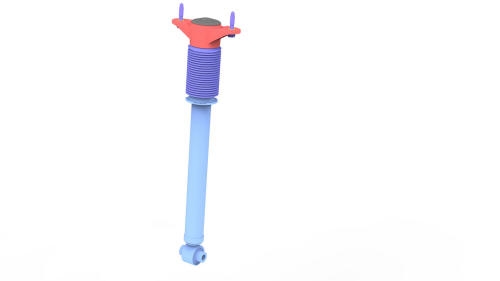
- Remove the LH rear damper from the vehicle.
Install
- Hand-tighten the bolt and nut that attach the LH rear damper to the lower control arm.
- Install the bolts that attach the LH rear damper to
the body at the top mount.
.jpg) Torque 41 Nm
Torque 41 Nm
.png)
- Position a support stand underneath the LH rear suspension, and then raise the support stand to simulate vehicle at ride height.
Note: Make sure that the support stand does not block access to the spring compressor or suspension bolts.
Note: Use the rear ride height torque gauge to verify that the rear suspension is set to ride height specifications and adjust the support stand or spring compressor tool , if necessary.
.jpg)
- Measure the distance between the bottom of the quarter panel to the center of the rear axle to make sure that the rear suspension is set to ride height: The distance should measure 378 mm.
- Tighten the bolt and nut that attach the LH rear
damper to the lower control arm, and then mark the bolt
and nut with a paint pen.
.jpg) Torque 115 Nm
Torque 115 Nm
.jpg) Torque 115 Nm
Torque 115 Nm - Remove the support stand from underneath the LH rear suspension.
- Remove the spring compressor from the LH rear coil spring.
- Install the lower control arm cover to the lower control arm, and then install the bolt that attaches the cover to the arm. Torque 6 Nm
- Install the LH rear wheel. See Wheel (Remove and Install).
READ NEXT:
 Spring - Rear Suspension - LH (Remove and Replace)
Spring - Rear Suspension - LH - Remove
SPECIAL TOOLS
Tool, Spring Compressor, Hook, Model 3
(1135103-00-A)
SEE MORE:
Duct - HVAC Plenum - Inner (Remove and Replace)
Remove
Remove the rear underhood apron. See
Underhood Apron - Rear (Remove and Replace).
Remove the outer HVAC plenum. See
Duct - HVAC Plenum - Outer (Remove and Replace).
Remove the hood latch cover. See
Cover - Hood Latch (Remove and Replace).
Remove the underhood storage unit. See
Unde
Sensor - Wheel Speed - ABS - Rear - LH (Remove and Replace)
Remove
Remove the rear LH wheel. See Wheel (Remove and
Install).
