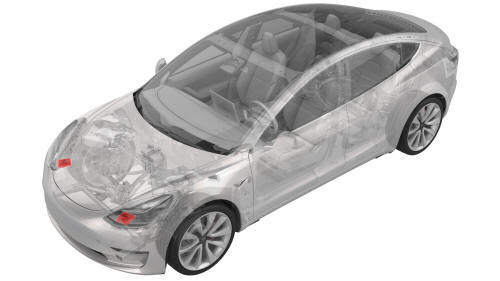
Tesla Model 3: ECU - Headlight - Remove
Tesla Model 3 2017-2024 Service Manual / Electrical / Exterior Lights / ECU - Headlight (Remove and Replace) / ECU - Headlight - Remove
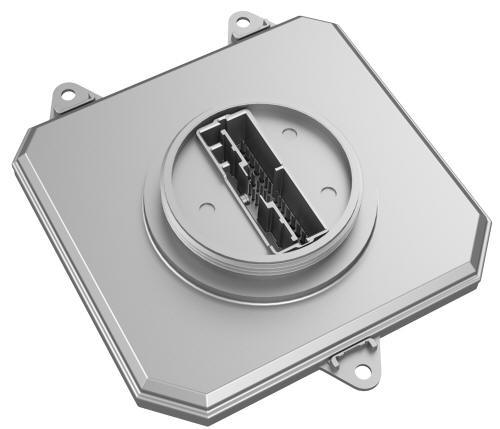
Remove
- Raise and support the vehicle. See Raise Vehicle - 2 Post Lift.
- Remove the rear underhood apron. See Underhood Apron - Rear (Remove and Replace).
- Remove the cabin intake duct. See Duct - Cabin Intake (Remove and Replace).
- Remove the hood latch cover. See Cover - Hood Latch (Remove and Replace).
- Remove the underhood storage unit. See Underhood Storage Unit (Remove and Replace).
- Remove the LH front wheel and the RH front wheel. See Wheel (Remove and Install).
- Remove the front fascia. See Fascia - Front (Remove and Install).
- Remove the LH headlight assembly. See Headlight - LH (Remove and Replace).
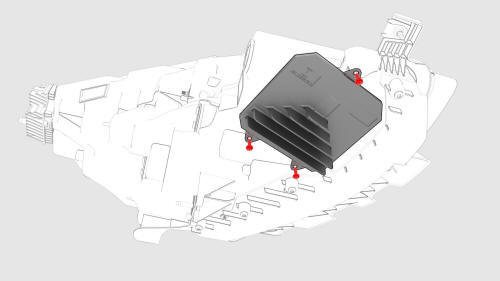
- Remove the screws that attach the headlight ECU to the LH headlight assembly.
- Release the electrical connector that connects the headlight ECU to the LH headlight assembly, and then remove the headlight ECU from the LH headlight assembly. Remove the seal from the headlight assembly, if necessary.
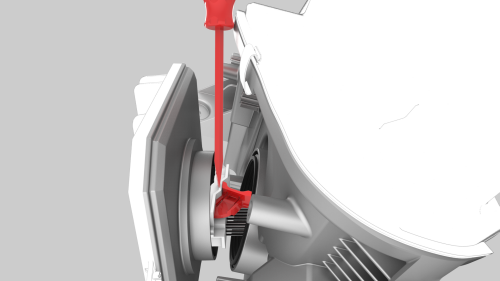
Note: Release the locking tab, and then pry the electrical
connector with a flat head screwdriver.
READ NEXT:
 ECU - Headlight - Install
Install
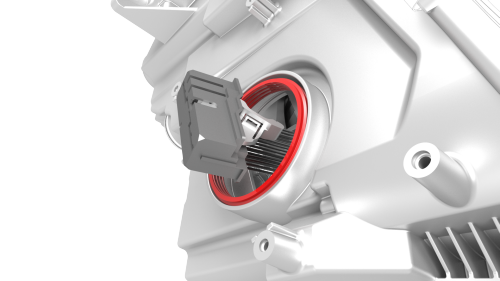
Connect the LH headlight ECU connector, and then position the ECU onto
the headlight.
Note: Position the seal to the headlight ECU, if necessary.
Note: Align the electrical connector to t
Headlights - Adjust - EMEA (Wall Method)
Adjust Headlights Using a Wall
Apply Tape to Wall
Apply tape to a wall 23.6 in (60 cm) from the ground.
Apply tape to the floor 31.1 ft (9.5 m) from the wall.
Note: EU vehicles require a 1 to
Headlights - Adjust - NA (Tool Method)
Adjust Headlights Using a Headlight Tester
Park the vehicle on a level surface.
Make sure that all 4 tires are inflated to specification.
Open the front trunk hood.
On the touchscreen, enter h
SEE MORE:
HV Battery (RWD) - Install
Install
Perform step 11 through step 26 of the penthouse air leak test on the HV
battery. See
Penthouse Air Leak Test.
Hand-tighten the adjustable elements (x4) on the penthouse cover
counter-clockwise so that they are fully engaged.
Caution:
Hand-tighten only.
Install a new HV batt
Parts, Accessories, and
Modifications
Use only genuine Tesla parts and accessories.
Tesla performs rigorous testing on parts to
ensure their suitability, safety, and reliability.
Purchase these parts from Tesla, where they
are professionally installed and where you can
receive expert advice about modifications to
Model 3.
Not
© 2019-2024 Copyright www.tmodel3.com
