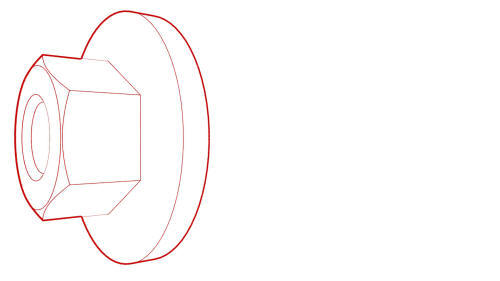
Tesla Model 3: Handle - Exterior Release - Door - Rear - LH (Adjust)
Tesla Model 3 2017-2026 Service Manual / Closures / Exterior Door Handles / Handle - Exterior Release - Door - Rear - LH (Adjust)
SPECIAL TOOLS
Gauge, Taper Step (1080552-00-A)
Procedure
- Remove the LH rear door exterior release handle. See Handle - Exterior Release - Door - Rear - LH (Remove and Replace).
- Exercise the handle mechanism, pulling the handle to the maximum position and releasing it, 5 times.
- If the handle binds or slows down during the exercise, replace the handle.
- Remove the shims from the handle, noting which shims are for which mounting hole.
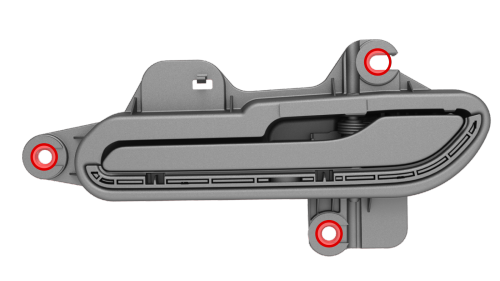
- Enlarge the handle mounting holes (x3) to 10mm in diameter.
Note: You might need to enlarge the shims as well.
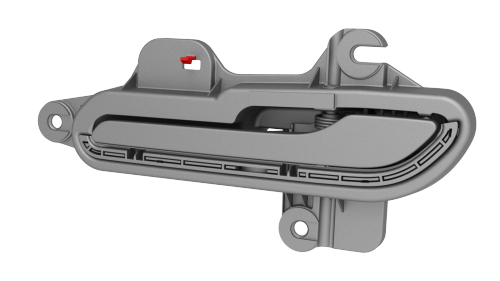
- Remove the tempset feature tab from the handle.
- Return the shims to the handle.
Note: Use grease to temporarily hold the shims in place on the handle.
- Install the handle onto the door, and then install and hand-tighten the nuts that attach the handle to the door.
- Use the taper step gauge to check the gap and flush of the handle to the door surface.
- Gap: 1mm +1.5/-0.0mm
- Flush: 0.5mm +2.5/-0.5mm
- Insert shims between the handle and door inside surface at the handle mounting studs to adjust the gap and flush of the handle, if necessary.
Note: Do not stack any more than two shims per mounting stud.
- When the gap and flush are within specification, tighten the nuts that
attach the handle to the door.
 Torque 7 Nm
- Install the plugs (x2) that cover access to the LH rear door exterior release handle nuts.
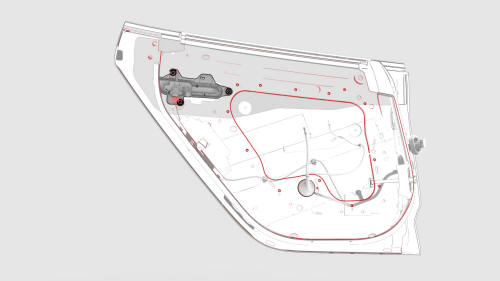
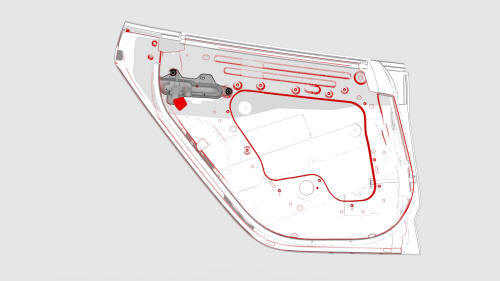
- Connect the electrical harness to the LH rear door exterior release handle connector.
- Install the rear LH window regulator. See Window Motor / Regulator Assembly - Rear - LH (Remove and Replace).
- Install the rear LH door glass. See Glass - Door - LH - Rear (Remove and Replace).
- Install the LH rear door trim panel. See Panel - Door Trim - Rear - LH (Remove and Install).
READ NEXT:
 Handle - Exterior Release - Door - Rear - LH (Remove and Replace)
Warning: The side impact airbag deployment depends on the front door
sensor's ability to detect a side impact from air pressure. Make sure that there
are no uncovered holes in the front door shel
Glass - Door - LH - Front (Adjust)
DRAFT
Warning:
This procedure was derived from pre-production computer models, and
might not reflect the real-world situation. Warnings and cautions might be
missing. Follow safety requirements
SEE MORE:
Controls
Overview
Touch Controls on the bottom
corner of the touchscreen to control features and
customize Model 3 to suit your preferences. The Controls window appears over the
map. Touch an option on the left side of the window to display the associated
controls and settings. By default, Quick Contro
Spoiler - Rear (Retrofit using Tape)
Procedure
Clean the installation surface of the spoiler with isopropyl alcohol
(IPA) wipes, and allow it to dry before continuing.
Note: Clean any moisture or contaminates that might be
present from rain or vehicle washing, otherwise this might result in poor
adhesion of the rear spoiler.
© 2019-2026 Copyright www.tmodel3.com
