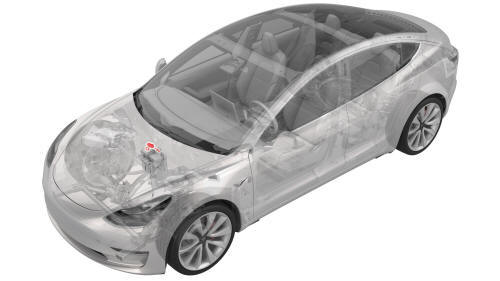
Tesla Model 3: Harness - 12V Battery Positive- Remove
Tesla Model 3 2017-2024 Service Manual / Electrical / Harnesses / Harness - 12V Battery Positive (Remove and Replace) / Harness - 12V Battery Positive- Remove
Remove
- Remove the cowl screen panel. See Panel - Cowl Screen (Remove and Replace).
- Remove the 12V auxiliary battery. See Battery - 12V (Remove and Replace).
- Remove the 12V battery bracket. See Bracket - 12V Battery (RWD) (Remove and Replace).
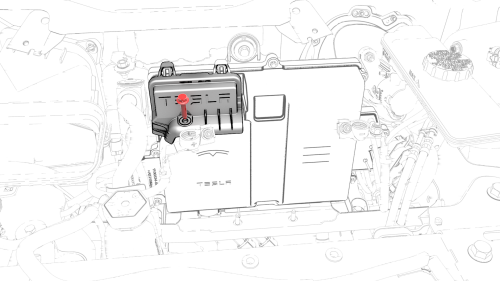
- Remove the bolt that attaches the thermal harness cover to the front body controller module, and then remove the cover from the module.
- Disconnect the thermal harness from the front body controller module connector.
- Release the clip that attaches the suction/liquid lines to the body near the TXV, and then move the electrical harness aside to gain access to the front body controller module.
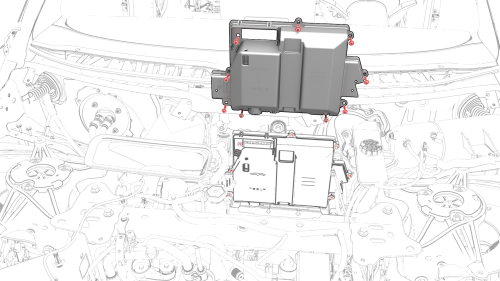
- Remove the bolts (x9) that attach the front body controller module cover to the front body controller module, and then remove the cover.
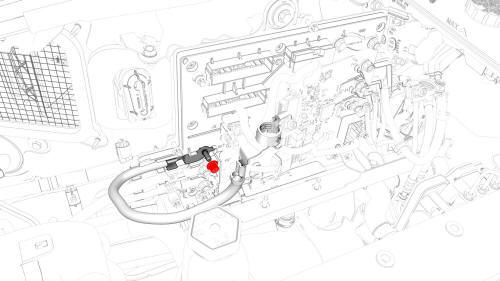
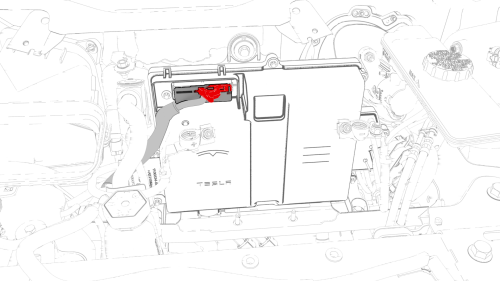
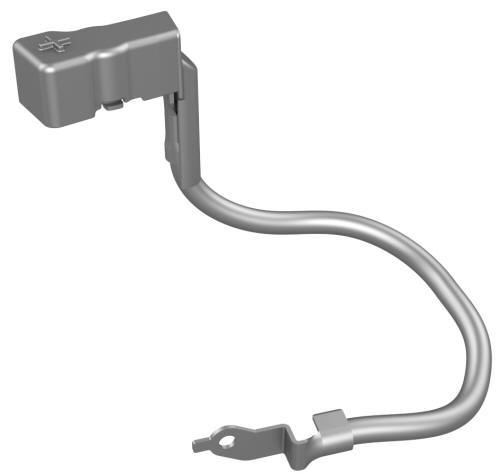
- Remove and discard the nut that attaches the battery positive cable to
the front body controller module, and then remove the cable.
READ NEXT:
 Harness - 12V Battery Positive- Install
Install
Install the battery positive cable to the front body controller module,
and then install a new nut to attach the cable to the module.
Torque 8.5 Nm
Visually inspect that th
Harness - Body - LH- Remove
Remove
Remove the sill rear trunk trim. See
Trim - Sill - Trunk (Remove and Replace).
Remove the 2nd row LH seat back assembly. See
Seat Back - 2nd Row - LH (Remove and Install).
Remove the 2n
SEE MORE:
High Beam Headlights
Push the left-hand steering column lever away
from you and release to turn the high beam
headlights on continuously. To cancel, push
the lever away from you again.
To briefly flash the high beam headlights, pull
the lever towards you and release.
The high beam headlights can automaticall
Link - Aft - Lower - Rear - LH - Install
Install
Hand-tighten the bolt and nut that attach the LH
rear lower aft link to the subframe.
Install the coil spring into position for
installation while raising the support stan
© 2019-2024 Copyright www.tmodel3.com
