Tesla Model 3: Harness - Trunk- Install
Tesla Model 3 2017-2024 Service Manual / Electrical / Harnesses / Harness - Trunk (Remove and Replace) / Harness - Trunk- Install
Install
.jpg)
- Move the trunk electrical harness in through the trunk bulkhead.
.jpg)
- Fasten the clips that attach the trunk electrical harness to the trunk lid.
.jpg)
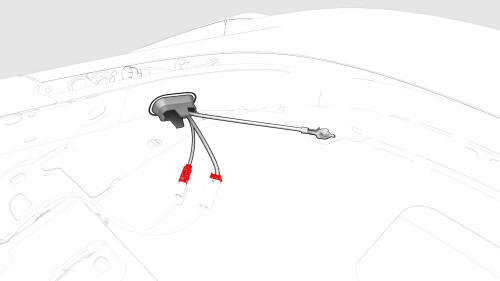
- Install new bolts (x2) to attach the trunk electrical harness ground
straps to the trunk lid.
.jpg) Torque 8 Nm
Torque 8 Nm
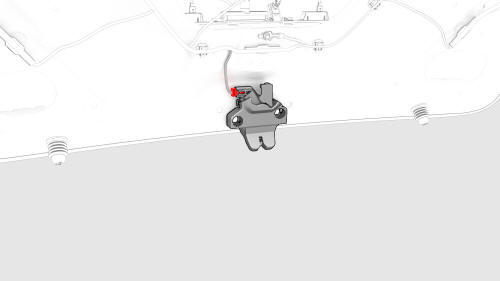
- Connect the trunk electrical harness to the trunk latch connector.
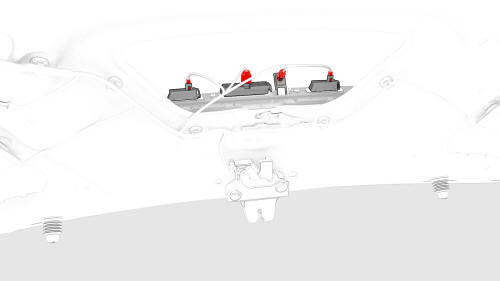
- Connect the trunk electrical harness to the RH and LH license plate light connectors, the trunk handle connector, and the backup camera connector.
.jpg)
- Connect the trunk electrical harness to the RH and LH trunk light connectors.
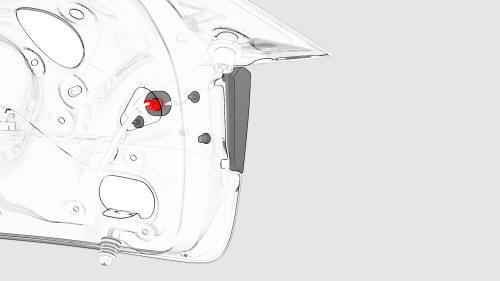
LH
- Install the trunk trim panel. See Trim - Lid - Trunk (Remove and Replace).

- Move the trunk electrical wiring harness in through the bulkhead.
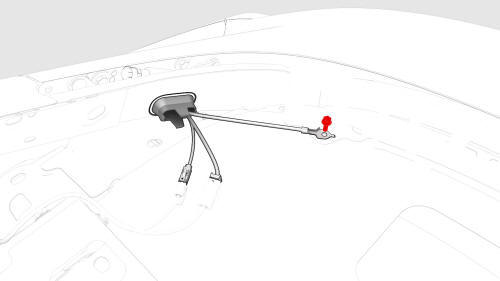
- Install a new bolt to attach the ground strap to the body.
Torque 8 Nm
- Connect the trunk electrical harness connectors.
- Install the package tray trim. See Trim - Package Tray (Remove and Install).
READ NEXT:
 Harness - Windshield- Remove
Remove
Remove the LH instrument panel end cap. See End Cap - Instrument Panel -
LH (Remove and Replace).
Remove the LH middle A-pillar trim. See Trim - A-Pillar - Middle - LH
(Remove and Repl
Harness - Windshield- Install
Install
Secure the clips that attach the windshield harness to the RH A-pillar.
Connect the windshield harness electrical connectors.
Install the forward facing camera. See Camera - Forward
SEE MORE:
Seat Back - 2nd Row - LH (Remove and Install)
Remove
Remove the 2nd row lower seat cushion. See
Seat Cushion - Lower - 2nd Row (Remove and Replace).
Remove the LH 2nd row seat side bolster. See
Bolster - Side - Seat - 2nd Row - LH (Remove and Replace).
Release the clips that attach the bolster bracket, and remove the
bracket fro
HVAC Assembly- Install
Install
With an assistant, position the HVAC assembly into the vehicle.
Note: Align the drain hose and TXV housing.
Install the bolt that attaches the lower LH side HVAC assembly to the
vehicle. Torque
5.5 Nm
Push the PTC heater harness through the bulkhead, and then install the
grommet
© 2019-2024 Copyright www.tmodel3.com
