Tesla Model 3: Latch Actuator - Charge Port - Remove
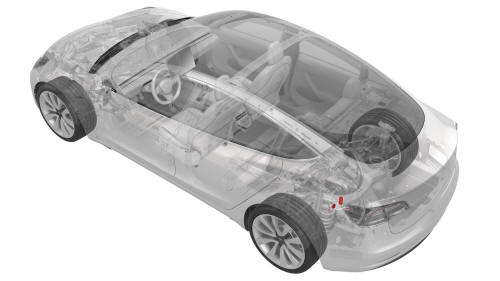
Remove
- Perform the vehicle electrical isolation procedure. See Vehicle Electrical Isolation Procedure.
- Remove the LH trunk side trim. See Trim - Side - Trunk - LH (Remove and Replace).
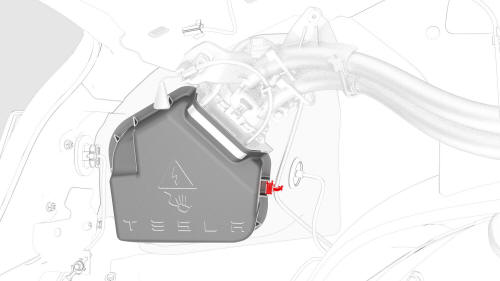
- Release the clip that attaches the low voltage electrical wiring harness to the charge port closeout panel.
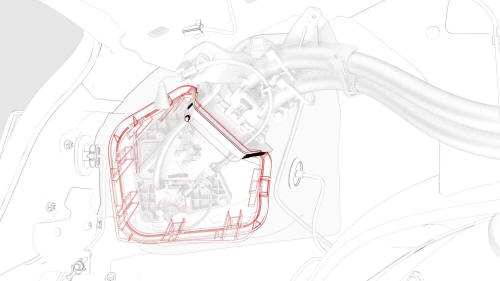
- Release the tabs around the charge port closeout panel, and then remove the panel from the vehicle.
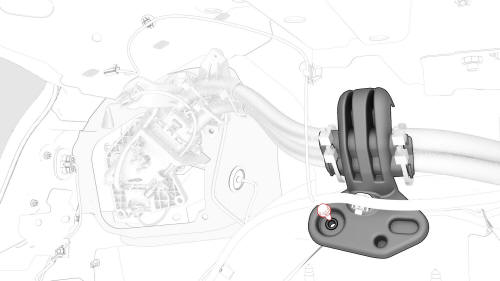
- Remove the bolt that attaches the charge port electrical ground to the body.
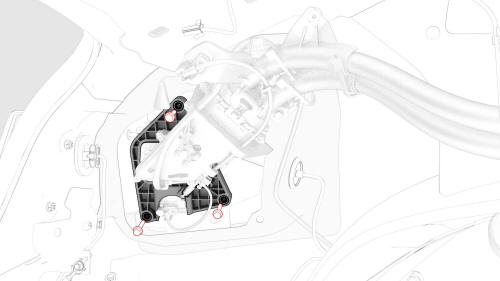
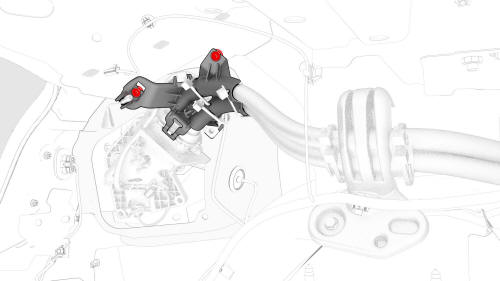
- Remove the bolts that attach the charge port assembly to the body.
- Remove the bolt that attaches the charge port bracket to the body.
- Release the clips that attach the charge port electrical wiring harness to the body.
Note: Pull the charge port away from the body for access.

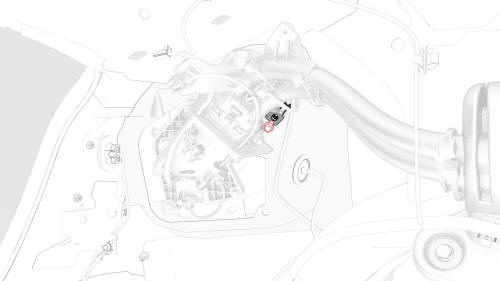
- Remove the release arm from the latch actuator.
Note: Note the orientation of the release arm before removing it from the latch actuator.
- Disconnect the electrical harness from the latch actuator connector.
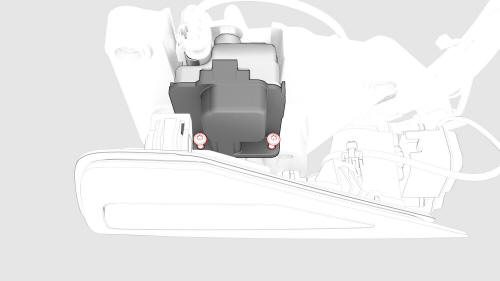
- Remove the screws that attach the latch actuator to
the charge port, and then remove the latch actuator from
the vehicle.
READ NEXT:
 Latch Actuator - Charge Port
- Install
Latch Actuator - Charge Port
- Install
Install
Install the new latch actuator to the vehicle.
Harness - Charge Port to HV Battery (Single-Phase) (Remove and Replace)
DRAFT
Warning:
This procedure was derived from pre-production computer
models, and might not reflect the real-world situation. Warnin
SEE MORE:
Airbag - Knee - Front Passenger (Remove and Replace)
Remove
Remove the 2nd row lower seat cushion. See Seat Cushion - Lower - 2nd
Row (Remove and Replace).
Remove the rear underhood apron. See Underhood Apron - Rear (Remove and
Replace).
Disconnect 12V power. See 12V Power (Disconnect and Connect).
Remove the passenger footwell cover. See C
Toe Link - Rear - LH (Remove and Replace)
Remove
Remove the LH rear wheel. See Wheel (Remove and
Install).
Remove and discard the bolt a
