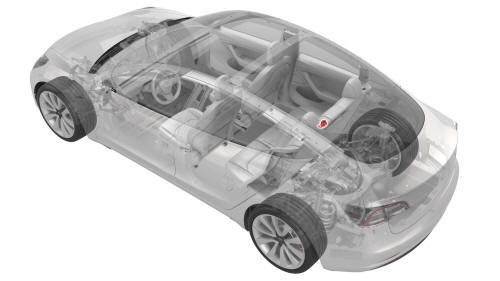
Tesla Model 3: Latch - Seat Back - 2nd Row - LH (Remove and Replace)
Tesla Model 3 2017-2026 Service Manual / Seats / 2nd Row Seat Assemblies and Hardware / Latch - Seat Back - 2nd Row - LH (Remove and Replace)
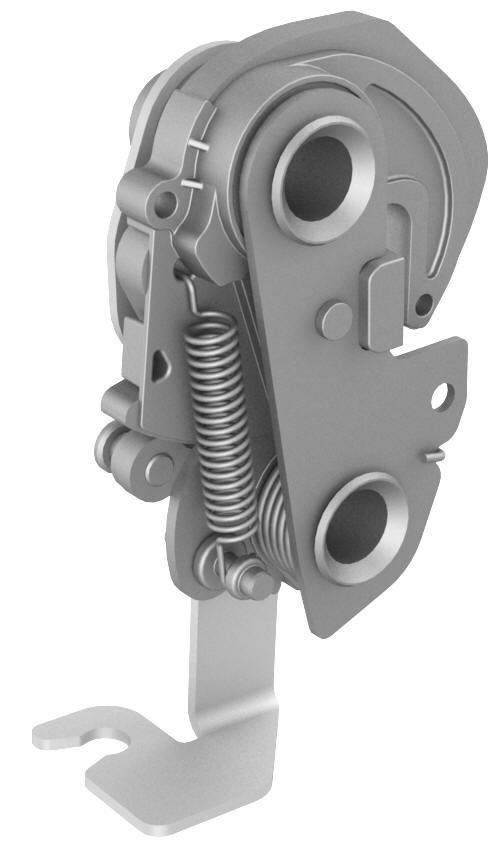
Remove
- Remove the 2nd row center seatbelt assembly. See Seatbelt - 2nd Row - Center (Remove and Replace).
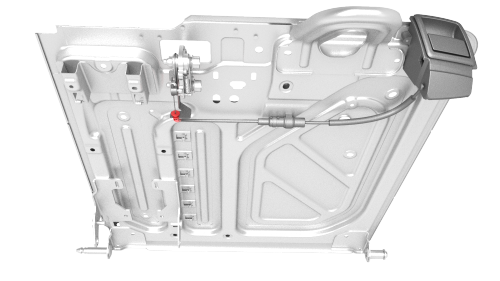
- Release the cable clip that attaches the latch bracket to the seat back.
- Release the clip that attaches the bracket stud to the seat back.
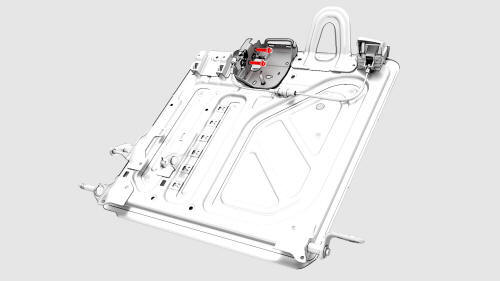
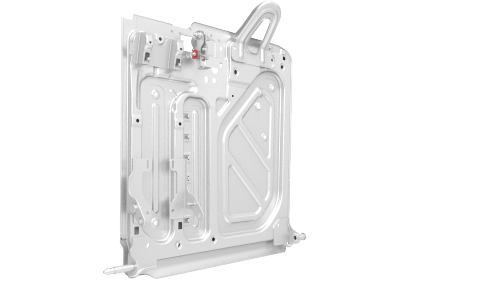
- Remove the bolts that attach the 2nd row LH seat back latch to the seat
back, and then remove the latch from the seat back.
Torque 40 Nm
Install
Installation procedure is the reverse of removal.
READ NEXT:
 Pivot Sleeve - Seat Back - 2nd Row - LH (Remove and Replace)
Remove
Remove the 2nd row LH seat back assembly. See
Seat Back - 2nd Row - LH (Remove and Install).
Release the tabs that attach the pivot sleeve to the seat back assembly
pivot pin, and
Rail - 2nd Row - Inner - LH (Remove and Replace)
Remove
Remove the 2nd row lower seat cushion. See
Seat Cushion - Lower - 2nd Row (Remove and Replace).
Remove the 2nd row buckle assembly:
LH: See
Buckle - 2nd Row - LH (Remove and Replace)
Rail - 2nd Row - Outer - LH (Remove and Replace)
Remove
Remove the 2nd row lower seat cushion. See
Seat Cushion - Lower - 2nd Row (Remove and Replace).
Remove the bolts that attach the outer 2nd row rail to the body, and
then remove th
SEE MORE:
Antenna - Bluetooth Passive Entry - Rear (Remove and Replace)
Remove
Remove the rear fascia. See
Fascia - Rear (Remove and Install).
Disconnect the electrical wiring harness connector from the rear
Bluetooth passive entry module.
Remove the bolt and release the clip that attach the Bluetooth passive
entry module to the body, and remove the mod
Receiver Dryer and Desiccant (Remove and Replace)
Receiver Dryer and Desiccant- Remove
SPECIAL TOOLS
Remove
Perform the A/C refrigerant recovery. See A/C Refrigerant (Recovery and
Recharge).
Remove the bolts (x2) that attach the underhood reinforcement bracket to
the body, and then remove the bracket from the cooling fan module.
R
© 2019-2026 Copyright www.tmodel3.com
