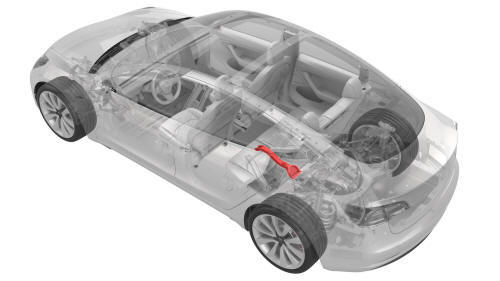
Tesla Model 3: Rail - 2nd Row - Inner - LH (Remove and Replace)
Tesla Model 3 2017-2026 Service Manual / Seats / 2nd Row Seat Assemblies and Hardware / Rail - 2nd Row - Inner - LH (Remove and Replace)
Remove
- Remove the 2nd row lower seat cushion. See Seat Cushion - Lower - 2nd Row (Remove and Replace).
- Remove the 2nd row buckle assembly:
- LH: See Buckle - 2nd Row - LH (Remove and Replace).
- RH and center: See Buckle - 2nd Row - Center (Remove and Replace).
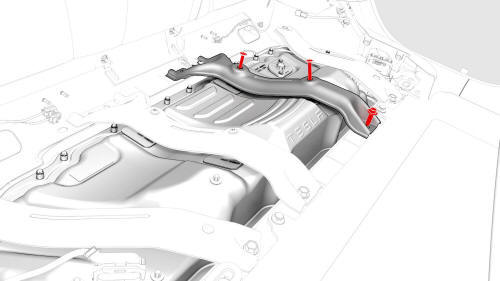
- Remove the bolts that attach the LH inner 2nd row rail to the penthouse
cover and the body, and then remove the rail from the vehicle.

Install
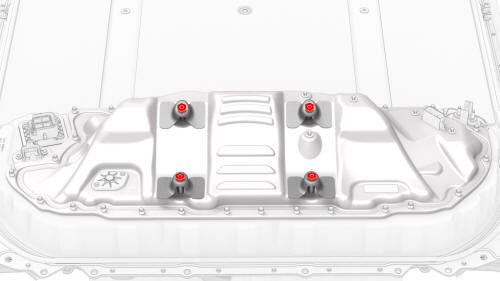
- Hand-tighten the exposed adjustable elements on the penthouse cover counter-clockwise so that they are fully engaged.
Caution:
Hand-tighten only.
- Install the LH inner 2nd row rail to the body, and then install the bolts that attach the rail to the penthouse cover and the body. Torque 24 Nm Torque 24 Nm
- Install the 2nd row buckle assembly:
- LH: See Buckle - 2nd Row - LH (Remove and Replace).
- RH and center: See Buckle - 2nd Row - Center (Remove and Replace).
- Install the 2nd row lower seat cushion. See Seat Cushion - Lower - 2nd Row (Remove and Replace).
READ NEXT:
 Rail - 2nd Row - Outer - LH (Remove and Replace)
Remove
Remove the 2nd row lower seat cushion. See
Seat Cushion - Lower - 2nd Row (Remove and Replace).
Remove the bolts that attach the outer 2nd row rail to the body, and
then remove th
Seat Back - 2nd Row - LH (Remove and Install)
Remove
Remove the 2nd row lower seat cushion. See
Seat Cushion - Lower - 2nd Row (Remove and Replace).
Remove the LH 2nd row seat side bolster. See
Bolster - Side - Seat - 2nd Row - LH (Remove
Seat Back - 2nd Row - RH (Remove and Install)
Remove
Remove the 2nd row lower seat cushion. See
Seat Cushion - Lower - 2nd Row (Remove and Replace).
Remove the RH 2nd row seat side bolster. See
Bolster - Side - Seat - 2nd Row - LH (Remove an
SEE MORE:
Window Regulator - Rear - LH (Recalibrate)
Connect a laptop with Toolbox to the vehicle.
In Toolbox, select the connection status icon at the top right corner,
and then select Connect Locally.
Get into the driver seat, and then close the door.
In Toolbox, type window in the search field.
Note: Make sure that "Actions" is selected, if
Grille - Fascia - Front (Remove and Replace)
DRAFT
Warning:
This procedure was derived from pre-production computer models, and
might not reflect the real-world situation. Warnings and cautions might be
missing. Follow safety requirements and use extreme caution when working on or
near high voltage systems and components.
Do not r
© 2019-2026 Copyright www.tmodel3.com
