Tesla Model 3: Master Cylinder and Reservoir Assembly - Install
Install
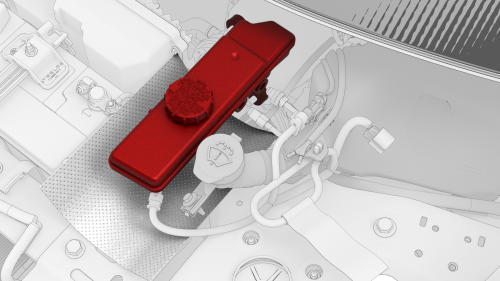
Position the reservoir and master cylinder
in the vehicle
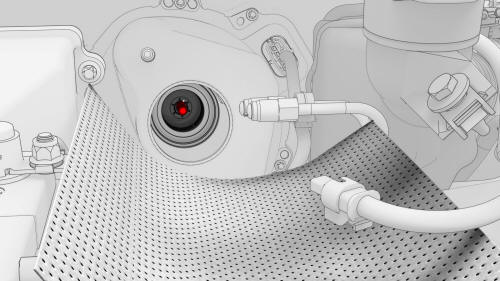
Align the brake booster rod with the master
cylinder port
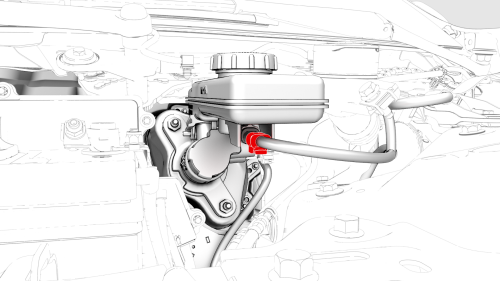
- Position the master cylinder and reservoir assembly in the vehicle.
Caution: Handle the electromechanical brake booster only by the main housing. Do not use the pushrod, the reservoir, or the connectors to lift or manipulate the electromechanical brake booster.
Caution: When positioning the brake master cylinder against the brake booster, make sure the booster rod goes into the master cylinder.
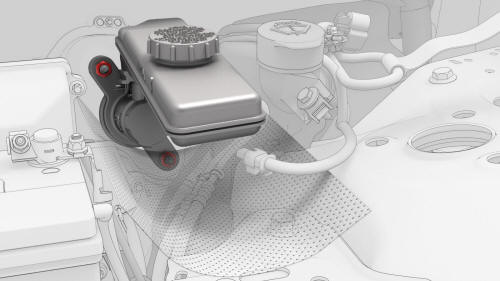
- Install the nuts that attach the master cylinder to
the brake booster.
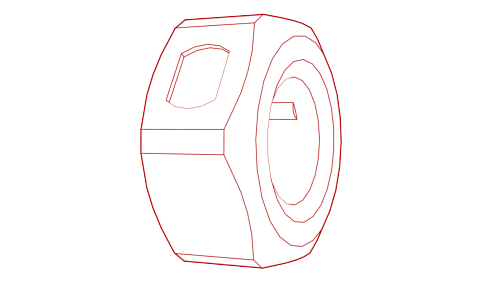 Torque 20 Nm
- Remove the brake line plugs from the brake master cylinder.
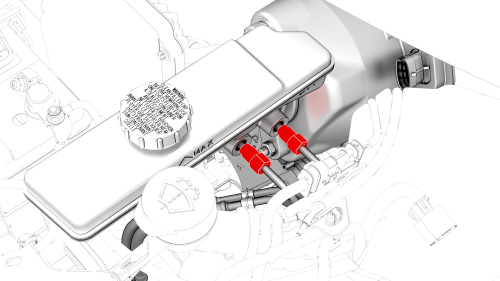
- Install the nuts that attach the brake lines to the
master cylinder.
 Torque 16 Nm
- Remove the absorbent towels from under the brake fluid reservoir.
- Connect the electrical connector to the brake fluid reservoir.
- Install the cowl screen panel. See Panel - Cowl Screen (Remove and Replace).
- Install the LH and RH shock tower covers. See Cover - Shock Tower - LH (Remove and Replace).
- Install the wiper arms. See Wiper Arms (Remove and Replace).
- Install the underhood storage unit. See Underhood Storage Unit (Remove and Replace).
- Install the underhood storage unit carpet. See Carpet - Underhood Storage (Remove and Install).
- Install the hood latch cover. See Cover - Hood Latch (Remove and Replace).
- Install the cabin intake duct. See Duct - Cabin Intake (Remove and Replace).
- Connect 12V power. See 12V Power (Disconnect and Connect).
- Bleed the braking system. See Brake Fluid Bleed / Flush.
- Install the rear underhood apron. See Underhood Apron - Rear (Remove and Replace).
- Install the 2nd row lower seat cushion. See Seat Cushion - Lower - 2nd Row (Remove and Replace).
- Install all 4 wheels. See Wheel (Remove and Install).
- Perform a test drive.
READ NEXT:
 Brake Pedal - Remove
Remove
Remove the 2nd row lower seat cushion. See Seat
Cushion - Lower - 2nd Row (Remove and Replace).
Remove the rear u
SEE MORE:
Sensor - Airbag - Front - LH (Remove and Replace)
Remove
Remove the front LH wheel arch liner. See Wheel Arch Liner - Front - LH
(Remove and Replace).
Disconnect the electrical wiring harness connector from the LH front
airbag sensor.
Remove the bolt that attaches the airbag sensor to the front end carrier,
and then remove the s
Tuner - FM / HD (Remove and Replace)
Remove
Remove the RH side rail trim. See Trim - Side Rail - LH (Remove and
Replace).
Disconnect the backlight electrical connector from the tuner.
Disconnect the electrical connectors from the front of the tuner.
Disconnect the electrical connector from the rear of the tuner.
