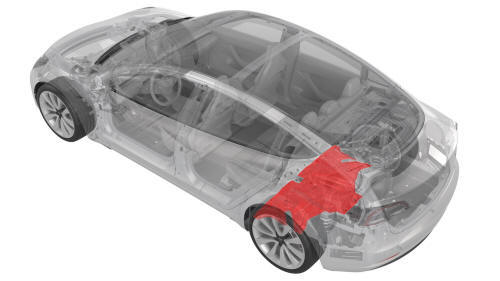
Tesla Model 3: Panel - Aero Shield - Mid (Remove and Replace)
Tesla Model 3 2017-2026 Service Manual / Exterior Fittings / Undertray and Diffuser / Panel - Aero Shield - Mid (Remove and Replace)
Remove
- Raise and support the vehicle. See Raise Vehicle - 2 Post Lift.
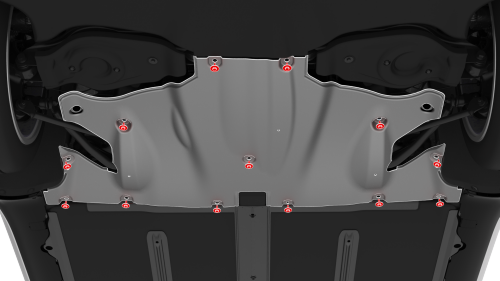
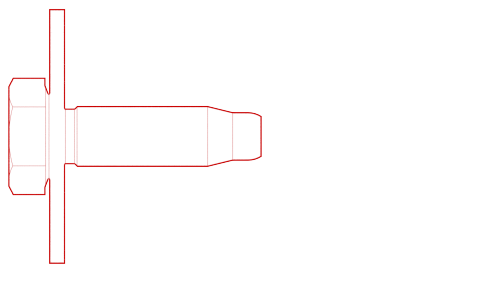
- Remove the bolts (x13) that attach the mid aero shield panel to the
vehicle, and then remove the panel from the vehicle.
Install
- Apply a thin bead of Loctite 222 to the threads of the bolts (x13) that attach the mid aero shield panel to the vehicle.
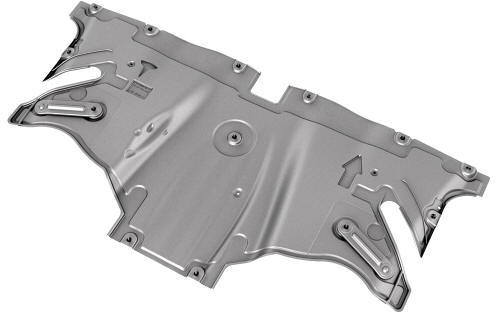
- Install the mid aero shield panel to the underside of the vehicle, and
then install the bolts (x13) that attach the panel to the vehicle.
 Torque 5 Nm
 - Lower the vehicle. See Raise Vehicle - 2 Post Lift.
READ NEXT:
 Rear Lettering (Retrofit)
SPECIAL TOOLS
Fixture, Badge, Dual Motor/Perf, M3 (1475764-00-A)
Seam Roller, Silicone, 5" (1049517-00-A)
Procedure
Clean the trunk area where the "Dual Motor" badge is to be installed
with an
Tesla Badge - Front (Remove and Replace)
SPECIAL TOOLS
Kit, Badge Removal (1453028-00-A)
Fixture, Front Badge, Model 3 (1134702-00-A)
Remove
Prepare the badge removal tool with approximately 60 centimeters of
monofilament line.
With
SEE MORE:
Media and Audio
Overview
Touch the Media Player icon at the
bottom of the touchscreen to play
various types of media through
your vehicle's speaker system. The
media options available to you
depend on market region and
options chosen at time of
purchase. For example, you can
stream internet radio or po
Actuator - Vent - RH (Remove and Replace)
Remove
Remove the RH front vent. See
Vent - Front - RH (Remove and Replace).
Remove the screws that attach the RH vent actuator to the RH front vent,
and then remove the actuator from the vent.
Torque 1.3 Nm
Install
Installation procedure is the reverse of removal.
© 2019-2026 Copyright www.tmodel3.com
