Tesla Model 3: Panel - Door Trim - Front - LH (Remove and Install) - Install
Tesla Model 3 2017-2025 Service Manual / Interior Trim / Door Trim / Panel - Door Trim - Front - LH (Remove and Install) / Panel - Door Trim - Front - LH (Remove and Install) - Install
Install
- Inspect the condition of the LH front door and the LH front door trim panel. Replace any broken clips and repair any damage.
- Bring the trim panel to the door, and rest it on the door edge.
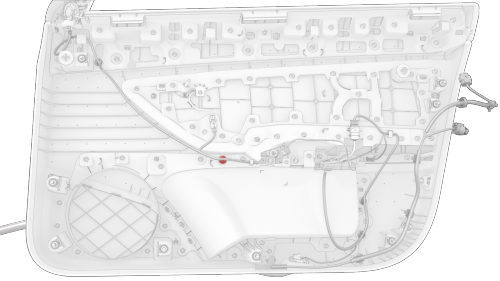
- If present, remove and discard the highlighted clip.

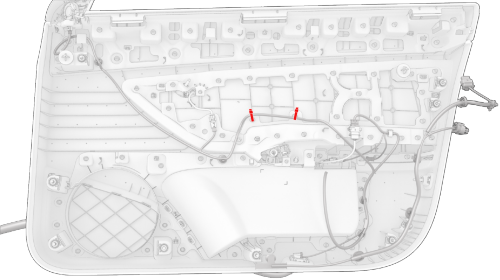
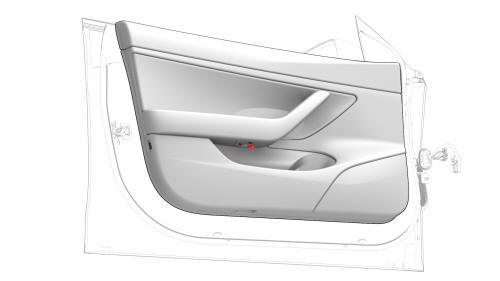
Attach harness to hooks (highlighted red), if present
- Route the harness as illustrated.
- If harness hooks are present, attach the harness to the hooks.
- If harness hooks are not present, attach the harness to the door trim panel with cable ties.
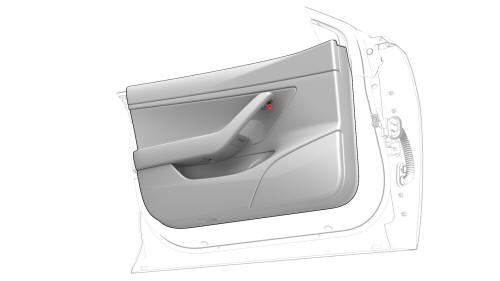
Secure harness with cable ties if hooks are not present
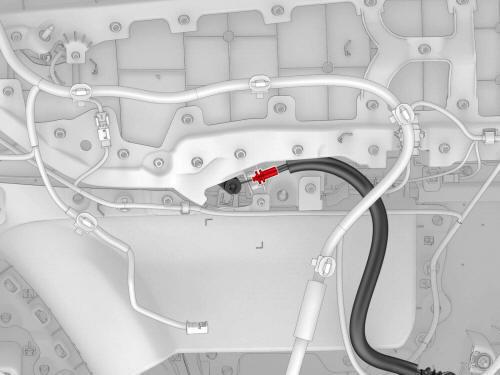
- Fasten the clips that attach the electrical harnesses to the trim panel.
- Connect the electrical harness to the LH front door trim panel connectors.

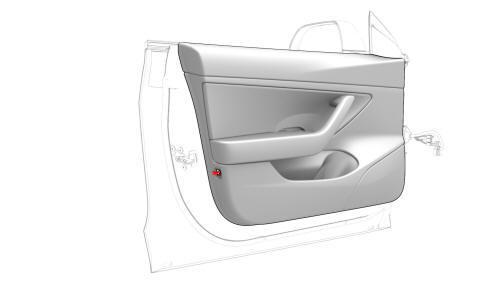
- Position the manual release cable in a vertical orientation, and slide the cable barrel end into the release lever.
- Pivot the manual release cable collar to a horizontal orientation, and press the collar into the trim panel.
Note: Make sure the manual release cable is routed underneath the door harness.

- Lift the trim panel, compress the LH front door inner belt seal slightly, and then hook the three trim panel tabs into the top edge of the door.
- Move the electrical harness connector for the puddle lamp out the hole in the bottom of the trim panel.
- Install the LH front door puddle lamp. See Puddle Light - Front Door - LH (Remove and Replace).
- Make sure that the puddle lamp and map pocket ambient light illuminate when connected.
- Fasten the clips that attach the trim panel to the door.
- Make sure that the trim panel fits tightly, and that there are no gaps from misaligned or bent clips.
Rear
Middle
- Install the screws that attach the trim panel to the door.
 Torque 6 Nm
Caution:
Make sure that all fasteners are properly torqued and not cross-threaded.
Front
- Install the reflector to the rear edge of the trim panel and the screw cover to the front of the armrest.
- Install the front LH door tweeter. See Tweeter - Front Door - LH (Remove and Replace).
- Close the door and verify the operation of the manual door release lever, that the door latch releases smoothly and easily.
- Raise the window and close the door.
READ NEXT:
 Panel - Door Trim - Front - LH (Remove and Replace) -
Remove
Panel - Door Trim - Front - LH (Remove and Replace) -
Remove
Remove
Open the front LH door, and fully lower the window.
Remove the front LH door tweeter. See
Tweeter - Front Door - LH (Remove and Replace).
Remove the LH front door puddle light. See
Panel - Door Trim - Front - LH (Remove and Replace) -
Install
Install
Inspect the condition of the LH front door and the LH front door trim
panel. Replace any broken clips and repair any damage.
Bring the trim panel to the door, and rest it on the door edge
SEE MORE:
Carrier - Front End (Remove and Replace)-
Remove
Remove
Raise and support the vehicle.
Remove the rear underhood apron.
Remove the cabin intake duct.
Remove the hood latch cover.
Remove the underhood storage unit.
Remove the front fascia assembly.
Remove the front bumper.
Disconnect the electrical harness from the LH front end
Tire Pressure Monitoring
Each tire should be checked monthly when
cold and inflated to the recommended
pressures that are printed on the Tire and
Loading Information label located on the
driver's door. If your vehicle has
tires of a different size than the size indicated
on the vehicle placard or tire inflation pressu
© 2019-2025 Copyright www.tmodel3.com
