Tesla Model 3: Carrier - Front End (Remove and Replace)- Remove
Tesla Model 3 2017-2024 Service Manual / Body / Body Panels / Carrier - Front End (Remove and Replace) / Carrier - Front End (Remove and Replace)-
Remove

Remove
- Raise and support the vehicle.
- Remove the rear underhood apron.
- Remove the cabin intake duct.
- Remove the hood latch cover.
- Remove the underhood storage unit.
- Remove the front fascia assembly.
- Remove the front bumper.
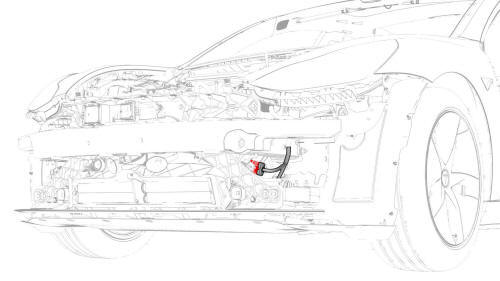
- Disconnect the electrical harness from the LH front end carrier electrical connector.
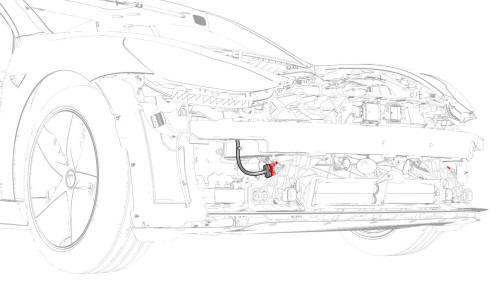
- Disconnect the electrical harness from the RH front end carrier electrical connector.
- Release the clip that attaches the front radar sensor electrical harness to the front end carrier.
- Remove the front radar sensor.
- Remove the HomeLink transmitter module.
- Remove the front Bluetooth passive entry antenna.
- Remove the bolts that attach the radar bracket to the front end carrier, and remove the bracket from the vehicle.
- Remove the high tone horn.
- Remove the low tone horn.
- Disconnect the electrical connector from the AGS actuator.
- Remove the ankle catcher.
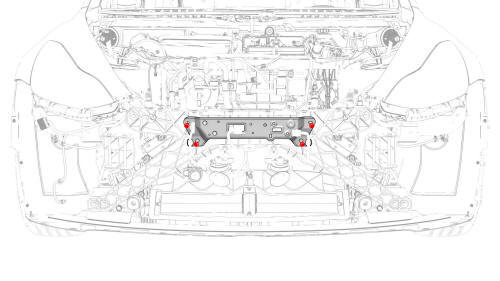
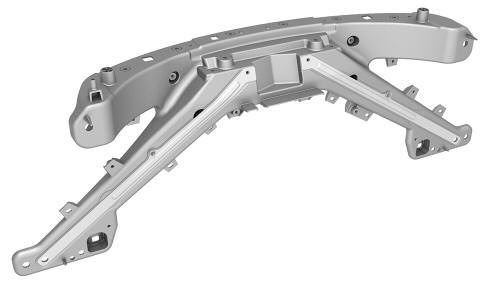
- Remove the front end carrier from the vehicle and place it on a padded surface.
- Remove the primary hood latch actuator.
- Remove the secondary hood latch actuator.
- Remove the hood latch.
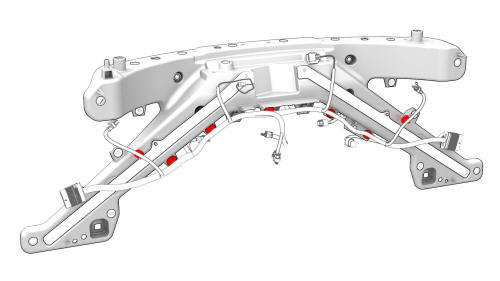
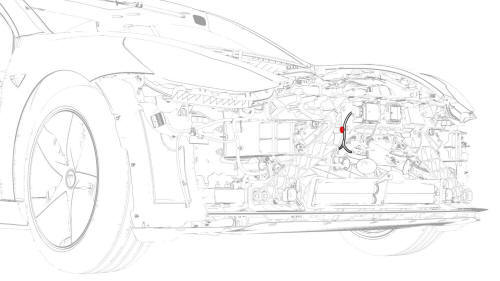
- Release the clips that attach the electrical harness to the front end
carrier, and then remove the electrical harness from the front end carrier.
READ NEXT:
 Carrier - Front End (Remove and Replace)-Install
Install the clips that attach the front end module electrical harness to
the front end carrier.
Install the hood latch.
Install the secondary hood latch actuator.
With an assistant, position
Door - Front - LH (Remove and Install)
Note:
This procedure was formulated using a release candidate or production
model. Follow safety requirements and use extreme caution when working on or
near high-voltage systems and components.
Door - Front - LH (Remove and Replace)
Remove
Disconnect 12V power.
Remove the LH front door trim panel.
Remove the LH front door inner belt seal.
Remove the LH front door outer belt seal.
Remove the LH front window motor/regulato
SEE MORE:
Harness - Door - Rear - LH (Remove and Replace)
Warning: The side impact airbag deployment depends on the front door
sensor's ability to detect a side impact from air pressure. Make sure that there
are no uncovered holes in the front door shells. Additionally, always reinstall
plugs or tape when servicing or inspecting the front doors and th
Overview of Climate Controls
Climate controls are always available at the bottom of the touchscreen. To
turn the climate control
system on, touch the fan icon or adjust the cabin temperature. To turn it off,
touch the fan icon
and then touch the off button near the center of the popup window.
By default, climate contro
© 2019-2024 Copyright www.tmodel3.com
