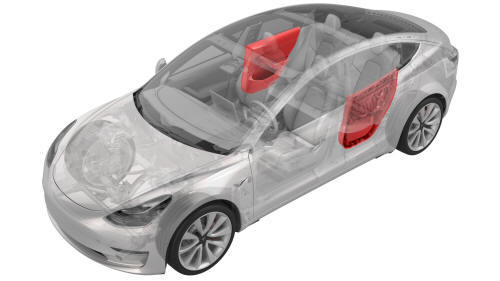
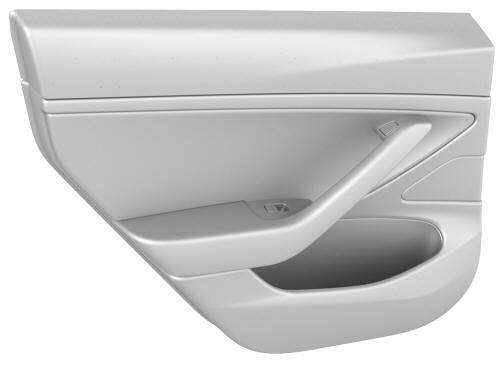
Tesla Model 3: Panel - Door Trim - Rear - LH (Remove and Install)
Remove
Caution: Do not remove the trim panel from the door at this time.
Caution: Do not remove the trim panel from the door at this time.
Caution: Do not remove the trim panel from the door at this time. Install
Warning: If the door light connector is plugged into the speaker,
the speaker is permanently damaged and might cause melting. Do not interchange
the electrical harness speaker connector and door light connector.
Note: Make sure that all fasteners are properly torqued and not
cross-threaded.
Panel - Door Trim - Rear - LH (Remove and Install) -
Remove
.png) Torque 6 Nm
Torque 6 Nm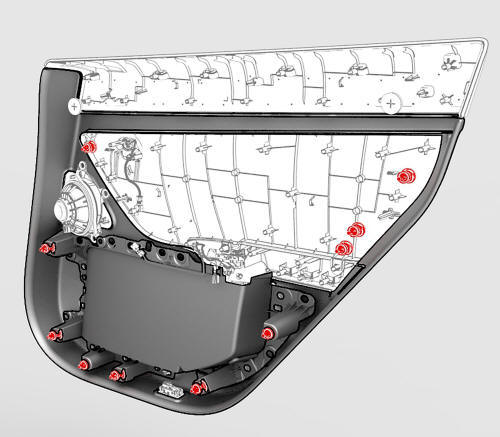
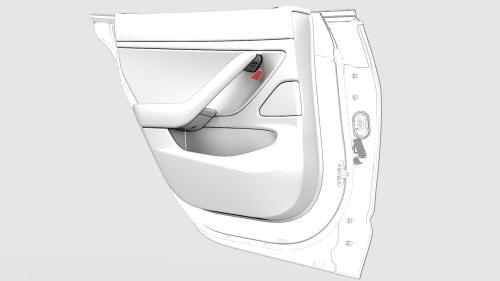
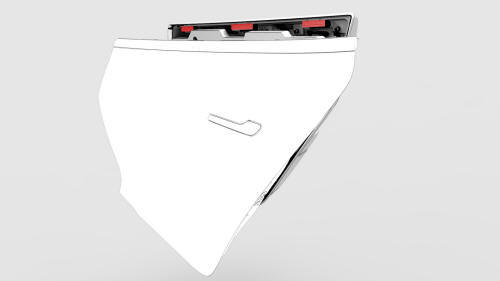
Trim Panel Clip Locations
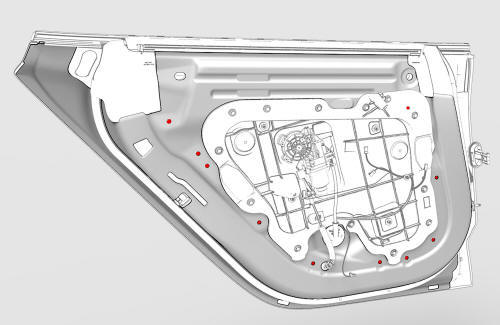
Door Clip Locations
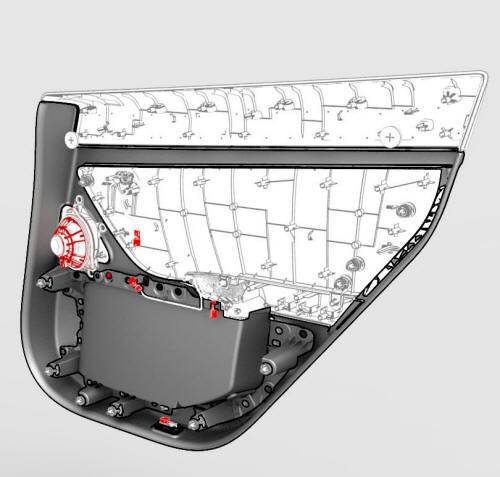
Trim Panel Connectors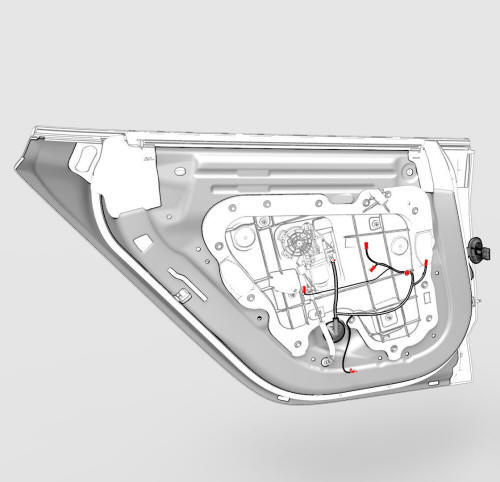
Door Electrical Harness Connectors
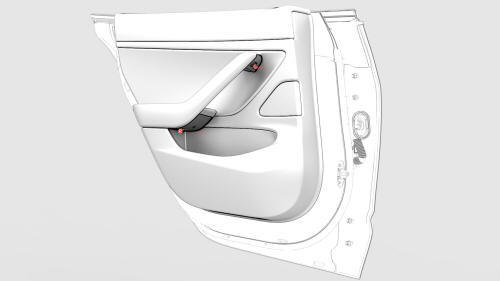
Panel - Door Trim - Rear - LH (Remove and Install) -
Install
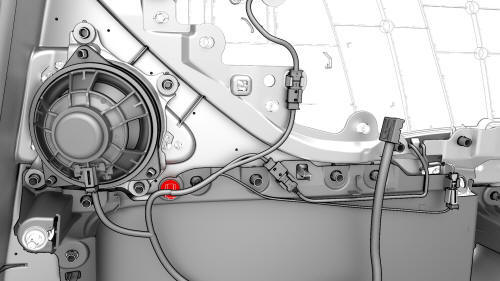
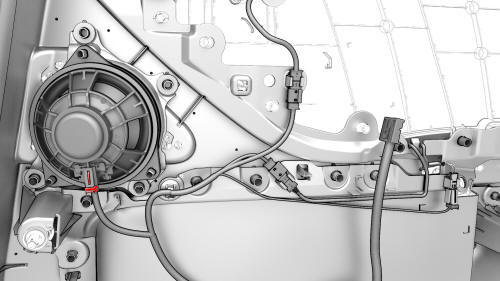
 Torque 6 Nm
READ NEXT:
 Panel - Door Trim - Rear - LH (Remove and Replace)
Remove
Remove the rear LH door panel. See
Panel - Door Trim - Rear - LH (Remove and Install).
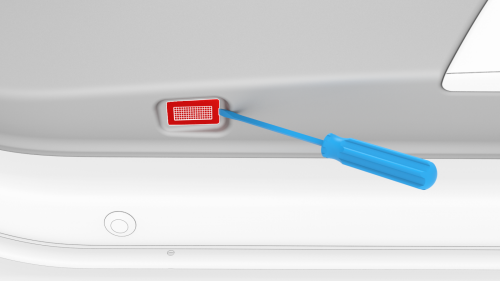
Release the clips that attach the puddle lamp to the door panel, and
then remove the lamp fr
SEE MORE:
Damper - Glove Box (Remove and Replace)
Remove
Remove the glove box. See
Glove Box (LHD) (Remove and Replace).
Remove the pin that attach the glove box damper to the glove box using
needle nose pliers.
Fully open the glove box.
Note: When the glove box is closed, the glove box damper will not
clear for removal.
Turn
Diffuser - Rear Fascia (Remove and Replace)
Remove
Raise and support the vehicle. See
Raise Vehicle - 2 Post Lift.
Remove the bolts that attach the rear fascia diffuser to the mid aero
shield.
Torque 5 Nm
Remove the fastener covers, and then remove the bolts that attach the
rear fascia diffuser to the vehicle.
