Tesla Model 3: Seal - Inner Belt - Front Door - LH (Remove and Replace)
Tesla Model 3 2017-2026 Service Manual / Closures / Seals Body Closures / Seal - Inner Belt - Front Door - LH (Remove and Replace)
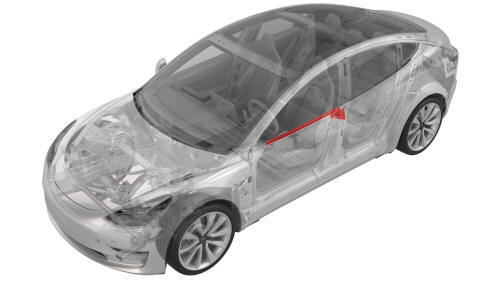
Remove
- Remove the LH front door trim panel. See Panel - Door Trim - Front - LH (Remove and Replace).
- Remove the rear of the inner belt seal from the door.
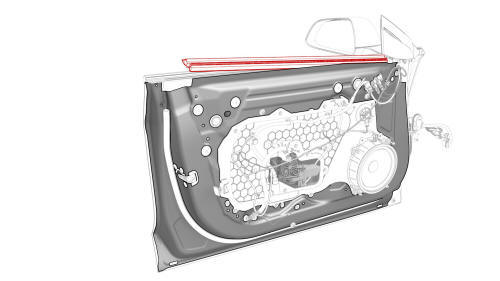
- Release the rest of the seal from the door, and then remove the seal from the door.
Install
Installation procedure is the reverse of removal.
READ NEXT:
 Seal - Inner Belt - Rear Door - LH (Remove and Replace)
Remove
Remove the LH rear door trim panel. See
Panel - Door Trim - Rear - LH (Remove and Install).
Release the clips that attach the rear and front pieces of the inner
belt seal to the r
Seal - Outer Belt - Front Door - LH (Remove and Replace)
Remove
Remove the LH front door trim panel. See
Panel - Door Trim - Front - LH (Remove and Install).
Pull up to release the seal that attaches the LH front door outer belt
seal to the fr
Seal - Outer Belt - Rear Door - LH (Remove and Replace)
Note:
This procedure was formulated using a release candidate or production
model. Follow safety requirements and use extreme caution when working on or
near high-voltage systems and components.
SEE MORE:
Fender Assembly - Front - LH (Remove and Replace)
Fender Assembly - Front - LH (Remove and Replace)- Remove
This procedure assumes the cowl screen carrier bracket, headlight grommet,
and underhood storage unit clips on the fender assembly being replaced are
undamaged. Inspect these components and if necessary, replace with new parts.
Remove
Steering Column (Remove and Replace)
Steering Column - Remove
Note:
This procedure was formulated using a release candidate or
production model. Follow safety requirements and use extreme
caution when working on or near high-voltage systems and
com
© 2019-2026 Copyright www.tmodel3.com
