Tesla Model 3: Seal - Outer Belt - Front Door - LH (Remove and Replace)
Tesla Model 3 2017-2026 Service Manual / Closures / Seals Body Closures / Seal - Outer Belt - Front Door - LH (Remove and Replace)
Remove
- Remove the LH front door trim panel. See Panel - Door Trim - Front - LH (Remove and Install).
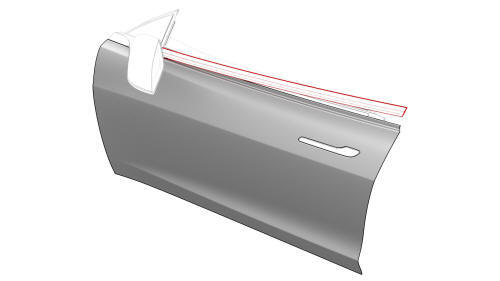
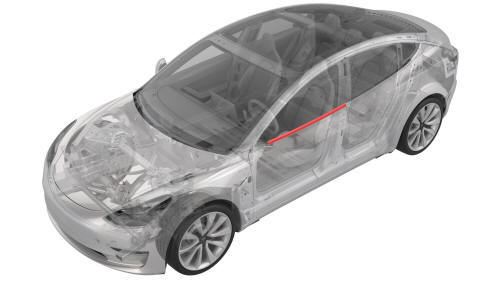
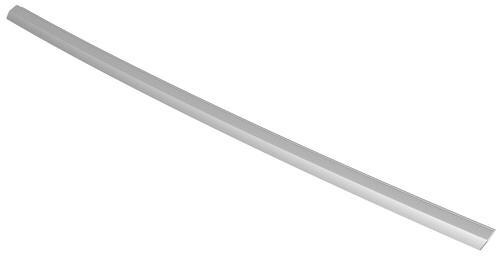
- Pull up to release the seal that attaches the LH front door outer belt
seal to the front door, and then remove the seal from the door.
Install
Installation procedure is the reverse of removal.
READ NEXT:
 Seal - Outer Belt - Rear Door - LH (Remove and Replace)
Note:
This procedure was formulated using a release candidate or production
model. Follow safety requirements and use extreme caution when working on or
near high-voltage systems and components.
Seal - Secondary - Front Door - LH (Remove and Replace)
Remove
Open the LH front door.
Use narrow-width tape to carefully mark the location of the secondary
seal around the door.
Caution:
Make sure that the edge of the tape accurately follows the
Seal - Secondary - Rear Door - LH (Remove and Replace)
Remove
Open the LH rear door.
Use narrow-width tape to carefully mark the location of the secondary
seal around the door.
Caution:
Make sure that the edge of the tape accurately follows the
SEE MORE:
Sun Visor - Driver (Remove and Replace)
Remove
Remove the fastener that attaches the driver sun visor to the vehicle.
Torque 6 Nm
Disconnect the electrical connector from the driver sun visor.
Remove the driver sun visor from the vehicle.
Install
Installation procedure is the reverse of removal.
Vent - Front - LH (Remove and Replace)
Remove
Remove the vent finisher. See
Finisher - Vent (Remove and Replace).
Remove the screw that attaches the LH front vent, and then pull out the
LH side of the LH front vent to release it from the instrument panel.
Torque 2.3 Nm
Disconnect the electrical connector from the LH f
© 2019-2026 Copyright www.tmodel3.com
