Tesla Model 3: Seat - Driver (Remove and Replace) - Install
Install
Note: Though the driver seat is described, the procedure is the same for the front passenger seat.
- With an assistant, install the seat into the vehicle.
Note: Lift the seat sideways with the headrest toward the door opening and the seat cushion toward the rear of the vehicle. Move the headrest in through the door and follow with the seat cushion. Rotate the seat so that the cushion points up, set the seat down onto the carpet, and then rotate the seat back up to vertical.
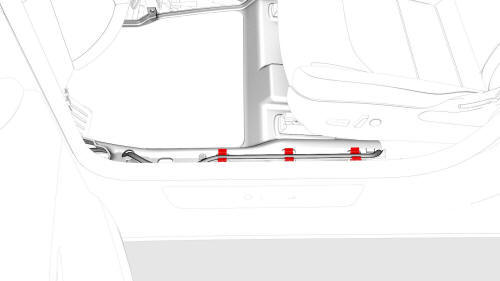
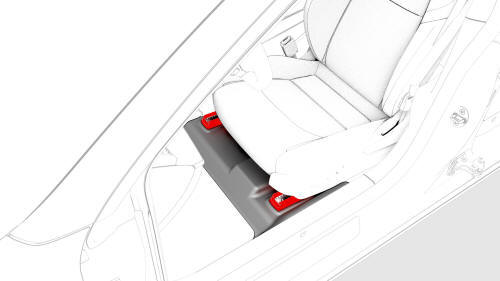
- Fasten the clips that attach the seat electrical harness to the body.
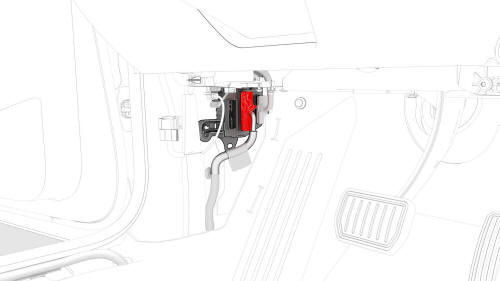
- Connect the seat electrical harness connector to the LH body controller.
Caution:
Remove all debris from the seat electrical harness connector, firmly press the connector into the body controller, and then engage the connector lock.
- Connect 12V power. See 12V Power (Disconnect and Connect).
- Move the seat fully rearward.
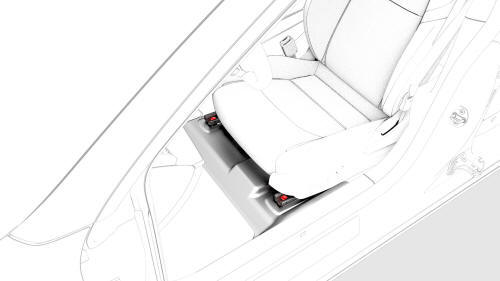
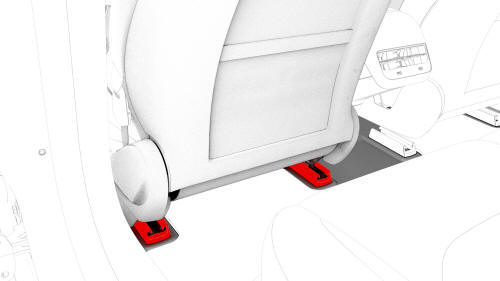
- Install new bolts (x2) to attach the front of the driver seat to the
body.
 Torque 33.5 Nm
Caution:
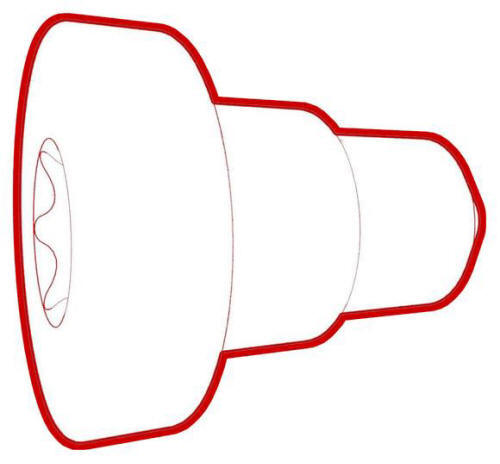
Use only the Torx Plus T45 bit to torque the seat bolts.
- Install the driver seat track front covers.
- Move the seat fully forward.
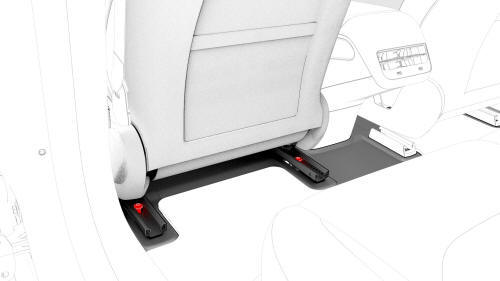
- Install new bolts (x2) to attach the rear of the driver seat to the
body.
Torque 33.5 Nm
Caution: Use only the Torx Plus T45 bit to torque the seat bolts.
- Install the driver seat track rear covers.
- Install the seatbelt into the seatbelt pretensioner coupling.
Note: After reinstalling the seatbelt pretensioner into the seatbelt pretensioner coupling, perform a pull test to make sure that the seatbelt and pretensioner are securely engaged.
- Install the LH lower A-Pillar trim. See Trim - A-Pillar - Lower - LH (Remove and Replace).
- Connect a laptop with Toolbox to the vehicle.
- If a new seat was installed, use Toolbox to update the vehicle firmware.
Use Toolbox to perform a seat self test:
- Driver seat - Click Actions, type "SEAT" in the search field, click on "TEST-SELF_VCLEFT_FRONT_SEAT", and then select Run.
- Passenger seat - Click Actions, type "SEAT" in the search field, click on "TEST-SELF_VCRIGHT_FRONT_SEAT", and then select Run.
- Use Toolbox to calibrate the seat.
- Driver seat - Click Actions, type "SEAT" in the search field, click on "PROC_VCLEFT_SEAT-CALIBRATE", and then select Run.
- Passenger seat - Click Actions, type "SEAT" in the search field, click on "PROC_VCRIGHT_SEAT-CALIBRATE", and then select Run.
- Disconnect the laptop from the vehicle.
READ NEXT:
 Trim - Headrest - Driver (Remove and Replace)
DRAFT
Warning:
This procedure was derived from pre-production computer models, and
might not reflect the real-world situation. Warnings and cautions might be
missing. Follow safety requirements
Armrest - 2nd Row (Remove and Replace)
Remove
Open all four doors and move the front LH and RH seats fully forward.
Fold down the RH 2nd row seatback assembly.
Remove the bolt that attaches the 2nd row armrest to the LH 2nd row
SEE MORE:
Tire Rotation
Vehicle ride quality and
handling are maximized when
all 4 tires are the same age,
model, and tread depth.
Rotating tires regularly
allows them to wear at the
same rate and increases the
service life. T
Trunk (Remove and Replace)- Remove
Remove the rear license plate.
Remove the trunk lid trim. See Trim - Lid - Trunk (Remove and Replace).
Remove the LH and RH rear fog/reverse lights. See Light - Fog / Reverse
- Rear - LH (Remove and Replace).
Remove the trunk exterior release switch. See Switch - Exterior Release
- Trunk
