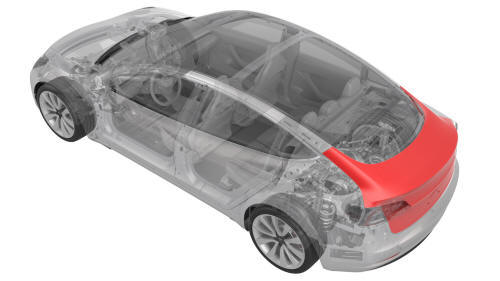
Tesla Model 3: Trunk (Remove and Replace)- Remove
Tesla Model 3 2017-2024 Service Manual / Body / Body Panels / Trunk (Remove and Replace) / Trunk (Remove and Replace)- Remove
- Remove the rear license plate.
- Remove the trunk lid trim. See Trim - Lid - Trunk (Remove and Replace).
- Remove the LH and RH rear fog/reverse lights. See Light - Fog / Reverse - Rear - LH (Remove and Replace).
- Remove the trunk exterior release switch. See Switch - Exterior Release - Trunk (Remove and Replace).
- Remove the LH and RH license plate lights. See Light - License Plate (Remove and Replace).
- Remove the trunk latch. See Latch - Trunk (Remove and Replace).
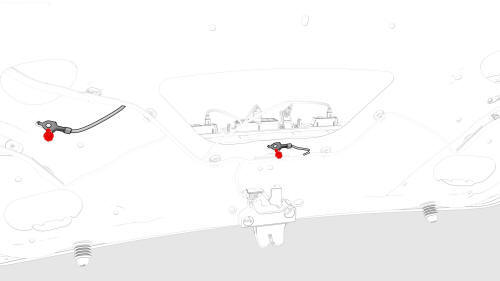
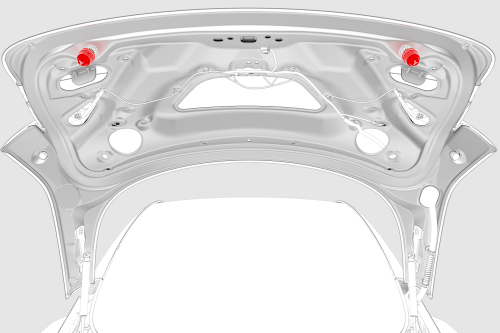
- Remove and discard the bolts (x2) that attach the trunk electrical harness ground straps to the trunk lid.
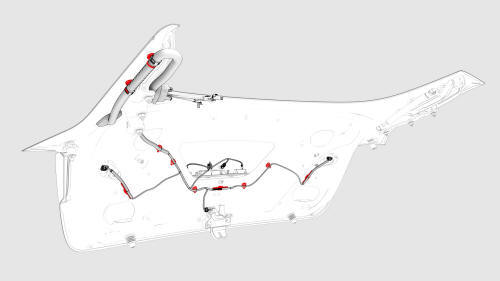
- Release the clips that attach the trunk electrical harness to the trunk lid.
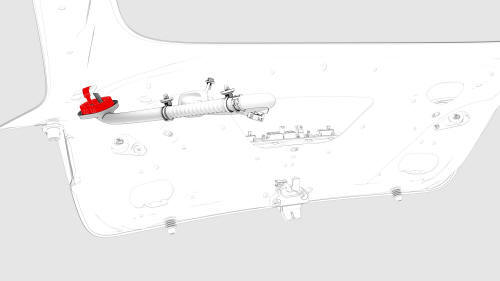
- Release the electrical harness boot, and then move the trunk electrical harness through the trunk lid bulkhead and out of the trunk lid.
- Release the clips that attach the LH and RH bump stops to the trunk lid, and then remove the stops from the trunk lid.
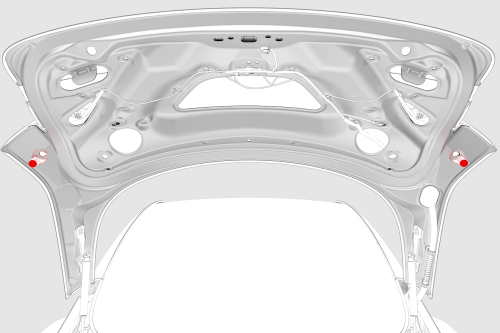
- Unscrew the LH and RH over-slam bumpers from the trunk lid.

LH
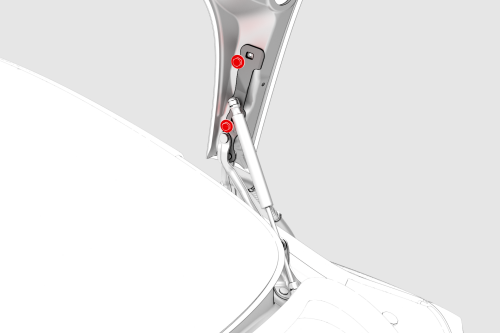
- With assistance, remove the bolts that attach the trunk lid to the trunk hinges, and then remove the trunk from the hinges.
Caution:
Remove the bolts furthest from the body first, lift up on the trunk
lid, and while doing so, remove the bolts closest to the body.
RH
READ NEXT:
 Trunk (Remove and Replace)- Install
Install
LH
RH
With assistance, install the trunk to the trunk hinges, and then install
the bolts that attach the trunk lid to the trunk hinges.
Caution:
Install the bolts closest to the bod
SEE MORE:
Harness - Trunk- Install
Install
Move the trunk electrical harness in through the trunk bulkhead.
Fasten the clips that attach the trunk electrical harness to the trunk
lid.
Install new bolts (x2) to attach the trunk electrical harness ground
straps to the trunk lid.
Torque 8 Nm
Connect the trunk e
Receiver Dryer and Desiccant- Install
Install
Use 3/8 inch extensions to press the new desiccant filter into the
condenser. Lightly tap with a hammer to fully seat the filter.
Insert a new desiccant bag into the condenser.
Install the inner cap into the condenser, and press it in just below the
groove for the snap ring.
Remove
© 2019-2024 Copyright www.tmodel3.com
