Tesla Model 3: Trunk (Remove and Replace)- Install
Tesla Model 3 2017-2024 Service Manual / Body / Body Panels / Trunk (Remove and Replace) / Trunk (Remove and Replace)- Install
Install

LH
RH
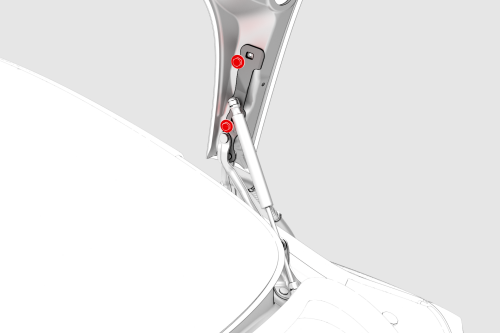
- With assistance, install the trunk to the trunk hinges, and then install the bolts that attach the trunk lid to the trunk hinges.
Caution:
Install the bolts closest to the body first, and then install the bolts furthest from the body.
Note: Hand tighten, but do not torque the bolts at this time.
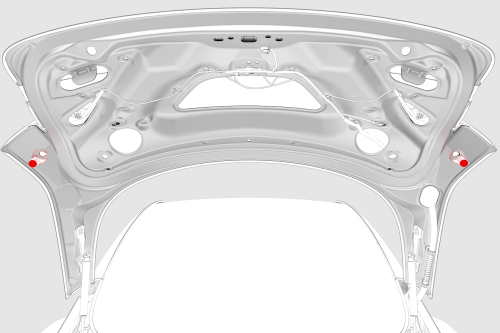
- Screw the LH and RH over-slam bumpers into the trunk lid.
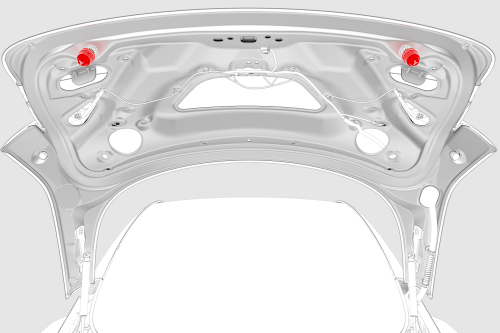
- Install the LH and RH bump stops into the trunk lid, and then fasten the clips that attach the stops to the lid.
- Move the electrical harness in through the trunk lid bulkhead, and attach the harness boot to the trunk lid.
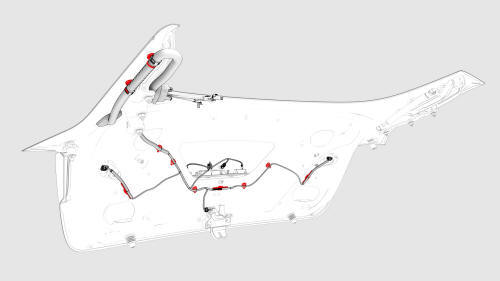
- Fasten the clips that attach the trunk electrical harness to the trunk lid.
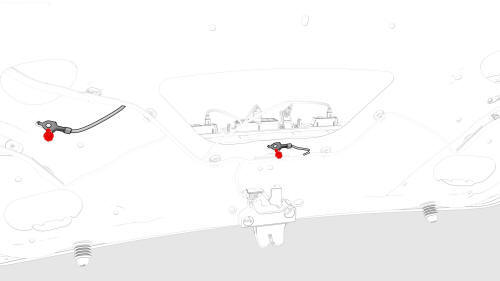
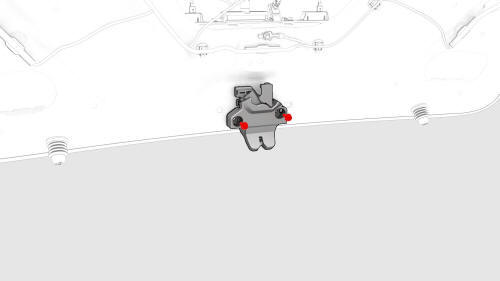
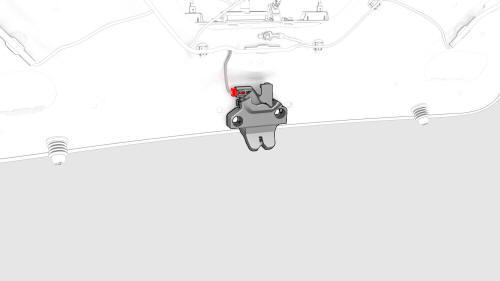
- Install new bolts (x2) to attach the trunk electrical harness ground
straps to the trunk lid.
 Torque 8 Nm
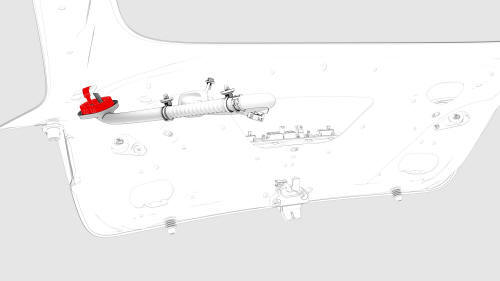
- Install the trunk latch to the trunk lid, and then install the bolts that attach the latch to the trunk lid.
Note: Hand tighten, but do not torque the bolts at this time.
- Connect the electrical connector to the trunk latch.
- Install the LH and RH license plate lights. See Light - License Plate (Remove and Replace).
- Install the trunk exterior release switch. See Switch - Exterior Release - Trunk (Remove and Replace).
- Install the LH and RH rear fog/reverse lights. See Light - Fog / Reverse - Rear - LH (Remove and Replace).
| Location | Gap | Flush |
|---|---|---|
| Trunk lid lower edge to rear lower fascia | 4.5 mm +2.5/-2.0 mm | 3.0 mm +4.5/-3.5 mm |
| Trunk lid side edge to rear side fascia | N/A | 3.0 mm +1.5/-3.0 mm |
| Fog/reverse light to tailight | 3.5 mm +3.0/-2.5 mm | 1.0 mm +1.7/-2.5 mm |
- Carefully close the trunk and check the trunk to body gap and fitment.
- Open the trunk, loosen the hinge bolts, adjust the trunk lid position, and tighten the bolts.
- Repeat step 12 and step 13 until the gap and flush is minimal and uniform.
- Torque the hinge bolts to specification.
 Torque 24 Nm
 - Torque the trunk latch bolts to specification.
 Torque 8 Nm
 - Install the trunk lid trim. See Trim - Lid - Trunk (Remove and Replace).
- Use IPA wipes to thoroughly clean these locations on the trunk lid:
- Hinge bolts, washers and surrounding area
- Area between the trunk lid lower lip and trunk latch
- Trunk lid badge area above license plate location
- Vigorously shake the vehicle color touch-up paint applicator for several minutes.
- Apply a coat of touch-up paint to the discolored areas of the hinge bolts and washers, and allow at least 20 minutes to dry.
Note: Perform the remainder of this procedure while the touch-up paint dries.
- Affix a new emissions sticker to the trunk lid, in the gap between the trunk lid lower lip and the trunk latch.
- Install the rear Tesla badge. See Tesla Badge - Rear (Remove and Replace).
- Install the rear license plate.
.png) Torque 1.5 Nm
Torque 1.5 Nm
READ NEXT:
 Glass - Backlight (Remove and Replace) - Remove
Remove
Release the clips that attach the screw covers to the LH and RH rear
coat hooks.
Remove the screws that attach the LH and RH rear coat hooks to the body.
Remove the package tray tri
SEE MORE:
Air Extractor - LH (Remove and Replace)
Remove
Remove the rear fascia. See
Fascia - Rear (Remove and Install).
Press downward at the top to release the tabs that attach the air
extractor to the body, then swing the upper portion of the air extractor
outwards, and then remove the air extractor from the vehicle.
Install
P
Tube - Input - Coolant - Power Conversion System- Install
Install
Wipe up any spilled coolant
Caution: Spilled coolant can create an
electrical path.
O-rings in good condition
Make sure that the o-rings are not damaged and that they are properly
seated in the connector groove prior to inserting the tube into the power
conversion system. R
© 2019-2024 Copyright www.tmodel3.com
