Tesla Model 3: Sensor - Temperature - RH (Remove and Replace)
Tesla Model 3 2017-2026 Service Manual / Thermal Management / Cabin HVAC / Sensor - Temperature - RH (Remove and Replace)

Remove
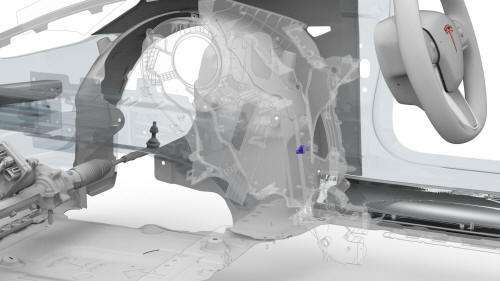
- Remove the RH center console side panel carpet. See Carpet - Side Panel - Center Console - LH (Remove and Replace).

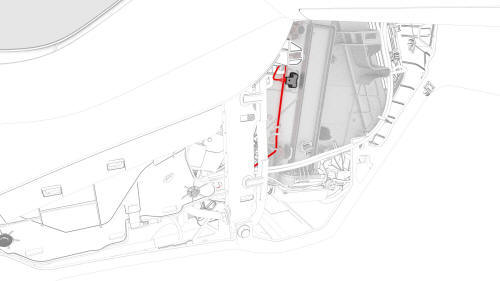
- Disconnect the electrical wiring harness conector from the RH temperature sensor.

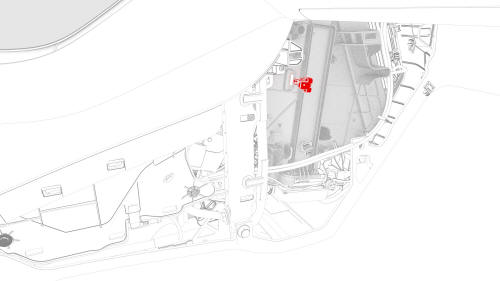
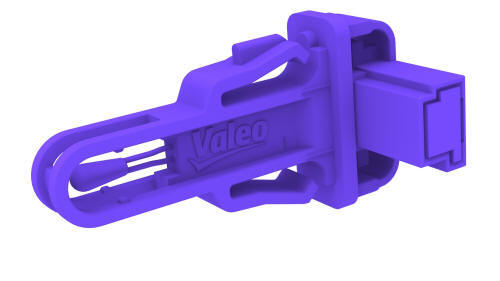
- Release the tabs that attach the RH temperature sensor to the HVAC
module, and then remove the LH temperature sensor.

Install
Installation procedure is the reverse of removal.
READ NEXT:
 A/C Refrigerant Leak Detection
SPECIAL TOOLS
Tool, Flashlight, UV (1053591-00-A)
UV Leak Detection Kit (1080563-01-A)
Procedure
Remove the rear underhood apron. See
Underhood Apron - Rear (Remove and Replace).
Remove the cabi
 A/C Refrigerant (Recovery and Recharge)
A/C Refrigerant- DRAFT
Warning:
This procedure was derived from pre-production computer models, and
might not reflect the real-world situation. Warnings and cautions might be
missing. Follow safe
SEE MORE:
 Switch - Back Rest and Cushion Adjust - Driver Seat (Remove and Replace)
Remove
Remove the drivers seat outer side cover. See
Cover - Outer Side - Driver Seat (Remove and Install).
Carefully release the clips that attach the seat cushion and seat back
buttons to the driver seat backrest and cushion adjust switch, and then
remove the buttons from the outer
 Pivot Sleeve - Seat Back - 2nd Row - LH (Remove and Replace)
Remove
Remove the 2nd row LH seat back assembly. See
Seat Back - 2nd Row - LH (Remove and Install).
Release the tabs that attach the pivot sleeve to the seat back assembly
pivot pin, and then remove the sleeve from the pin.
© 2019-2026 Copyright www.tmodel3.com

