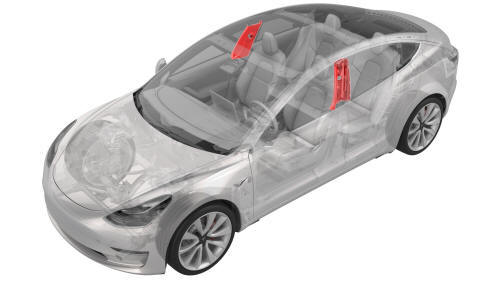
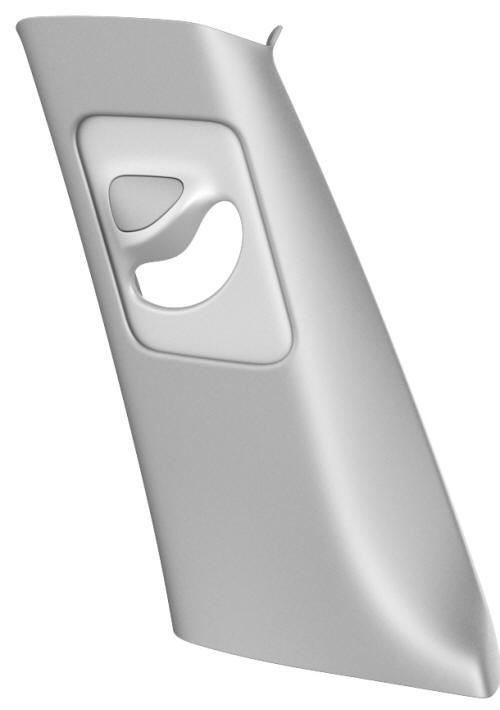
Tesla Model 3: Trim - B-Pillar - Upper - LH (Remove and Replace)
Tesla Model 3 2017-2026 Service Manual / Interior Trim / Pillar and Sill Trim / Trim - B-Pillar - Upper - LH (Remove and Replace)
SPECIAL TOOLS
Key, Seat Belt Release, Model 3 (1133787-00-A)
Remove
- Open both LH doors.
- Move the LH front seat fully forward.
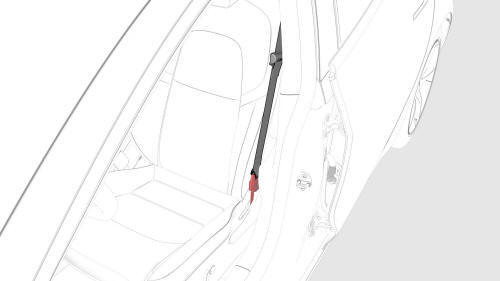
- Use the seat belt release key to release the LH front seatbelt retainer from the front seat.
- Move the seatbelt shoulder adjustment to the fully down position.
- While wearing suitable gloves, spread the bottom of the LH upper B-pillar trim open, and then release the clips that attach the bottom of the trim to the LH lower B-pillar trim.
Caution:
Be careful not to pull the LH upper B-pillar trim too far, otherwise it might break the seatbelt shoulder adjustment mechanism.
Note: Move the body seals to aid removal.
- Slip your fingers beneath the seal at the top part of the upper B-pillar trim, and then separate the upper B-pillar trim from the body.
- Move the seatbelt retainer through the LH upper B-pillar trim, and then remove the trim from the vehicle.
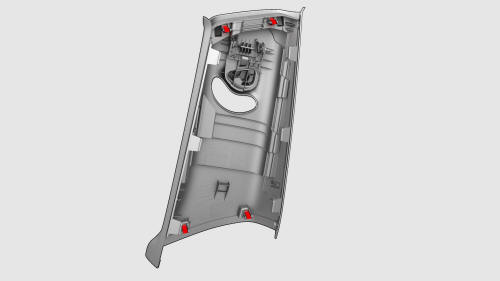
Note: Remove any remaining LH upper B-pillar trim clips from the LH
B-pillar, and if the LH upper B-pillar trim is to be later installed, remove all
clips from the trim.
Install
- If reusing the same LH upper B-pillar trim, install new clips onto the trim.
- Make sure that the seatbelt shoulder adjustment mechanism and the slider trim on the upper B-pillar trim are at their lowest position
- Move the seatbelt retainer through the LH upper B-pillar trim, and then attach it to the seat.
- Insert the top portion of the upper B-pillar trim under the headliner.
- Press the bottom of the LH upper B-pillar trim into the LH lower B-pillar trim, and then apply side pressure to fasten the clips.
- Press the top of the LH upper B-pillar trim into the top of the B-pillar, and then apply side pressure to fasten the clips.
- Reposition the body seals so that they overlap the LH upper B-pillar trim.
- Move the seat to the previous position.
- Close both LH doors.
READ NEXT:
 Trim - C-Pillar - Rear - LH (Remove and Replace)
Trim - C-Pillar - Rear - LH (Remove and Replace) - Remove
Remove
Remove the 2nd row lower seat cushion. See
Seat Cushion - Lower - 2nd Row (Remove and Replace).
Remove the LH 2nd row seat side
SEE MORE:
General Precautions
Dangerous Substances
Model 3 vehicles contain many materials and liquids which, if not handled
with care, can be hazardous to both personal health and the environment.
Warning: Many liquids and substances are poisonous and should under
no circumstances be consumed; they should be kept as far as po
Park Assist
How Park Assist Works
Model 3 has several sensors designed to
detect the presence of objects. When driving
slowly in Drive or Reverse (for example, when
parking), the sensors alert you if an object is
detected in close proximity of your Model 3.
Objects are only detected in the direction of
© 2019-2026 Copyright www.tmodel3.com
