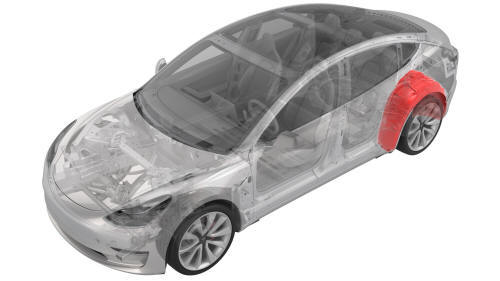
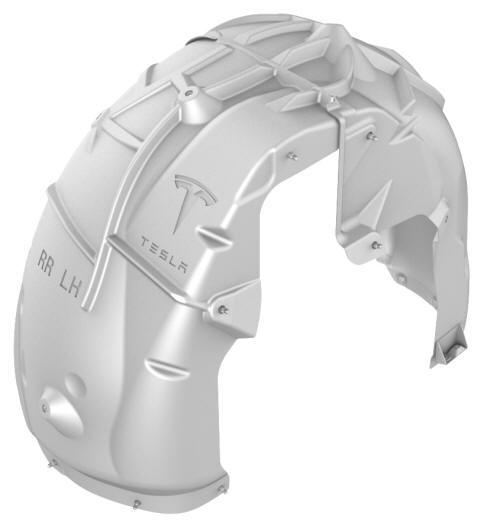
Tesla Model 3: Wheel Arch Liner - Rear - LH (Remove and Replace)
Tesla Model 3 2017-2026 Service Manual / Exterior Fittings / Wheel Arch Liners / Wheel Arch Liner - Rear - LH (Remove and Replace)

SPECIAL TOOLS
Pliers, Clip Removal (1133569-00-A)
Remove
- Remove the LH rear wheel. See Wheel (Remove and Install).

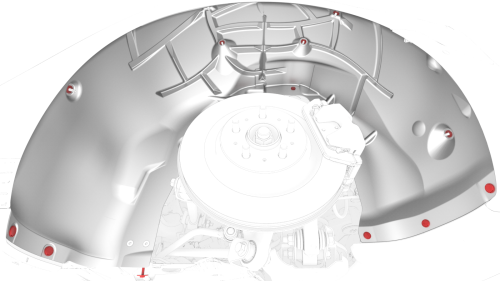
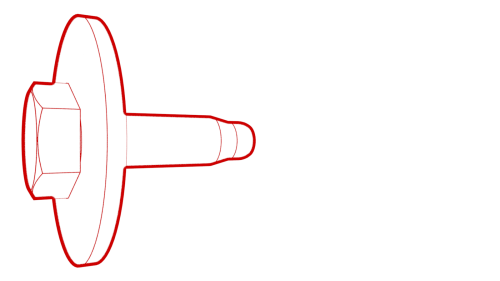
- Remove the bolt and release the clips (x16) that attach the LH rear
wheel arch liner to the vehicle, and then remove the liner from the vehicle
 Torque 5 Nm

Install
Installation procedure is the reverse of removal.
READ NEXT:
 Diffuser - Rear Fascia (Remove and Replace)
Remove
Raise and support the vehicle. See
Raise Vehicle - 2 Post Lift.
Remove the bolts that attach the rear fascia diffuser to the mid aero
shield.
Torque 5 Nm
Remove t
 Panel - Aero Shield - Front (Remove and Replace)
Remove
Raise and support the vehicle. See
Raise Vehicle - 2 Post Lift.
Remove the bolts (x9) that attach the front aero shield panel to the
vehicle.
Remove the nuts (x2) that attac
SEE MORE:
 Drive Unit - Rear (Remove and Replace)
Remove
Remove the rear drive unit from the subframe
assembly. See Drive Unit - Rear (Remove and Install).
 Cap - Penthouse HV (Remove and Replace)
Remove
Remove the 2nd row lower seat cushion. See
Seat Cushion - Lower - 2nd Row (Remove and Replace).
Lift the HV cap straight up from over the DC input connector on the LH
side of the penthouse, and then remove the HV cap from the vehicle.
Install
Installation procedure is the reverse
© 2019-2026 Copyright www.tmodel3.com

