Tesla Model 3: Actuator - Intake (Remove and Replace)
Tesla Model 3 2017-2026 Service Manual / Thermal Management / Cabin HVAC / Actuator - Intake (Remove and Replace)
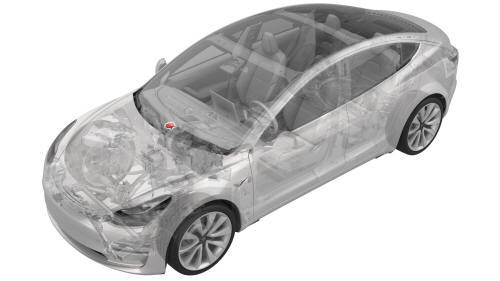
Remove
- Remove the HVAC assembly. See HVAC Assembly (Remove and Replace).
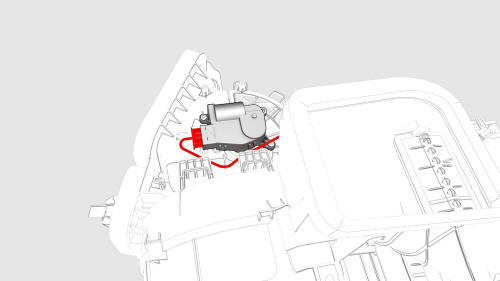
- Disconnect the electrical harness from the intake actuator connector.
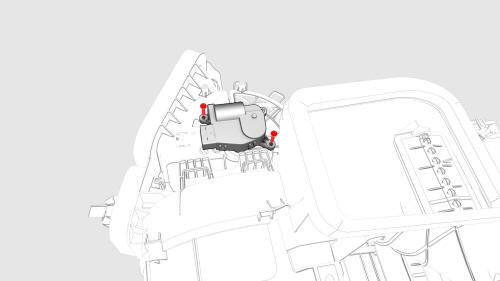
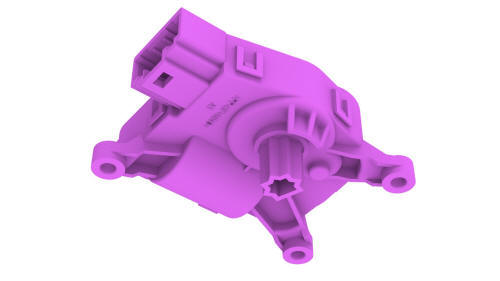
- Remove the screws (x2) that attach the intake actuator to the HVAC
module, and then remove the actuator from the HVAC module.
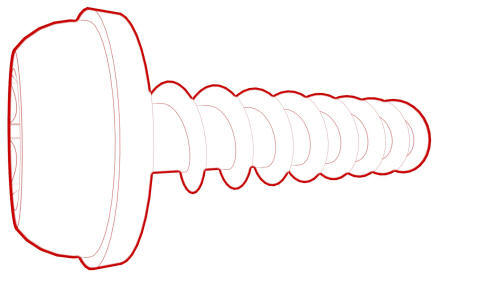 Torque 1.2 Nm
Install
Installation procedure is the reverse of removal.
READ NEXT:
 Actuator - Lower Mode (Remove and Replace)
Remove
Remove the HVAC assembly. See
HVAC Assembly (Remove and Replace).
Disconnect the lower mode actuator electrical connector.
Remove the screws that attach the lower mode actuator t
 Actuator - Upper Mode (Remove and Replace)
Actuator - Upper Mode- Remove
Remove
Remove the 2nd lower seat cushion. See
Seat Cushion - Lower - 2nd Row (Remove and Replace).
Remove the rear underhood apron. See
Underhood Apron - Rear (Rem
SEE MORE:
 Striker - Hood (Remove and Replace)
DRAFT
Warning:
This procedure was derived from pre-production computer models, and
might not reflect the real-world situation. Warnings and cautions might be
missing. Follow safety requirements and use extreme caution when working on or
near high voltage systems and components.
Do not redistr
 Guide - Probing - HV Battery (Remove and Replace)
Guide - Probing - HV Battery- Remove
SPECIAL TOOLS
Ratchet, 1/4" Sq Dr, HV Insulated (1057602-00-A)
Ext Bar, Wobble, 1/4" Dr, HV Insulated (1057603-00-A)
Skt, 1/4" Sq Dr, 13mm, HV Insulated (1057606-00-A)
Magnet, Flexible, HV Insulated, 18" (1057607-00-A)
Connector Removal, Coolant, PCS, M3 (11118
© 2019-2026 Copyright www.tmodel3.com

