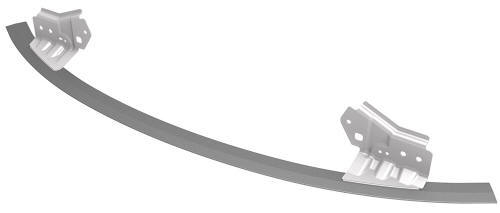
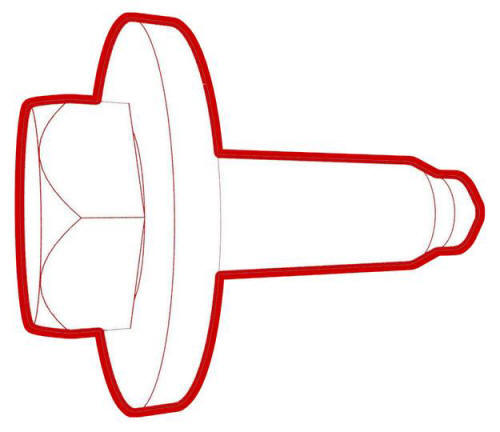
Tesla Model 3: Ankle Catcher (Remove and Replace)
Tesla Model 3 2017-2026 Service Manual / Body / Bumper / Fascia / Ankle Catcher (Remove and Replace)

Remove
- Remove the front fascia.
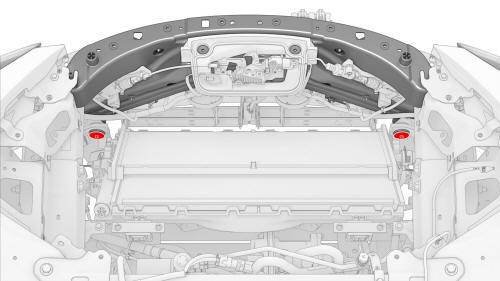
- Remove the bolts that attach the bottom of the cooling fan module to the ankle catcher
Note: Lift the condenser fan module up to ease removal of the bolts.
- Loosen but do not remove the bolts that attach the upper section of the front end carrier to the body

- Remove the bolts that attach the front end carrier to the crash cans.
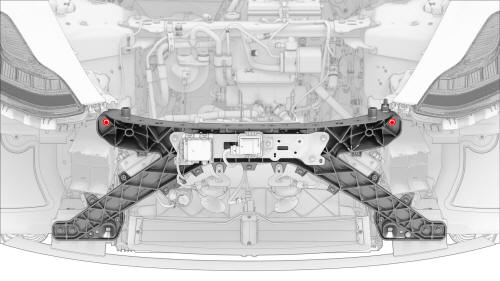
- Move the front end carrier forward, slide the ankle catcher off the front end carrier locating posts, and then remove the ankle catcher from the vehicle.
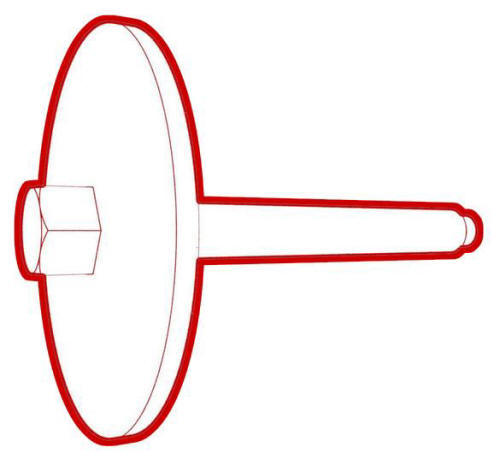
Install
- Position the ankle carrier onto the front end carrier locating posts, and then slide the ankle catcher into place.
- Hand-tighten the bolts that attach the front end carrier to the crash cans.
- Torque the bolts that attach the front end carrier to the
crash cans
 Torque 16 Nm
- Tighten the bolts that attach the upper section of the front end carrier
to the body.
Torque 16 Nm
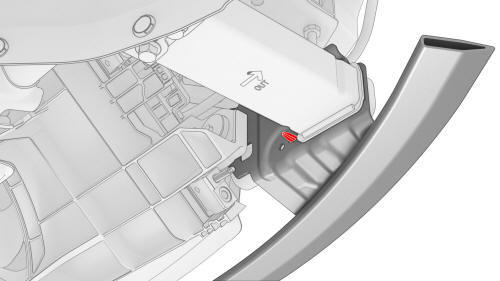
- Install the bolts that attach the bottom of the cooling fan module to
the ankle catcher.
 Torque
10 Nm
Torque
10 Nm
Note: Lift the condenser fan module up to ease installation of the bolts.
- Install the front fascia.
READ NEXT:
 Bracket - Fascia Side to Fender - LH (Remove and Replace)
Remove
LH shown, RH similar; one clip is behind the
knuckle
Remove the LH and RH front wheels.
Release the clips (x9) that attach the front portion of the LH wheel
arch liner to the vehicle,
Bracket - Rear - Center (Remove and Replace)
Remove
Remove the rear fascia.
Release the clips that attach the rear Bluetooth passive entry antenna
electrical harness to the center rear bracket assembly.
Remove rear Bluetooth pass
Bracket - Rear Wing - LH (Remove and Replace)
Remove
LH shown, RH similar
Remove the 2nd row lower seat cushion.
Open the trunk, and then remove the LH and RH trunk stops.
Remove the trunk floor trim.
Remove the trunk sill trim.
Remove
SEE MORE:
Module - Body Controller - Security (Remove and Replace)
Module - Body Controller - Security- Remove
Remove
Open all doors and lower all windows
Remove the 2nd row lower seat cushion. See
Seat Cushion - Lower - 2nd Row (Remove and Replace).
Move the driver seat and front passenger seat fully rearward.
Disconnect 12V power. See
12V Power (Disconne
Trim - A-Pillar - Lower - LH (Remove and Replace)
Remove
Open the LH front door.
Remove the LH instrument panel end cap. See
End Cap - Instrument Panel - LH (Remove and Replace).
Remove the LH middle A-Pillar trim panel. See
Trim - A-Pillar - Middle - LH (Remove and Replace).
Release the topmost clip on the LH lower A-pillar
© 2019-2026 Copyright www.tmodel3.com
