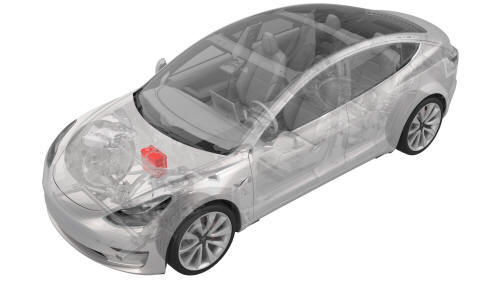
Tesla Model 3: Battery - 12V (Remove and Replace)
Tesla Model 3 2017-2026 Service Manual / Electrical / 12V Battery and Fuses / Battery - 12V (Remove and Replace)
Remove
- Remove the 2nd row lower seat cushion. See Seat Cushion - Lower - 2nd Row (Remove and Replace).
- Remove the rear underhood apron. See Underhood Apron - Rear (Remove and Replace).
- Remove the cabin intake duct. See Duct - Cabin Intake (Remove and Replace).
- Disconnect 12V power. See 12V Power (Disconnect and Connect).
- Remove the cover for the 12V positive terminal.

- Loosen the nut that attaches the positive lead to the battery, and then
remove the lead from the battery.
.jpg) Torque 6 Nm
Torque 6 Nm - Remove the 12V battery strap. See Strap - 12V Battery (Remove and Replace).
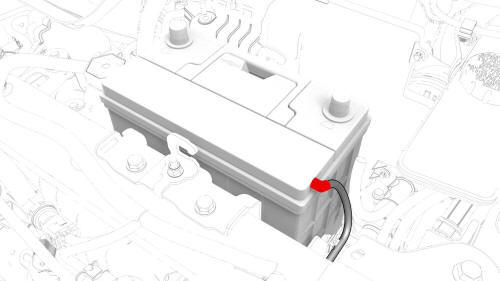
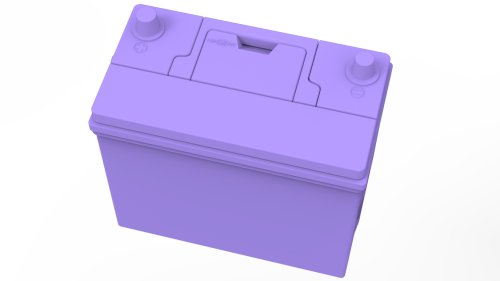
- Disconnect the hose from the LH side of the battery, and then remove the
battery from the vehicle
Install
Installation procedure is the reverse of removal, except for the following:
Caution:
Before installing the new battery, make sure that the new battery's Open Circuit Voltage (OCV) is above 12.6V. If the OCV is between 12.4V and 12.6V, recharge the new battery. Any battery below 12.4V must be discarded.
READ NEXT:
 Beam - 12V Battery (Dual Motor) (Remove and Replace)
Remove
Remove the 2nd row lower seat cushion. See
Seat Cushion - Lower - 2nd Row (Remove and Replace).
Remove the rear underhood apron. See
Underhood Apron - Rear (Remove and Replace).
Remove
Beam - 12V Battery (RWD) (Remove and Replace)
Beam - 12V Battery (RWD) - Remove
Remove
Remove the 2nd row lower seat cushion. See
Seat Cushion - Lower - 2nd Row (Remove and Replace).
Remove the rear underhood apron. See
Underhood Apron - R
SEE MORE:
HV Battery (Dual Motor) (Remove and Install)
HV
Battery (Dual Motor) - Remove
SPECIAL TOOLSAdapter, Lift Pad, Model 3 (1453419-00-A)Key, Seat Belt Release, Model 3 (1133787-00-A)
ASY, Battery Table, Manual Lift (1020566-00-F)Top Plate, Battery Table, Manual Lift (1020566-99-A)
Hoist, H-Frame EMEA (1129166-00-A)Kit, Alignment
Oil Screen - Rear Drive Unit
(Remove and Replace)
SPECIAL TOOLS
Tool, Oil Pump Screen Removal, Model 3 (1140378-00-A)
Remove
Remove the oil pump. See
Oil Pump - Rear Drive Unit (Remove and Replace).
Use the special tool to remove the oil screen from the rear drive unit.
Install
Installation procedure is the reverse of removal
© 2019-2026 Copyright www.tmodel3.com
