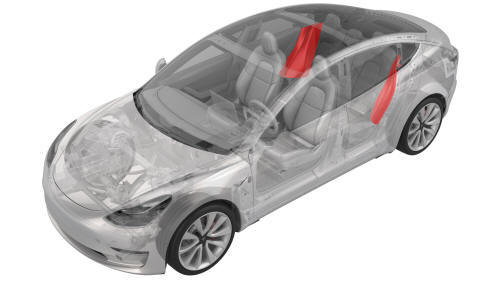
Tesla Model 3: Bolster - Side - Seat - 2nd Row - LH (Remove and Replace)
Tesla Model 3 2017-2026 Service Manual / Seats / 2nd Row Seat Assemblies and Hardware / Bolster - Side - Seat - 2nd Row - LH (Remove and Replace)
Remove
- Fold down the LH 2nd row seat.
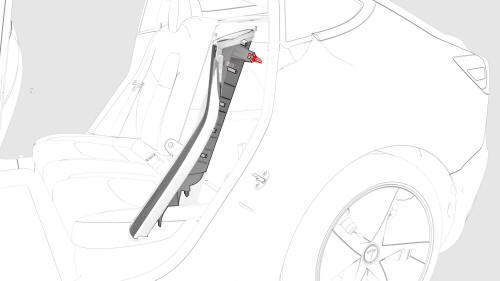
- Pull the 2nd row side bolster inward, and then move the bolster up to remove from the vehicle.
- Remove and discard the bolster plastic bracket from the vehicle.
Note: The bracket might have come out with the bolster
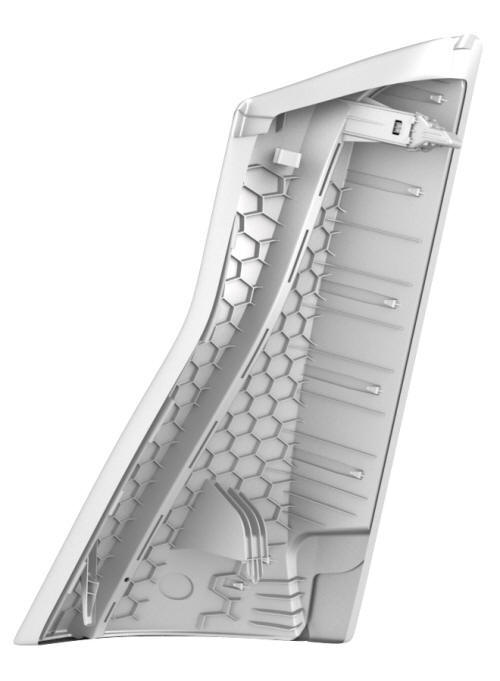
Install
- Install new bolster plastic bracket to the 2nd row seat side bolster
Note: The bracket is one time use only.
- Align the bottom tab, and then push inward to install the bolster.
READ NEXT:
 Bracket - Hinge - Seat Back - 2nd Row - LH (Remove and Replace)
Remove
Remove the 2nd row lower seat cushion. See
Seat Cushion - Lower - 2nd Row (Remove and Replace).
Remove the LH 2nd row seat side bolster. See
Bolster - Side - Seat - 2nd Row - LH (Remove
Cap - Penthouse 12V (Remove and Replace)
Remove
Remove the 2nd row lower seat cushion. See
Seat Cushion - Lower - 2nd Row (Remove and Replace)
Lift the 12V cap straight up from over the high voltage controller
connector on the RH
Cap - Penthouse HV (Remove and Replace)
Remove
Remove the 2nd row lower seat cushion. See
Seat Cushion - Lower - 2nd Row (Remove and Replace).
Lift the HV cap straight up from over the DC input connector on the LH
side of the pen
SEE MORE:
Carrier - Front End (Remove and Replace)
Carrier - Front End (Remove and Replace)-
Remove
Remove
Raise and support the vehicle.
Remove the rear underhood apron.
Remove the cabin intake duct.
Remove the hood latch cover.
Remove the underhood storage unit.
Remove the front fascia assembly.
Remove the front bumper.
Discon
Air Extractor - LH (Remove and Replace)
Remove
Remove the rear fascia. See
Fascia - Rear (Remove and Install).
Press downward at the top to release the tabs that attach the air
extractor to the body, then swing the upper portion of the air extractor
outwards, and then remove the air extractor from the vehicle.
Install
P
© 2019-2026 Copyright www.tmodel3.com
