Tesla Model 3: Bracket - Hinge - Seat Back - 2nd Row - LH (Remove and Replace)
Tesla Model 3 2017-2026 Service Manual / Seats / 2nd Row Seat Assemblies and Hardware / Bracket - Hinge - Seat Back - 2nd Row - LH (Remove and Replace)
Remove
- Remove the 2nd row lower seat cushion. See Seat Cushion - Lower - 2nd Row (Remove and Replace).
- Remove the LH 2nd row seat side bolster. See Bolster - Side - Seat - 2nd Row - LH (Remove and Replace).
- Remove the LH 2nd row seat back. See Seat Back - 2nd Row - LH (Remove and Install).
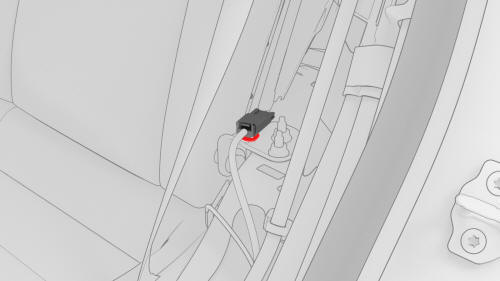
- Release the clip that attaches the electrical connector to the hinge bracket.
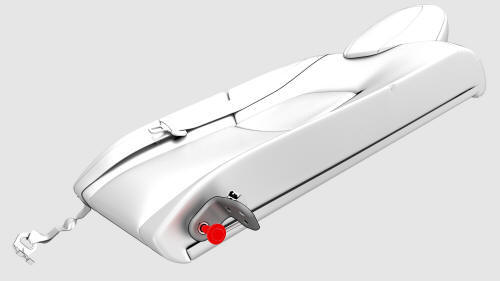
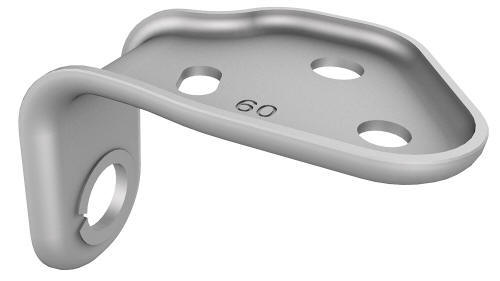
- Remove the bolt that attaches the LH 2nd row seat back hinge bracket to
the seat back, and then remove the bracket from the seat back.
Torque 45 Nm
Install
Installation procedure is the reverse of removal.
READ NEXT:
 Cap - Penthouse 12V (Remove and Replace)
Remove
Remove the 2nd row lower seat cushion. See
Seat Cushion - Lower - 2nd Row (Remove and Replace)
Lift the 12V cap straight up from over the high voltage controller
connector on the RH
Cap - Penthouse HV (Remove and Replace)
Remove
Remove the 2nd row lower seat cushion. See
Seat Cushion - Lower - 2nd Row (Remove and Replace).
Lift the HV cap straight up from over the DC input connector on the LH
side of the pen
Closeout - Armrest - 2nd Row (Remove and Replace)
Remove
Remove the 2nd row armrest. See
Armrest - 2nd Row (Remove and Replace).
Release the clips and tabs that attach the 2nd row armrest closeout to
the 2nd row seat, and then remove th
SEE MORE:
Sensor - Parking Distance - Front - Each (Remove and Replace)
Remove
Remove the rear underhood apron. See Underhood Apron - Rear (Remove and
Replace).
Remove the cabin intake duct. See Duct - Cabin Intake (Remove and
Replace).
Remove the hood latch cover. See Cover - Hood Latch (Remove and Replace).
Remove the underhood storage unit. See Underhood S
Glass - Door - LH - Rear (Remove and Replace)
SPECIAL TOOLS
Tool, Window Switch Bypass, Model 3 (1135305-00-A)
XP-10 Power Supply, XP-10 (1129348-00-A)
Warning: The side impact airbag deployment depends on the front door
sensor's ability to detect a side impact from air pressure. Make sure that there
are no uncovered holes in the front doo
© 2019-2026 Copyright www.tmodel3.com
