Tesla Model 3: Brake Caliper - Rear - LH - Remove
Tesla Model 3 2017-2024 Service Manual / Brakes / Brake Discs and Calipers / Brake Caliper - Rear - LH (Remove and Replace) / Brake Caliper - Rear - LH - Remove
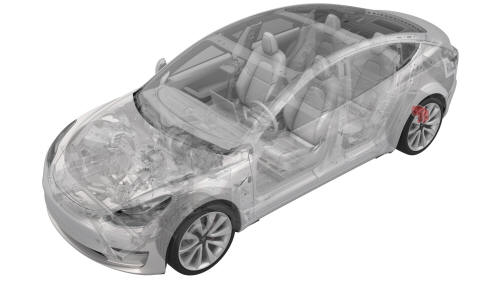
SPECIAL TOOLS
Kit, EPB Release, Handheld (1134520-00-A)
XP-10 Power Supply, XP-10 (1129348-00-A)
Remove- Raise and support the vehicle. See Raise Vehicle - 2 Post Lift.
- Use Toolbox to place the vehicle into EPB Service Mode. See Release Parking Brake Using Toolbox.
- Remove the LH rear wheel. See Wheel (Remove and Install).
- Remove the rear underhood apron. See Underhood Apron - Rear (Remove and Replace).
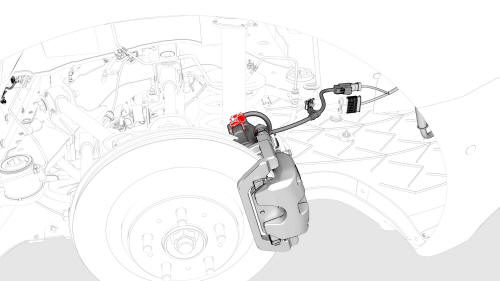
- Disconnect the electrical connector from the LH rear brake caliper.
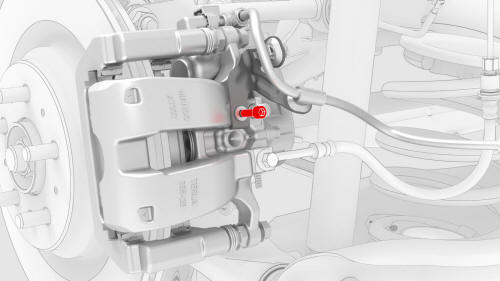
- Remove the bolt that attaches the electrical harness bracket to the LH rear brake caliper.
- Position the oil drain under the LH rear brake caliper area.
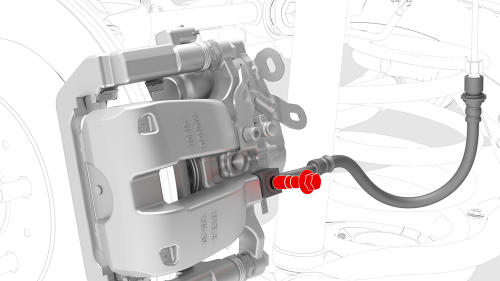
- Remove and discard the bolt and 2x washers that attach the brake hose to the LH rear brake caliper.
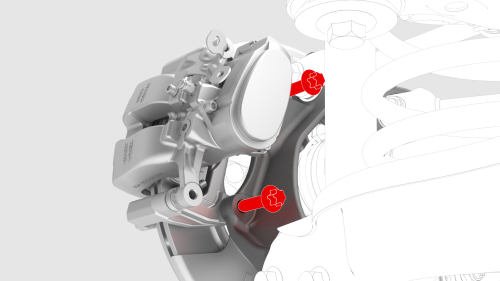
- Remove and discard the bolts that attach the LH rear
caliper bracket to the knuckle, and then remove the
caliper from the vehicle.
READ NEXT:
 Brake Caliper - Rear - LH - Install
Install
Install new bolts that attach the LH rear brake
caliper
 Brake Pads - Burnishing
Warning: Be sure to comply with all local traffic safety laws and
only perform maneuvers in a suitable location where such activity is legal, with
little to no traffic
Procedure
On the touchscre
 Brake Pad Kit - Front (Base Brakes) (Remove and Replace)
Remove
Remove the LH front wheel. See
Wheel (Remove and Install).
Remove the brake pad retaining pins that attach the anti-rattle spring
from the LH front brake caliper.
Remove the front
SEE MORE:
 Shell - Seat Back - Driver (Remove and Replace)
Remove
Remove the driver headrest trim from the seat. See
Trim - Headrest - Driver (Remove and Replace).
Release the clips that attach the seat back shell to the driver seat,
lift up on the shell to unhook it from the seat back frame, and lay the
shell back.
Release
 Airbag - Curtain - LH - Remove
DRAFT
Warning:
This procedure was derived from pre-production computer models, and
might not reflect the real-world situation. Warnings and cautions might be
missing. Follow safety requirements and use extreme caution when working on or
near high voltage systems and components.
Remove
Discon
© 2019-2024 Copyright www.tmodel3.com

