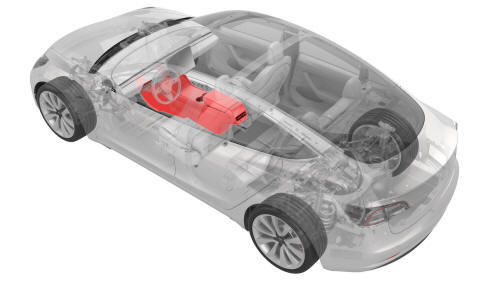
Tesla Model 3: Center Console (Remove and Replace)
Tesla Model 3 2017-2026 Service Manual / Interior Trim / Center Console / Center Console (Remove and Replace)
Remove
Remove the center console assembly. See Center Console (Remove and Install).
Install
- With an assistant, install the center console into the vehicle as follows:
- Tilt the front of the center console downwards.
- Slide the center console towards the front of the vehicle.
- Tilt the rear of the center console downwards until it is in place.
- Open the center console rotating lid.
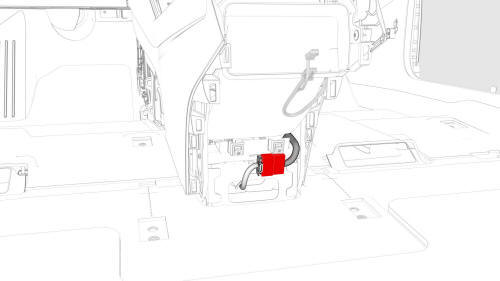
- Connect the electrical connector in the rear of the center console.
Caution: Ensure the connector is properly installed. Perform a push-pull test before continuing this procedure.
- Reconnect 12V power. See 12V Power (Disconnect and Connect).
- Connect a laptop with Toolbox to the vehicle.
- Using Toolbox, type "VCSEC" in the search tab.
Note: Make sure "Actions" is selected, if not already.
- Using Toolbox, click the play button next to "PING-TP_VCSEC," and then select Run.
- Update the vehicle firmware.
- Using Toolbox, click the play button next to "PROC_VCSEC_X_PROVISIONING," and then select Run.
- Using Toolbox, click the play button next to "TEST-SELF_VCSEC_X_ENDPOINT-COMM" and select Run.
- Using Toolbox, type "PAIR" in the search field to bring up the NFC key pairing routine "REPAIR_NETWORK.ODIN_VCSEC_PAIRNFCCARD."
Note: Make sure "Autodiag" is selected, if not already.
- Place the NFC cards on the center console behind the cup holders.
Note: 2 NFC cards are required when pairing: 2 unprogrammed NFC cards, or 1 unprogrammed NFC card and one previously programmed NFC card.
- Using Toolbox, type the number of NFC cards to be paired to the vehicle, and then select Run Network.
- Using Toolbox, select the vehicle garage type on the prompt screen. Allow the routine to run.
Note: Try this step again if the routine fails.
- Check the function of the programmed NFC cards.
- Using Toolbox, type "IMMOBILIZER" in the search tab.
- Using Toolbox, click the play button next to "PROC_DI_X-IMMOBILIZER," and then select Run.
- Using Toolbox, type "ODOMETER" in the search tab.
- Using Toolbox, click the play button next to "PROC-DID_DI_VEHICLE-ODOMETER," and select Run.
- Using Toolbox, type "RESET_DI" in the search tab.
- Using Toolbox, click the play button next to "TEST-RESET_DI," and then select Run.
- Disconnect the laptop from the vehicle.
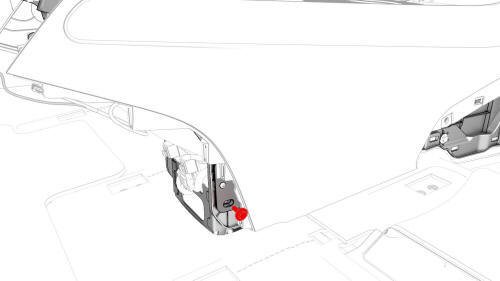
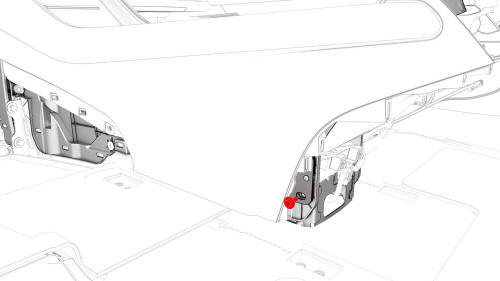
- Install the bolt that attaches the RH rear of the center console to the
body.
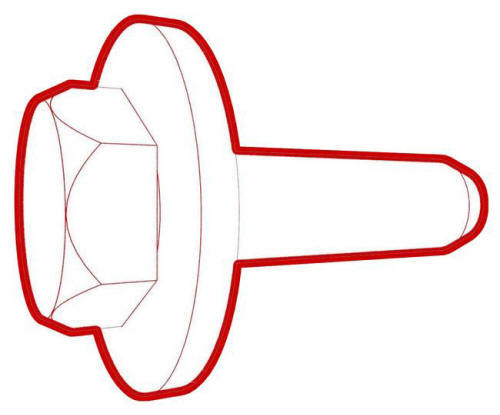 Torque 7 Nm
- Install the bolt that attaches the LH rear of the center console to the
body.
Torque 7 Nm
- Install the center console lower rear panel. See Panel - Lower Rear - Center Console (Remove and Replace).

- Install the bolts that attach the front of the center console to the
body.
 Torque 1.7 Nm
 - Install the phone tray. See Phone Tray - Center Console (Remove and Replace).
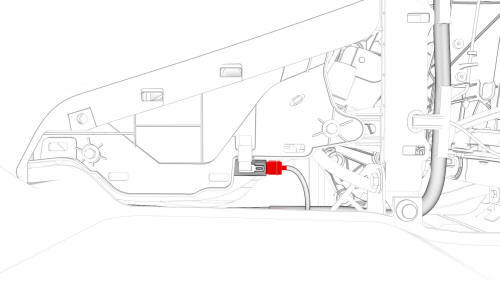
- Connect the electrical connector that is located at the RH front of the center console.
Caution:
Ensure the connector is properly installed. Perform a push-pull test before continuing this procedure.
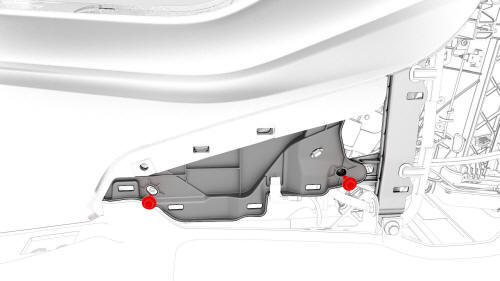
- Install the bolts that attach the RH front of the center console to the
body.
Torque
7 Nm
- Install the RH center console side panel carpet. See Carpet - Side Panel - Center Console - LH (Remove and Replace).
- Install the front passenger floormat.
- Install the bolts that attach the LH front of the center console to the
body.
Torque 7 Nm
- Install the LH center console side panel carpet. See Carpet - Side Panel - Center Console - LH (Remove and Replace).
- Install the driver floormat.
- Install the rear underhood apron. See Underhood Apron - Rear (Remove and Replace).
- Install the 2nd row lower seat cushion. See Seat Cushion - Lower - 2nd Row (Remove and Replace).
- Restore the customer's belongings into the center console, if needed.
READ NEXT:
 Cup Holder (Remove and Replace)
Remove
Disconnect 12V power. See
12V Power (Disconnect and Connect).
Remove the center console decor trim. See
Decor Trim - Center Console (Remove and Replace).
Remove the screws and rele
Decor Trim - Center Console (Remove and Replace)
Remove
Open the LH front door.
Move the LH front seat to the lowest and most rearward position.
Clip Locations on Center Console
Clip Locations on Decor Trim
Release the clips (x9) th
End Panel - Center Console (Remove and Replace)
Remove
Remove the center console lower rear panel. See
Panel - Lower Rear - Center Console (Remove and Replace).
Remove the center console air vent panel. See
Panel - Air Vent - Center Console (R
SEE MORE:
Brake Lines - 4 Tube Bundle - ABS to Wheels (Remove and Replace)
Brake Lines - 4 Tube Bundle - ABS to Wheels - Remove
SPECIAL TOOLS
Flare nut crowfoot set (1079041-00-A)
Disconnect 12V power. See 12V Power (Disconnect and
Connect).
Cover - Tow Hook (Remove and Replace)
Remove
Place two thumbs at the 1 and 2 o'clock positions, resting your knuckles on
the bumper fascia surface to support your hand position. Use both thumbs to
apply force on the outer edge of the cover.
© 2019-2026 Copyright www.tmodel3.com
